
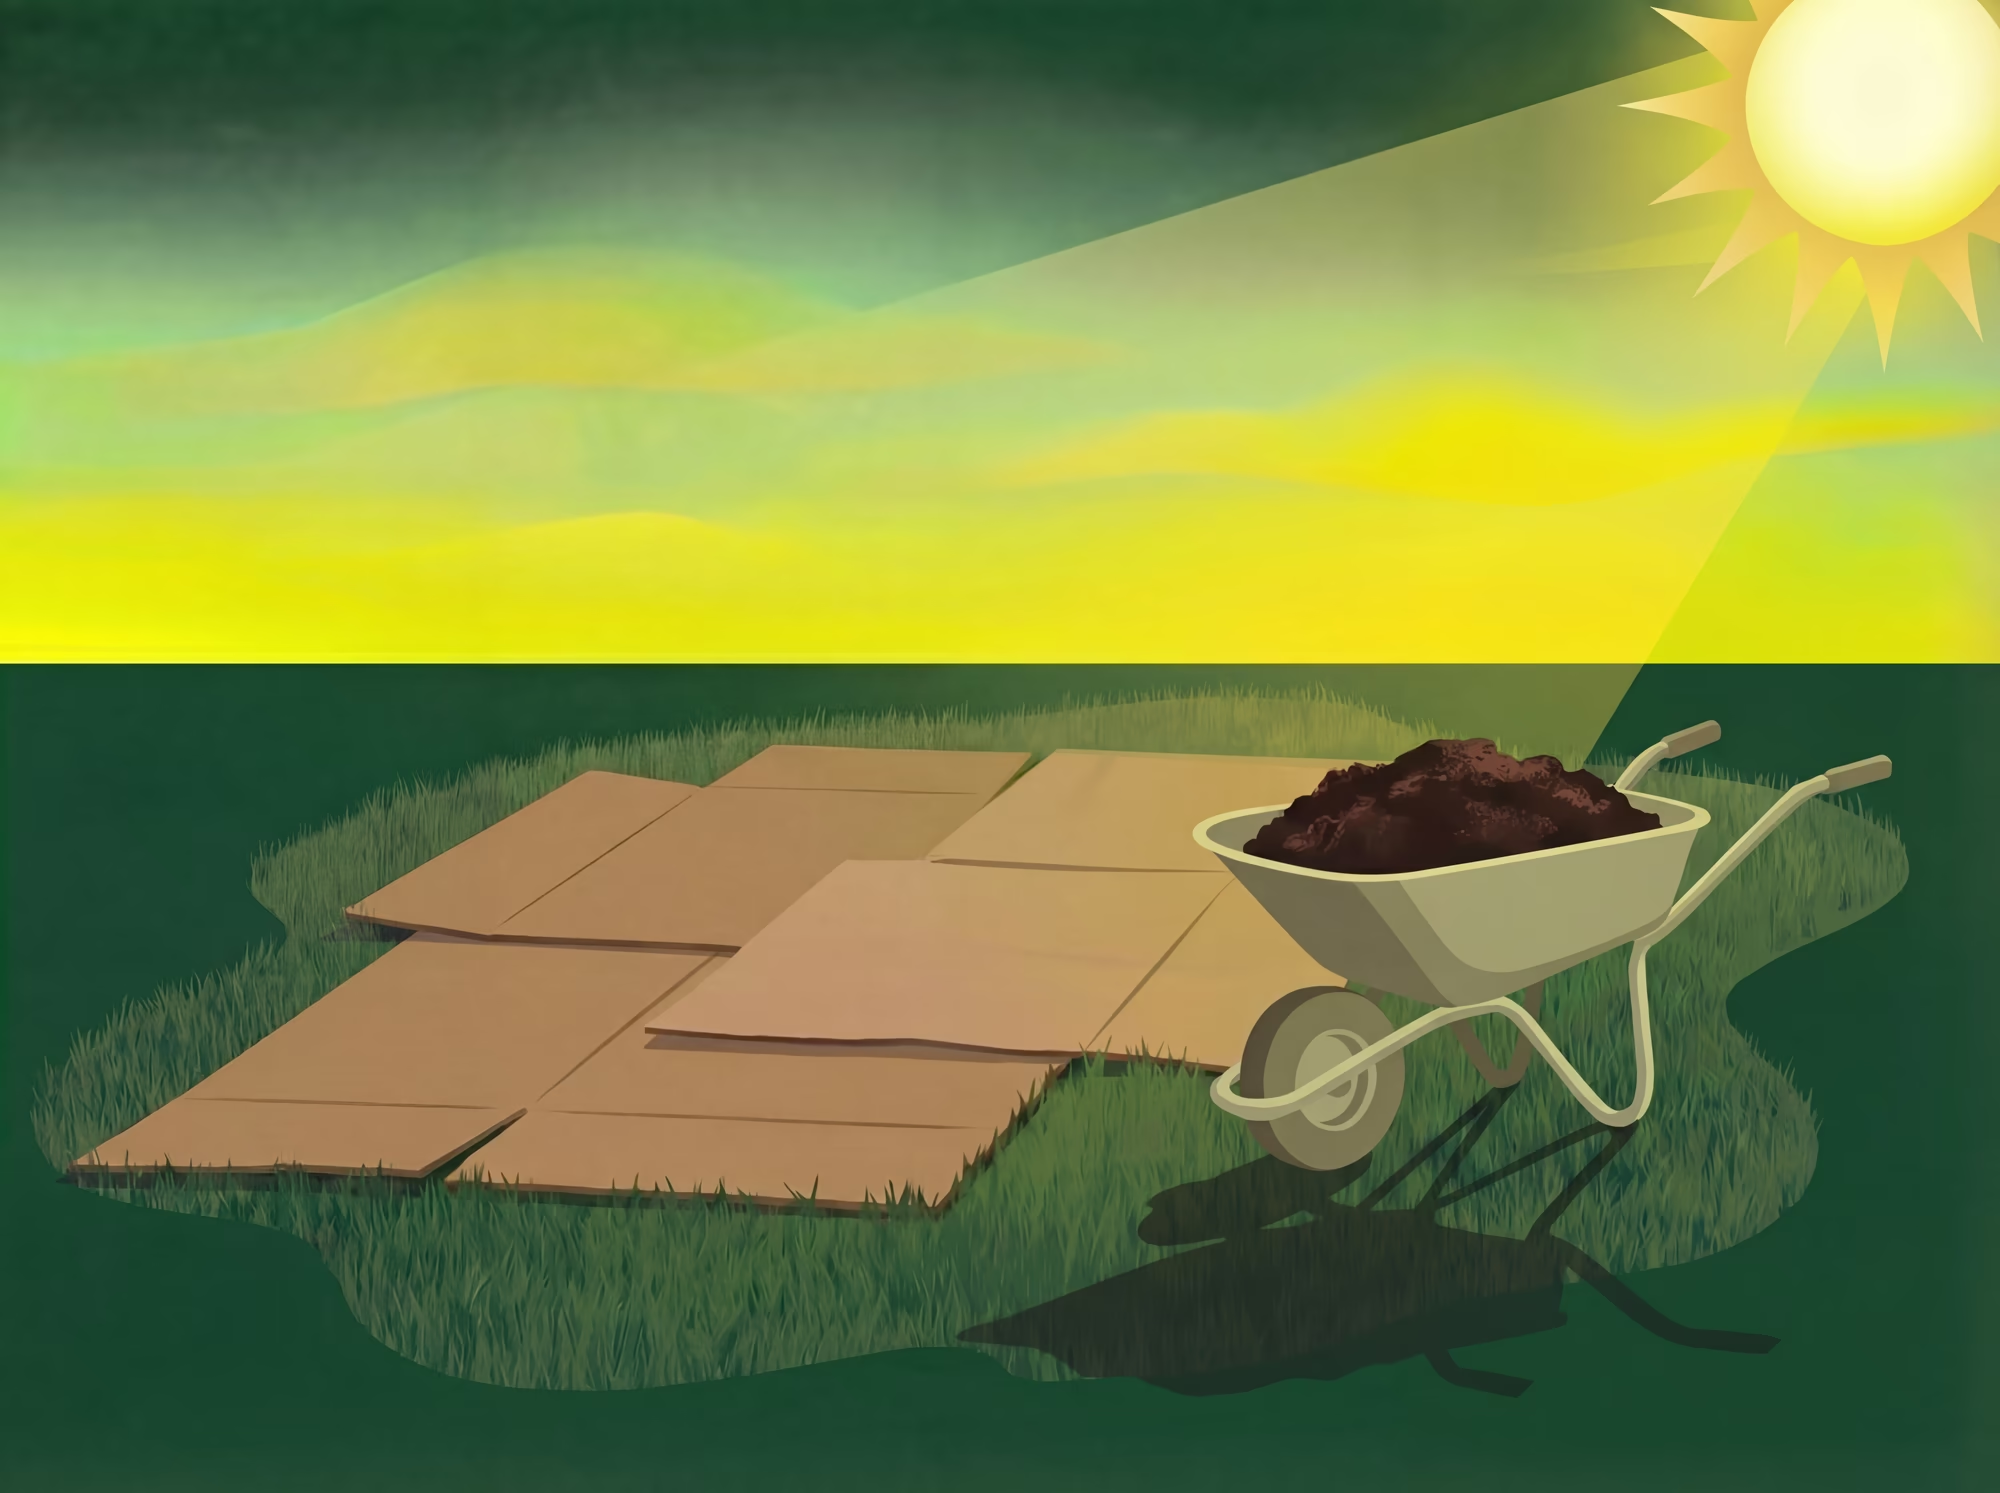
There is a particular satisfaction in laying the first sheet of cardboard across a lawn you have decided to let go. The corrugated edges bend against the grass. You spray the hose across the surface and watch the brown cardboard darken, soften, and settle into the turf. A wheelbarrow of compost follows, then mulch, and suddenly the patch of grass that demanded your weekends, your water bill, and your patience for years is quiet under a blanket it will never come back from.
That moment is closer than you think. Whether your lawn is a small front strip or a half-acre of tired bermuda grass, there is a proven method to remove it that fits your timeline, your budget, and your plan for what comes next.
KEY TAKEAWAYS
- Sheet mulching is the easiest, lowest-cost method for most Southern California lawns, requiring cardboard, compost, and patience: six to ten months of it, not the six weeks you will read about in most online guides.
- Solarization is the fastest passive method in Southern California's climate, using summer heat to kill grass and weed seeds in four to six weeks, but it only works during peak sun months (June through September).
- The right method depends on your timeline, your budget, and what you plan to plant afterward. A comparison table below matches each method to the situation where it works best.
This guide covers four methods that work in Southern California's Mediterranean climate, with step-by-step instructions, realistic timelines, and the specific adjustments you need for local conditions. If you have bermuda grass, each method includes a dedicated section on how to handle it.
Which Grass Removal Method Is Right for You?
The best way to remove grass depends on three things: how quickly you need it gone, how much you want to spend, and what you plan to do with the space afterward.
| Sheet Mulching (Smother) | Solarization | Sod Cutter | Manual Removal | |
|---|---|---|---|---|
| Also called | Lasagna mulching, cardboard mulching | Soil cooking | Sod removal | Hand stripping |
| How it works | Smothers grass under cardboard and mulch | Traps solar heat under clear plastic | Mechanically cuts and lifts sod strips | Digs out grass by hand |
| Cost (materials) | $50 to $150 | $30 to $100 | $85 to $150/day rental | Free (tools only) |
| Cost per sq ft | $0.10 to $0.30 | $0.05 to $0.15 | $0.50 to $1.00 | $0.00 to $0.05 |
| Timeline | 6 to 10 months | 4 to 6 weeks (summer) | 1 to 2 days | Days to weeks |
| Physical effort | Low | Low | High | Very high |
| Builds soil? | Yes (excellent) | No | No (removes topsoil) | No |
| Kills weed seeds? | No | Yes | No | No |
| Best yard size | Any | Any | 500+ sq ft | Under 200 sq ft |
| Bermuda grass? | Difficult (6–12 mo minimum) | Best passive option (full summer) | Removes surface but not deep rhizomes | Not recommended |
Start with your timeline. If you have six months or more, sheet mulching gives you the best soil at the lowest cost. If you need the grass gone in weeks, a sod cutter is the fastest option. If summer is coming and you can wait four to six weeks, solarization handles both grass and weed seeds. If you just need a small garden bed cleared, manual removal with a flat spade gets the job done in an afternoon.
GOOD TO KNOW
Many Southern California water districts, including IRWD, offer rebates of $2 or more per square foot for qualifying lawn removal projects. Most programs require you to apply and receive approval BEFORE you remove your grass. Start the rebate process first, then choose your removal method while you wait for inspection. A 1,000 square foot lawn could earn $2,000 or more in rebates.
When Is the Best Time to Remove Grass in Southern California?
Timing matters more than most guides admit, especially in our Mediterranean climate. Each method has an ideal window, and starting at the right time can mean the difference between a smooth project and a frustrating one.
| Method | Best Months | Why |
|---|---|---|
| Sheet mulching (smother) | October through December | Winter rains keep materials moist and aid decomposition. You will be ready to plant the following fall. |
| Solarization | June through September | Requires consistent heat. Daytime temperatures need to reach 80°F or higher for four to six straight weeks. |
| Sod cutter | Year-round | Mechanical removal works any time. Schedule for mild weather to avoid working in extreme heat. |
| Manual removal | October through March | Soil is softer after rain, making digging dramatically easier. Avoid summer when soil bakes hard. |
How Does Sheet Mulching Work?
Sheet mulching, sometimes called lasagna mulching or cardboard mulching, is the simplest way to remove a lawn. You smother the grass under layers of cardboard and organic material, blocking all sunlight while the grass, the cardboard, and the compost slowly decompose into rich, plantable soil. No digging. No machines. No chemicals. You are essentially composting your lawn in place.
PRO TIP
For the smoothest overall workflow, consider this sequence: apply for your water district rebate in late summer, start sheet mulching in October or November, let winter do the work, and plant your new landscape the following fall. That timeline gives the grass ten to twelve months to fully break down while your yard quietly transforms underneath.
The trade-off is time. Sheet mulching takes six to ten months to fully kill established grass, not the six to eight weeks that many online guides claim. UC Master Gardeners are clear on this point: plan for at least six months, and make sure at least three months of that window falls during the growing season when biological activity is highest.
"While every other method strips something from your yard, sheet mulching adds to it."
The cardboard feeds earthworms. The compost enriches the soil. By the time the grass is gone, your soil is in better condition than the day you started.
What You Will Need
- Cardboard: Large, uncoated sheets with tape and labels removed. Appliance boxes work best. Ask local furniture and appliance stores for their recycling pile.
- Compost: 2 to 3 inches. Bulk compost runs $30 to $50 per cubic yard in Southern California.
- Mulch: 4 to 6 inches of wood chip or arborist mulch. Many tree services will deliver free wood chips.
- Garden hose and box cutter for tape removal.
Step by Step
- Mow the grass as short as possible. Set your mower to its lowest setting and bag the clippings or leave them in place. The shorter the grass, the faster decomposition begins.
- Water the lawn deeply. Soak the area thoroughly. Moist grass breaks down faster than dry grass, and the moisture activates decomposition.
- Apply 2 to 3 inches of compost directly on the mowed, watered lawn BEFORE laying cardboard. UC Master Gardeners recommend this sequence. The compost feeds soil organisms and creates a nutrient-rich layer right at the root zone.
- Lay cardboard in a single layer, overlapping seams by at least 6 inches. Cover every inch of grass. Flatten boxes, remove all tape and shipping labels, and press the cardboard firmly against the soil. Weigh down corners and edges with stones, bricks, or stakes while you work.
- Wet the cardboard thoroughly. Spray until the entire surface is dark and soft. Dry cardboard resists decomposition and can blow away in wind.
- Add 4 to 6 inches of mulch over the cardboard. Wood chip mulch, arborist mulch, or a compost-mulch blend all work well. This layer blocks light, holds moisture, suppresses weeds, and gives the whole system a finished look while it does its work.
- Water the entire area again. The system needs to stay consistently moist for decomposition to proceed. If you start sheet mulching in fall, winter rain usually provides enough moisture.
- Wait six to 10 months. Check periodically by lifting a corner of the cardboard. When the grass beneath is brown, flat, and breaking apart, your soil is nearly ready.
EXPERT TIP
The smell of fresh compost under cardboard on a cool fall morning is one of the underappreciated pleasures of lawn removal. Earthworms move in within weeks. Fungi begin threading through the cardboard. The dead grass becomes food for the organisms building your new soil. If you are the kind of person who checks on a slow cooker, you will enjoy lifting a corner of the cardboard every few weeks to see the progress. Just put it back and let the process work.
Sheet Mulching for Bermuda Grass
Bermuda grass spreads two ways: above ground through runners called stolons, and below ground through underground stems called rhizomes. Every fragment of root or runner left behind can regrow into a new plant. For bermuda grass, modify the standard sheet mulching process:
- Use double-layer cardboard and overlap seams by at least 12 inches instead of 6. Bermuda runners will find and exploit any gap.
- Extend the timeline to 6 to 12 months minimum. Do not assume bermuda is dead after a few months.
- Install a root barrier (12-inch metal or plastic edging, buried at least 8 inches deep) around the perimeter to prevent rhizomes from creeping in from neighboring yards.
- Monitor regularly after removing the cardboard. Pull any bermuda sprouts immediately before they re-establish.
- Consider combining methods: remove the sod with a sod cutter first, then sheet mulch the remaining area to suppress regrowth from deep rhizomes. This combination is the most effective approach for severe bermuda infestations.
PRO TIP
Bermuda grass enters active growth when soil temperatures reach 65 degrees Fahrenheit. In Southern California, that means it can push through weak spots in your sheet mulch from March through November. If you see green runners emerging through the mulch, pull them immediately and add cardboard over the gap. Do not wait.
How Does Solarization Kill Grass?
Solarization uses Southern California's strongest asset, our sun, to cook grass and weed seeds right in the soil. You cover mowed, watered ground with clear plastic sheeting and let solar heat build underneath for four to six weeks. The trapped heat raises soil temperatures to 108 to 140 degrees Fahrenheit at a two-inch depth, enough to kill grass, annual weed seeds, and many soil-borne pathogens.
The catch is timing. Solarization only works during peak summer, when daytime temperatures consistently reach 80 degrees or higher for weeks at a stretch. In inland Orange County, that window runs from June through September. Coastal areas may see lower temperatures and less consistent results, especially during foggy June.
QUICK STAT
108 to 140°F — The soil temperatures solarization reaches at a two-inch depth during peak summer in Southern California: hot enough to kill grass, annual weed seeds, and many soil-borne pathogens.
Why Clear Plastic, Not Black?
Clear plastic works because it creates a greenhouse effect, transmitting 85 to 95 percent of incoming solar radiation and allowing sunlight to heat the soil directly. Black plastic absorbs solar radiation at the surface and re-radiates much of it back into the atmosphere before it reaches the soil. Clear plastic raises soil temperatures approximately 3 to 9 degrees Fahrenheit higher than black plastic at comparable depths. That difference matters when you are trying to reach lethal temperatures for grass roots and weed seeds.
What You Will Need
- Clear polyethylene sheeting: 2 to 4 mil thickness. Buy enough to cover your entire area with 12 to 18 inches of excess on all sides.
- Landscape staples or heavy objects to secure edges.
- Utility knife and garden hose.
Step by Step
- Mow the grass as low as possible and remove the clippings. A flat, even surface allows the plastic to sit flush against the soil, maximizing heat transfer.
- Water the area deeply. Saturate the top 12 inches of soil. Moist soil conducts heat far better than dry soil, and the moisture encourages weed seed germination, making seedlings more vulnerable to the heat treatment. This step is not optional.
- Lay clear plastic directly over the soil. Pull it taut and press it firmly against the ground. Overlap multiple sheets by at least 12 inches if your area is wider than a single roll.
- Secure all edges. Bury the edges under 4 to 6 inches of soil, or weight them down with bricks, stones, or landscape staples every 2 to 3 feet. Wind is the enemy of solarization. Any edge that lifts releases trapped heat and compromises the entire section.
- Wait four to six weeks. Do not disturb the plastic during this period. Every time you lift it, you release heat and restart the clock for that area.
- Remove the plastic and assess. The grass should be brown and brittle. Rake away dead material. Add 2 to 3 inches of compost to restore microbial activity before planting.
GOOD TO KNOW
You might worry that solarization sterilizes your soil. It does not. UC research shows that many beneficial organisms, including the critical mycorrhizal fungi that help plants absorb nutrients, either survive solarization temperatures or recolonize the soil quickly afterward. Earthworms simply burrow deeper to escape the heat. Post-solarization soil can actually be more resistant to pathogens than untreated soil, because beneficial organisms repopulate faster than harmful ones. Adding compost after treatment accelerates the recovery.
Solarization for Bermuda Grass
Solarization is the most effective passive method for bermuda grass, but it requires the full treatment: six weeks minimum, during peak summer, with no gaps or lifted edges. Bermuda rhizomes close to the soil surface can be killed by sustained heat. Deeper rhizomes may survive. After solarization, monitor the area closely for four to eight weeks and pull any new bermuda shoots immediately. A second round the following summer is sometimes necessary for severe infestations.
When Should You Use a Sod Cutter?
When you need grass gone fast, a sod cutter does in hours what other methods take months to accomplish. This gas-powered machine slices horizontally beneath the grass, cutting a strip of turf, roots, and a thin layer of topsoil that you roll up and haul away. A typical residential lawn can be stripped in a single day.
The trade-off is significant: you are removing the top layer of your best soil along with the grass. You will need to amend the remaining soil with compost before planting anything new. Rental runs $85 to $150 per day in Southern California. You will need a truck or trailer to transport the machine (over 300 pounds), and a second person to help load and unload.
PRO TIP
Call 811 before you dig. California law requires you to call 811 (DigAlert) at least two business days before any excavation, including sod cutting. The service is free. Utility companies will mark the location of underground gas, electric, water, and communication lines. Skipping this step is not just risky — it carries penalties up to $50,000. Visit digalert.org and schedule your dig at least three days before your rental date to account for weekends and holidays.
Step by Step
- Call 811 and wait for utility marking. Allow at least two full business days. Do not start cutting until all utilities have been marked or you receive an "all clear."
- Water the lawn the day before. Moist soil cuts more cleanly and produces strips that hold together. Dry, hard soil fights the blade.
- Set the cutting depth to 1.5 to 2.5 inches. Start with a test strip and adjust. You want the sod to include roots and a thin layer of soil but not more.
- Cut in straight, parallel passes. Let the machine do the work. Guide it forward at a steady walking pace.
- Roll up the cut strips and load them. A 2-by-4-foot strip of sod weighs 40 to 60 pounds when moist. Bend with your legs, not your back. A 1,000 square foot lawn produces roughly 125 strips.
- Decide what to do with the sod. Stack strips upside down in an out-of-the-way corner of your yard and let them decompose into compost over several months. Alternatively, offer the sod on a neighborhood sharing app.
- Amend the exposed soil. Spread 2 to 3 inches of compost and work it into the top 4 to 6 inches with a garden fork. This step is not optional if you plan to plant.
GOOD TO KNOW
If you are removing sod AND applying for a turf removal rebate, leave the grass in place until IRWD (or your water district) has completed the pre-inspection. You can let the grass brown and stop watering while you wait, but the inspector needs to see and measure the existing turf to calculate your rebate. Remove it after you receive your Notice to Proceed.
Can You Remove Grass by Hand?
Manual removal is the oldest method, the cheapest method, and the most physically demanding method. It works well for small areas: a strip along a fence, a new garden bed, a section of pathway. For areas up to 100 to 200 square feet, it is perfectly practical. Beyond that, your body will have opinions.
Step by Step
- Water the area deeply the day before. Moist soil releases roots much more easily than dry soil. In Southern California's clay-heavy inland soils, this step transforms the job from brutal to merely hard.
- Cut the grass into manageable sections. Use a flat-edged spade to slice a grid of 12-by-12-inch squares, pressing the blade 2 to 3 inches into the soil.
- Slide the spade horizontally under each section. Angle the blade flat, about 1.5 inches below the surface, and lever each square up from underneath. Shake off loose soil before tossing the section into a wheelbarrow.
- Go back for the roots. Use a garden fork to loosen the top 4 to 6 inches of soil and pull out any remaining root fragments. This step is critical for bermuda grass, which will regrow from even small root pieces left in the ground.
- Amend the exposed soil with 2 to 3 inches of compost, worked into the loosened earth with a fork or broadfork.
EXPERT TIP
Pace yourself. A 100 square foot section is a solid morning of work for one person. If you are converting a larger area by hand, break it into weekend-sized chunks and work in 100 to 200 square foot sessions. Your back, your knees, and your enthusiasm will all last longer. Start on a cool morning after a good rain and you will be surprised how satisfying the work can be, one clean square at a time.
What About Herbicides and Chemical Options?
This guide focuses on non-chemical methods because they align with the water-wise, soil-building philosophy of lawn-to-landscape conversion. But herbicides exist, people use them, and in some situations (severe bermuda grass, large-scale commercial projects) they may be the right tool.
- Synthetic herbicides (glyphosate) kill grass by disrupting a metabolic pathway in the plant, translocating from foliage to roots and killing the entire plant over one to two weeks. They leave no residue in soil that prevents future planting. For bermuda grass, expect two to three applications spaced two weeks apart. Apply on calm, windless days, never within 24 hours of expected rain or irrigation.
- Horticultural vinegar (20% acetic acid) burns plant foliage on contact but does not translocate to roots. It kills top growth only, and established grasses with deep root systems will regrow.
PRO TIP
Horticultural vinegar is NOT household vinegar. At 20% acetic acid concentration, it is a caustic chemical that can cause permanent eye damage including blindness, chemical burns to skin, and respiratory irritation. Every registered product carries a federal "DANGER" signal word. If you choose to use it, you must wear chemical-splash goggles or a face shield, chemical-resistant gloves, long sleeves, and long pants.
Methods Not Recommended
- Salt (sodium chloride): Damages soil structure and persists for years. Nothing will grow in heavily salted soil until rain leaches it away, which can take multiple seasons.
- Bleach: Sterilizes soil, killing beneficial organisms along with grass. Toxic to aquatic life.
- Dish soap: Does not kill grass. At best, it strips the waxy coating from grass blades, causing temporary browning that recovers in days. At worst, it introduces surfactants into soil and waterways.
GOOD TO KNOW
If you see a guide recommending salt, bleach, or dish soap for lawn removal, that guide has not been reviewed by anyone with soil science training. These substances cause damage that outlasts the grass problem by years. Stick with the four proven methods above.
What Happens After the Grass Is Gone?
Removing the grass is the dramatic part, but what you do in the weeks afterward determines whether your new landscape thrives or struggles. The ground beneath a removed lawn is almost always compacted, low in organic matter, and in need of help before it can support new plants.
- After sheet mulching: Your soil is already in good shape. Once the cardboard has broken down and the grass is fully dead, you can plant directly through the remaining mulch layer or rake it aside to set plants, then push it back around them.
- After solarization: Spread 2 to 3 inches of compost across the surface and work it into the top few inches. This jump-starts the beneficial organisms that solarization temporarily displaced.
- After sod cutting or manual removal: Loosen the top 4 to 6 inches with a garden fork, add 2 to 3 inches of compost, and consider a soil test ($15 to $30 at your local UC Master Gardener office) to identify specific amendment needs for your area.
Regardless of method, the best time to plant your new landscape in Southern California is October through March. Fall planting takes advantage of cooler temperatures and winter rain, giving roots months to establish before their first summer.
Frequently Asked Questions
How long does it take to remove grass with sheet mulching?
Sheet mulching takes six to ten months to fully kill established grass, according to UC Master Gardeners. The process must include at least three months of growing season for biological decomposition to work. Starting in October or November allows winter rain to keep the materials moist and positions you to plant the following fall.
Can I remove bermuda grass without chemicals?
Yes, but it requires more effort and patience than removing other grass types. Sheet mulching with double-layer cardboard and 12-inch overlaps can suppress bermuda over six to twelve months or longer. Solarization during peak summer is the most effective non-chemical option. For severe infestations, combining sod removal with sheet mulching produces the best results.
What is the easiest way to remove a lawn?
Sheet mulching is the easiest method for most homeowners. After an afternoon of laying cardboard and mulch, the process works on its own for months with minimal attention. You do not need to rent equipment, hire labor, or handle chemicals. The main requirement is patience: six to ten months of it.
How much does it cost to remove grass?
DIY grass removal ranges from free (manual removal) to $150 per day (sod cutter rental). Sheet mulching a typical 500 square foot area costs $50 to $150 in compost and mulch, with free cardboard. Solarization costs $30 to $100 in plastic sheeting. Water district rebates of $2 or more per square foot can offset most or all of the cost.
When is the best time to remove grass in Southern California?
It depends on your method. Sheet mulching works best when started in fall (October through December) so winter rain aids decomposition. Solarization requires peak summer heat (June through September). Sod cutters work year-round. Manual removal is easiest after rain softens the soil (October through March). For all methods, check your water district rebate timeline before you start.
Should I remove dead grass before planting?
After sheet mulching, you can plant directly through the decomposed mulch layer without removing anything. After solarization, rake away dead grass debris and add compost before planting. After sod cutting, the grass is already gone. After herbicide application, you can leave the dead grass in place and plant through it, or rake it away for a cleaner planting surface.
Can I plant right after removing grass?
With sod cutting, yes: amend the exposed soil with compost and plant as soon as the soil is prepared. With solarization, add compost first, then plant. With sheet mulching, wait until the cardboard has broken down and the grass beneath is fully decomposed (approximately six months). Regardless of method, fall (October through February) is the best planting window in Southern California.
What types of grass are hardest to remove?
Bermuda grass is by far the most difficult grass to remove in Southern California. It spreads through both above-ground stolons and below-ground rhizomes, and even small root fragments left in the soil will regrow. St. Augustine grass is also persistent but does not have bermuda's aggressive rhizome system. Cool-season grasses like fescue and ryegrass are the easiest to remove with any method.
The Bottom Line
- Check your water district rebate first. Apply before you touch the grass. IRWD and many Orange County districts offer $2 or more per square foot, and most require pre-approval. That rebate can pay for your entire project.
- Choose your method based on timeline and goals. Sheet mulching for patience and soil building. Solarization for summer speed and weed seed kill. Sod cutter for maximum speed any time of year. Manual removal for small areas only.
- Plan your timing around the seasons. Start sheet mulching in fall. Schedule solarization for summer. Plan to plant your new landscape between October and March.
- Prepare for bermuda grass. If you have it, plan for extra time, extra layers, and ongoing monitoring. Combining sod removal with sheet mulching gives the best results.
The grass will not miss you. And once you see what your yard becomes without it, you will wonder why you waited so long to start building your Yardtopia.
Explore ground cover options, soil preparation guides, and current IRWD rebate programs at yardtopia.com.