
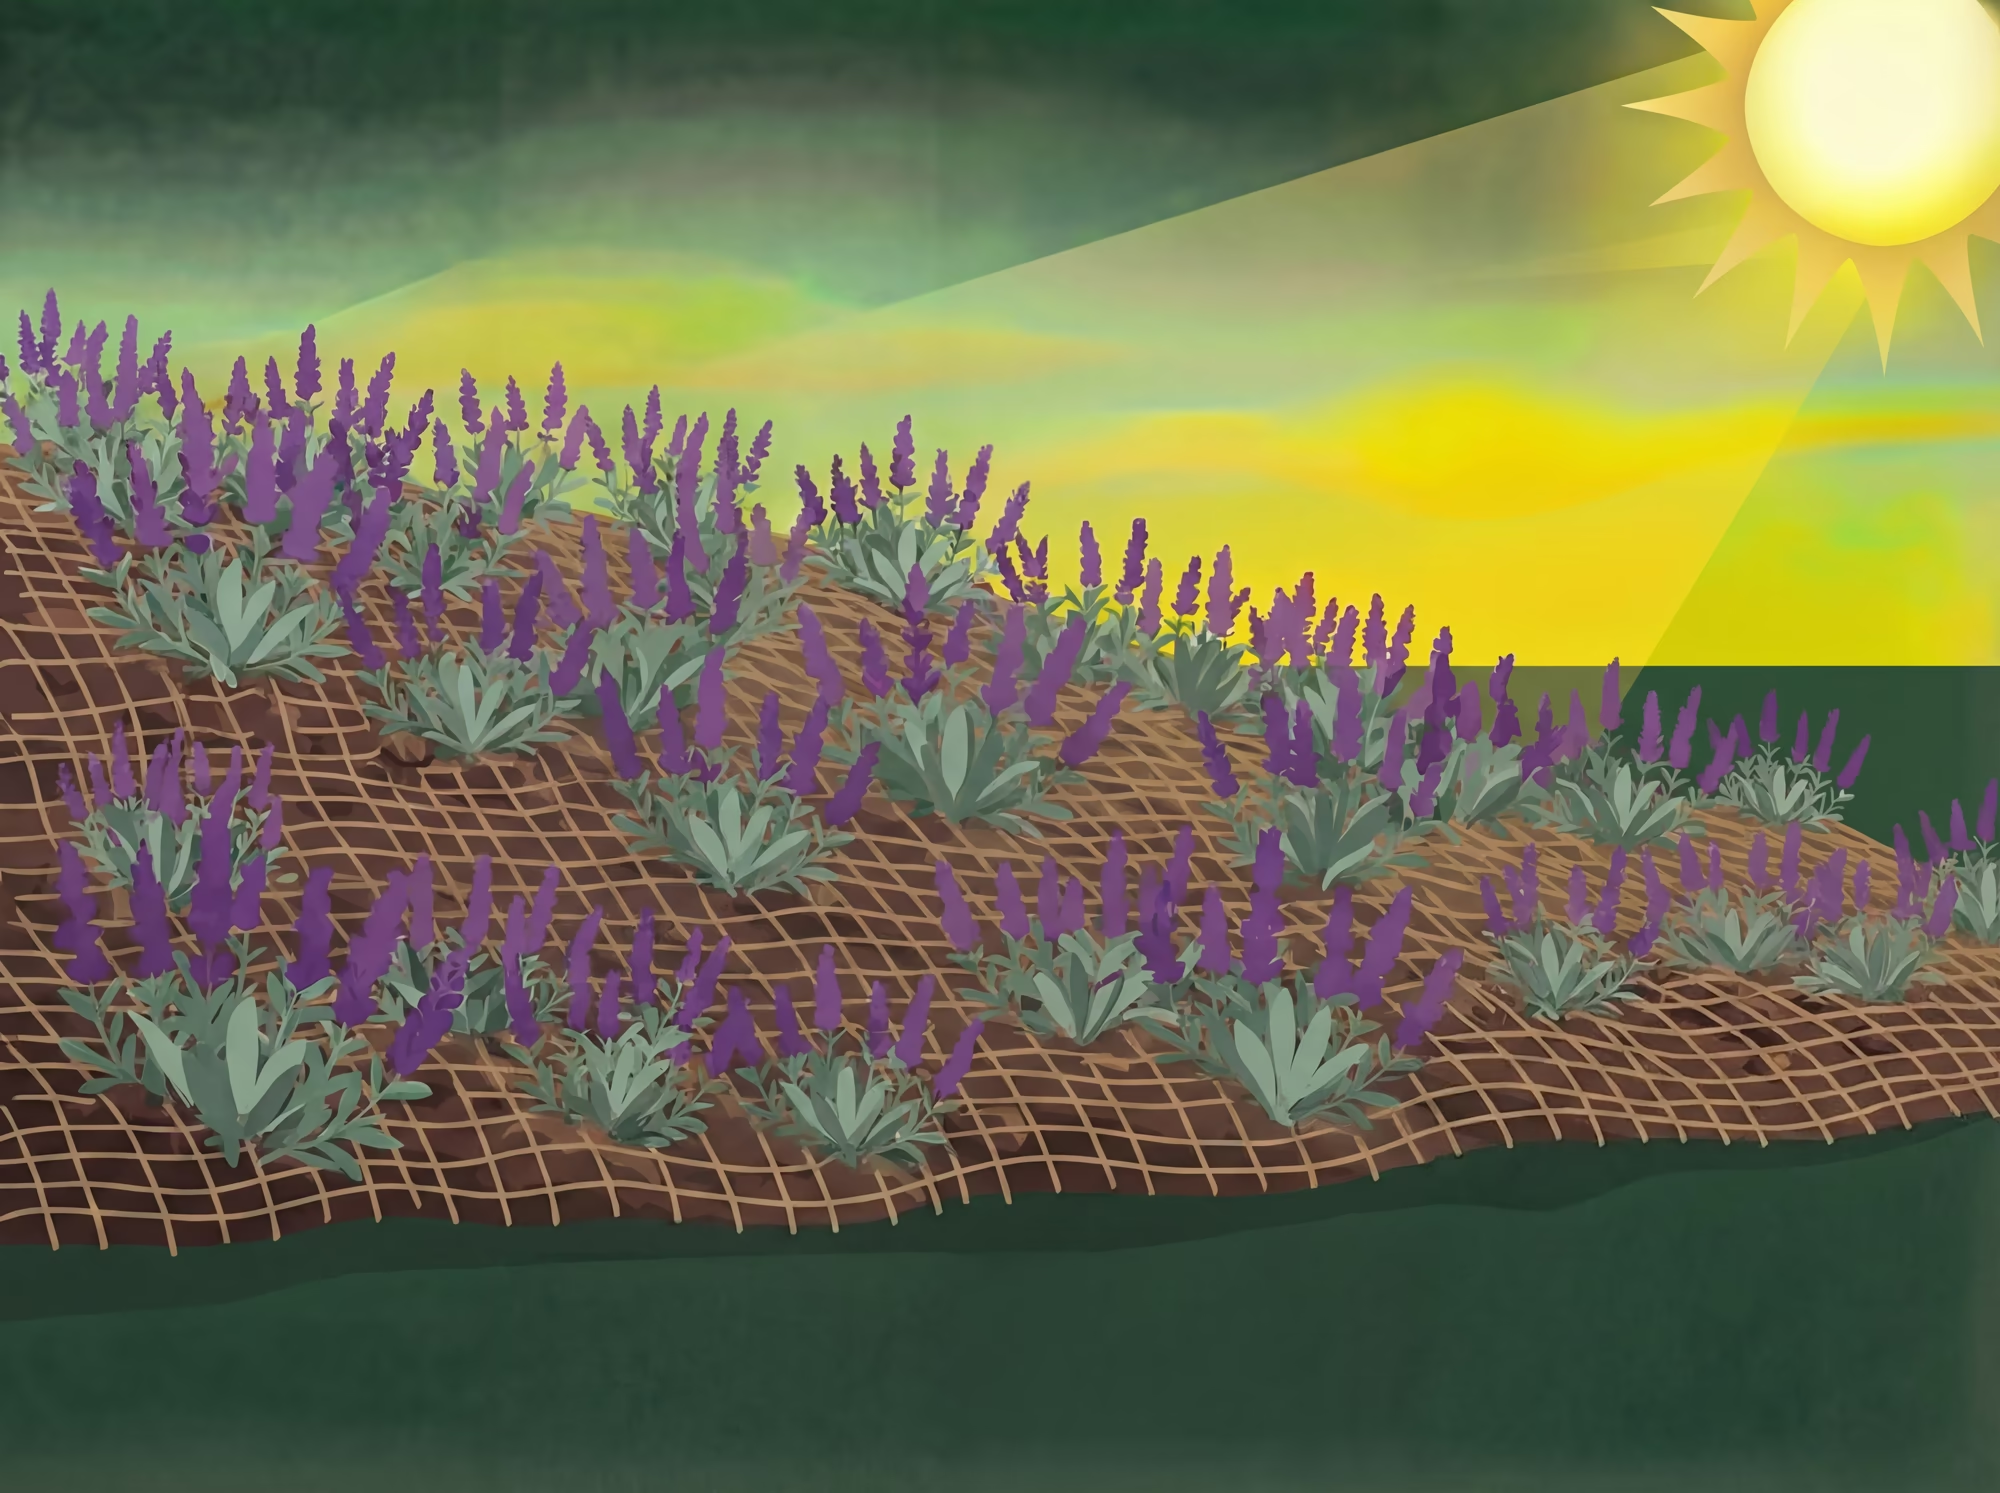
There is a particular kind of dread that comes with standing at the bottom of a sloped yard, looking up at tired grass clinging to the hillside, and wondering how on earth you are going to get rid of it. The sod cutter your neighbor rented for their flat front yard is not going to work here. The sheet mulching method you read about online sounds great until you imagine cardboard and compost sliding downhill in the first rain.
The good news is that slope lawn removal is entirely doable. Homeowners across Orange County do it every year, transforming water-hungry hillside turf into thriving landscapes of native ground cover, deep-rooted shrubs, and drought-adapted plants that hold the soil better than grass ever could.
KEY TAKEAWAYS
- Slopes change everything about grass removal, because exposed hillside soil erodes quickly during rain, sod cutters are dangerous on inclines, and mulch slides downhill without anchoring. The method that works perfectly on a flat yard can cause real damage on a slope.
- Work from the top of the slope down, remove grass in horizontal strips, and install temporary erosion protection before the first rain. Jute netting, erosion control blankets, or straw wattles are not optional on slopes: they are essential.
- The best time to start slope lawn removal in Southern California is April through June, giving you a full dry season to remove grass, stabilize the soil, and get deep-rooted native plants established before winter rain arrives.
Why Is Removing Grass on a Slope Different from a Flat Yard?
Gravity changes every part of the process. On flat ground, you can lay down cardboard, pile on compost, and walk away for six months. On a slope, that same cardboard shifts, the compost washes downhill, and the mulch migrates to the bottom of the hill after the first heavy watering. Flat-yard methods need significant modifications to work on any grade steeper than about ten degrees.
Three specific challenges make slopes different: erosion risk (the moment you remove grass, you remove the root system holding the soil in place), equipment limitations (sod cutters are dangerous on any grade steeper than about 15 degrees), and material migration (mulch, compost, cardboard, and plastic sheeting all move downhill over time and need to be anchored).
PRO TIP
Do not use a powered sod cutter on any slope steeper than 15 degrees (roughly a 4:1 grade). Sod cutters weigh 200 to 300 pounds, have limited traction on inclines, and become extremely difficult to control when the blade catches a root or rock. If your hillside is steep enough that you would hesitate to push a loaded wheelbarrow across it, a sod cutter is not safe. Use manual removal or one of the passive methods described below.
How Do You Know How Steep Your Slope Actually Is?
Before choosing a removal method, you need to know what you are working with. Slope steepness determines which methods are safe, how much erosion protection you need, and whether professional help is warranted.
- The stake-and-level method: Place a tall stake at the top of your slope and a short stake at the bottom. Tie a string between them and use a line level to make the string perfectly horizontal. Measure the vertical rise and horizontal run. Divide rise by run. A result of 0.25 means a 4:1 slope, or roughly 14 degrees.
- The smartphone method: Most smartphones have a built-in inclinometer in their compass or level app. Place your phone flat on the slope surface and read the angle directly.
- The visual estimate: If you can walk up the slope comfortably without using your hands, it is likely under 15 degrees. If you need to lean forward significantly, you are in the 15 to 30 degree range. If you would not walk up it without grabbing something, it is over 30 degrees and likely needs professional assessment.
GOOD TO KNOW
In many Southern California municipalities, slopes near structures, property lines, or drainage channels have setback and grading requirements. Removing vegetation from a slope within a certain distance of a building or retaining wall may require a permit or inspection. Check with your city's planning department before starting work on any slope adjacent to structures or within a few feet of your property line.
Slope Categories and What They Mean for Removal
| Slope Grade | Angle | Description | Removal Approach |
|---|---|---|---|
| Moderate | Under 15 degrees (4:1 or gentler) | Walkable without effort | Most methods work with modifications. Sheet mulching, solarization, and manual removal are all viable. Anchor all materials. |
| Steep | 15 to 30 degrees (4:1 to 2:1) | Noticeable lean when walking | Manual removal in sections is safest. Sheet mulching is possible on the lower end with heavy staking. Solarization requires buried edges. Erosion control is essential. |
| Very steep | Over 30 degrees (steeper than 2:1) | Difficult to walk without bracing | Professional consultation recommended. May require terracing, retaining walls, or engineered erosion control before any removal begins. |
Which Removal Methods Work on Slopes?
Not every method from the parent grass removal guide translates to slopes. Here is how each method performs on different grades, ranked from most to least recommended for hillside work.
Manual Removal in Sections (Best for Steep Slopes)
Manual removal is the safest and most controlled method for steep slopes. You work with a flat spade, a garden fork, and your own two feet, cutting grass in manageable horizontal strips from the top of the slope down. Working top-down matters because you are always standing on intact grass while stripping the section below you, so your weight stays on undisturbed ground.
How to do it:
- Divide the slope into horizontal strips roughly 2 to 3 feet wide.
- Start at the top strip. Cut the grass with a flat spade, angling the blade to sever roots about 1 to 2 inches below the surface.
- Roll or fold the cut sod downhill to the staging area at the bottom. Gravity helps here.
- After clearing each strip, immediately cover the exposed soil with jute netting or an erosion control blanket before moving to the next strip below.
- Continue down the slope, strip by strip.
Limitation: This is hard physical work, especially on large areas. A 500-square-foot slope could take a full weekend. For areas larger than 1,000 square feet on steep grades, consider hiring help or combining manual removal on the steepest sections with sheet mulching on gentler areas.
Sheet Mulching with Staking (Best for Moderate Slopes)
Sheet mulching works on moderate slopes (under 15 degrees) with proper anchoring. The process is the same as on flat ground, but every layer needs to be secured. Slope-specific modifications:
- Stake the cardboard. Use 6- to 8-inch landscape staples every 2 to 3 feet, especially along the uphill edges.
- Overlap seams generously. Use 12-inch overlaps with the uphill piece overlapping the downhill piece (like roof shingles, so water runs over the seam rather than under it).
- Use heavier mulch. Shredded bark or medium-sized wood chips grip better on slopes than fine mulch, which washes downhill easily.
- Apply mulch thicker at the top. Start with 5 to 6 inches at the top and 3 to 4 inches at the bottom to account for gravity redistributing material over time.
- Add straw wattles. Place fiber rolls horizontally across the slope every 6 to 8 feet, secured with stakes.
EXPERT TIP
Think of your cardboard and mulch layers the way you would think about roof shingles. Every piece should overlap so that water flows over the seam and continues downhill without lifting the edge of the material below. Start laying cardboard at the bottom of the slope and work uphill, placing each new piece so its lower edge sits on top of the piece below. The same principle applies to erosion control blankets: always unroll from the top of the slope down.
Solarization with Anchored Edges (Moderate Slopes Only)
Solarization can work on moderate slopes, but the plastic is the most migration-prone material of any method. Slope-specific modifications:
- Bury all edges. Dig a trench 4 to 6 inches deep around the entire perimeter of the plastic. Tuck the edges into the trench and backfill with soil. Rocks and landscape staples alone are not sufficient on slopes.
- Add intermediate anchoring. On slopes wider than 10 feet, place a row of sandbags, heavy rocks, or buried soil pockets across the middle of the plastic to prevent billowing.
- Expect more condensation runoff. Condensation inside the plastic runs downhill and pools at the lower edge. Make sure the bottom trench drains or the pooled water will create a muddy mess at the base.
Limitation: Solarization is not recommended for slopes steeper than about 15 degrees. The plastic is too difficult to keep in place, and the smooth surface becomes a slip hazard.
Herbicide Application (All Slopes, with Caveats)
A non-selective herbicide like glyphosate will kill grass on any slope grade because you are spraying, not placing materials. The grass dies in place, and the root system remains in the soil temporarily, which provides some erosion resistance for the first few weeks. However, herbicide alone does not solve the slope problem. Dead grass roots decompose over one to three months. Use herbicide as a first step combined with manual removal of the dead grass in sections.
GOOD TO KNOW
Some guides suggest spraying herbicide, letting the grass die, and planting directly through the dead mat. On a slope, the dead grass mat becomes a slip hazard when wet, sheds in patches during wind events, and does not provide reliable erosion protection once the roots decompose. If you use herbicide on a slope, plan to remove the dead grass and install proper erosion control within four to six weeks of application.
How Do You Prevent Erosion During the Transition?
This is the most important section in this guide. On a flat yard, bare soil between grass removal and replanting is cosmetically unpleasant but functionally harmless. On a slope, bare soil is an active erosion hazard, and in Southern California's climate, a single winter rain event can cause meaningful damage.
Erosion Control Materials
| Material | Coverage | Cost | Lifespan | Best For |
|---|---|---|---|---|
| Jute netting | Rolls: 4 ft wide x 225 ft | $50 to $80/roll | 6 to 8 months | Moderate slopes, areas being seeded or planted through |
| Erosion control blankets (straw/coconut) | Rolls: 8 ft wide x 112.5 ft | $60 to $120/roll | 12 to 24 months | Steep slopes, areas where establishment takes longer |
| Straw wattles (fiber rolls) | 9 in diameter x 25 ft | $20 to $40 each | 12 to 18 months | Cross-slope water flow control, any grade |
| Straw mulch (hand-applied) | Bale covers 50 to 80 sq ft at 2 in depth | $8 to $15/bale | 3 to 6 months | Gentle slopes, temporary cover |
Installation Best Practices
Jute netting and erosion control blankets:
- Unroll from the top of the slope down.
- Dig a 6-inch trench at the top of the slope. Lay the top edge of the netting or blanket into the trench and backfill with compacted soil. This is called "keying in" and prevents water from flowing under the material.
- Secure to the slope with landscape staples every 12 to 18 inches in a grid pattern.
- Overlap seams by at least 4 inches, with uphill sections on top of downhill sections.
- You can plant directly through jute netting and most erosion control blankets by cutting a small X in the material, digging your planting hole, and installing the plant.
Straw wattles:
- Place horizontally across the slope, perpendicular to the direction of water flow.
- Space every 6 to 8 feet on moderate slopes, every 3 to 4 feet on steep slopes.
- Stake securely with 18- to 24-inch wooden stakes driven through or immediately downhill of each wattle.
- Press the wattle firmly against the soil surface so water cannot flow underneath.
PRO TIP
If you are removing grass from a slope in Southern California, you must have erosion protection in place before the first significant rain, which typically arrives in late October or November. Starting a slope removal project in September or October without a plan to stabilize the soil within two to three weeks is a serious mistake. Bare slope soil that sits through even one moderate rain event can lose inches of topsoil and carve erosion channels that are expensive to repair. If you cannot complete your erosion protection before rain season begins, wait until April to start the project.
What Should You Plant on a Slope After Removing Grass?
The plants you choose for your slope are not just an aesthetic decision. They are your long-term erosion control system. The right plants develop deep, fibrous root networks that hold soil far more effectively than turf grass ever did. Native Southern California plants are particularly well-suited because they evolved on the region's slopes, thrive without supplemental irrigation once established, and many spread laterally to cover large areas.
"We were terrified to take out the grass on our hillside. A year later, the buckwheat and coyote brush have basically knitted together and the whole thing is covered in birds every morning. I don't even think about erosion anymore."
Julie R., Rancho Santa Margarita homeowner
Best Native Plants for Southern California Slopes
| Plant | Spread | Height | Water | Root System | Notes |
|---|---|---|---|---|---|
| California buckwheat (Eriogonum fasciculatum) | 3 to 4 ft | 2 to 3 ft | Very low | Deep taproot and fibrous | Creamy flowers fade to rust. Extremely drought-tolerant. |
| Coyote brush 'Pigeon Point' (Baccharis pilularis) | 6 to 8 ft | 1 to 2 ft | Low | Dense, spreading | Fast-growing. Stays green year-round. One of the best slope stabilizers in SoCal. |
| Purple sage 'Point Sal Spreader' (Salvia leucophylla) | 6 to 8 ft | 2 to 3 ft | Very low | Deep, fibrous | Fragrant gray-green foliage. Excellent on sunny, south-facing slopes. |
| Deer grass (Muhlenbergia rigens) | 3 to 4 ft | 3 to 5 ft | Low | Deep, fibrous clumping | Dramatic texture. Flower stalks catch light beautifully. Holds well on slopes. |
| Manzanita 'John Dourley' (Arctostaphylos) | 4 to 6 ft | 1 to 2 ft | Very low | Deep, woody | Red stems, pink flowers. Slow to establish but very long-lived. |
| California fuchsia (Epilobium canum) | 2 to 3 ft | 1 to 2 ft | Very low | Spreading rhizomes | Brilliant red-orange flowers late summer through fall. Hummingbird magnet. |
Planting Strategy for Slopes
- Spacing and coverage. Plant ground covers 18 to 24 inches on center (closer than the typical 24 to 36 inch spacing for flat areas). This costs more upfront but achieves coverage sooner and reduces the erosion window.
- Staggered rows. Plant in a staggered, zigzag pattern rather than straight rows running up and down the slope. Staggered plantings interrupt the flow of water down the slope better than plants in columns.
- Planting pockets. On steep slopes, create a small flat shelf for each plant by cutting into the slope to form a level pocket. Apply 2 to 3 inches of mulch in a circle around each plant, keeping mulch a few inches away from the stem.
GOOD TO KNOW
Iceplant (various Carpobrotus and Delosperma species) was once the default slope plant in Southern California. It grows fast and looks green. However, research has shown that iceplant actually increases erosion risk over time. Its shallow root system sits on top of the soil rather than penetrating it, creating a heavy mat that can slide off the slope during heavy rain, taking the topsoil with it. The California Native Plant Society and UC Master Gardeners both recommend native alternatives with deeper root systems for slope stabilization.
What Is the Best Timeline for a Slope Lawn Removal Project?
Timing a slope project in Southern California requires working around rain season. This is not optional. The timeline below gives you the safest, most practical sequence for a complete slope transformation.
EXPERT TIP
For large slopes (over 500 square feet), consider removing grass in phases over two years rather than all at once. Tackle the top third of the slope the first year, then the middle, then the bottom. This limits the amount of exposed soil at any one time, reduces your erosion risk, and spreads the cost and labor. By year two, the top section already has established plants holding the soil while you work on the lower sections. This is how your Yardtopia takes shape, one level at a time.
Recommended Timeline: Spring Start
| Month | Action | Notes |
|---|---|---|
| April | Assess slope, measure grade, plan removal method | Take photos. Check rebate eligibility. |
| April through May | Apply for IRWD turf removal rebate | Apply BEFORE removing any grass. Most programs require pre-approval and inspection of existing turf. |
| May through June | Begin grass removal (top-down, in sections) | If using solarization, lay plastic in June for peak heat. If using manual removal or sheet mulching, start after rebate pre-inspection is complete. |
| June through August | Complete removal, install erosion control | All bare soil should be covered with jute netting, erosion blankets, or straw wattles by end of August. |
| September through October | Plant native ground covers and shrubs | Fall planting gives roots the entire winter rainy season to establish before summer heat. The ideal planting window for California natives. |
| November through March | Monitor, water sparingly, watch for erosion | New plants need supplemental water every one to two weeks until winter rain arrives. Check slope after each storm for erosion channels or plant displacement. |
| Following spring | Evaluate coverage, fill gaps | Fill bare spots before the following dry season. |
How Much Does Slope Lawn Removal Cost?
Slope removal costs more than flat-yard removal because of the additional erosion control materials, the slower pace of work, and the limitations on equipment.
QUICK STAT
$1,000 to $3,000 — The potential rebate offset available from IRWD and other Southern California water districts for a qualifying 500 square foot turf removal project. In many cases, the rebate covers most or all of the total project cost.
Cost Comparison: Flat vs. Slope
| Item | Flat Yard Cost | Slope Cost | Why More? |
|---|---|---|---|
| Grass removal (manual) | $0.50 to $1.00/sq ft | $0.75 to $1.50/sq ft | Slower work, sections, top-down process |
| Grass removal (professional) | $1.00 to $2.00/sq ft | $1.50 to $3.00/sq ft | Equipment limitations, safety considerations |
| Erosion control materials | Not needed | $0.10 to $0.30/sq ft | Jute netting, erosion blankets, straw wattles |
| Plants (native ground covers) | $3 to $8/plant | $3 to $8/plant (more plants needed) | Tighter spacing for faster coverage |
| Mulch | $0.05 to $0.10/sq ft | $0.08 to $0.15/sq ft | Heavier grade, thicker application |
Sample Budget: 500 Square Foot Slope
| Phase | DIY Cost | Professional Cost |
|---|---|---|
| Grass removal | $100 to $200 | $750 to $1,500 |
| Erosion control materials | $50 to $150 | $100 to $200 (materials and install) |
| Plants (25 to 30 native ground covers) | $200 to $400 | $400 to $600 (materials and install) |
| Mulch and amendments | $50 to $100 | $100 to $200 |
| Total | $400 to $850 | $1,350 to $2,500 |
Whichever route you take, the erosion-control line item is the one never to cut.
GOOD TO KNOW
The $50 to $150 you spend on jute netting or erosion blankets is far less than the cost of repairing erosion damage after a storm. Replacing lost topsoil, regrading a slope, and fixing damaged hardscape or drainage at the base of a hill can easily run $2,000 to $5,000 or more. Erosion control materials also speed plant establishment by holding moisture, moderating soil temperature, and preventing seed washout.
Frequently Asked Questions
Can I use a sod cutter on a slope?
A powered sod cutter is not safe on slopes steeper than about 15 degrees (a 4:1 grade). These machines weigh 200 to 300 pounds, have limited traction on inclines, and can tip over on traverses. On gentle slopes under 10 degrees, a sod cutter may be usable with extreme caution, but manual removal or sheet mulching is still a safer choice.
How long does it take for native plants to cover a slope?
Most native ground covers reach roughly 50 to 70 percent coverage within the first full growing season (about 8 to 12 months after fall planting). Full coverage typically takes 18 to 24 months depending on species, spacing, and growing conditions. Coyote brush and purple sage are among the fastest spreaders, reaching 6 to 8 feet of spread within two years. Denser planting (18 inches on center instead of 36 inches) cuts the time to full coverage significantly.
What if it rains before I finish removing grass from my slope?
Stop removal work and focus entirely on erosion protection. Cover any bare soil with straw mulch, tarps weighted with rocks, or emergency erosion blankets. Place straw wattles across the slope to slow water flow. Resume removal work after the soil dries. If rain is forecast within the next week and you have large areas of exposed soil, consider hiring a landscaping crew to help install erosion control quickly.
Do I need a permit to remove grass from a slope?
In most cases, removing turf grass from a residential slope does not require a permit. However, slopes that are part of your property's original grading plan, slopes adjacent to retaining walls, or slopes near property lines may have specific requirements. If your slope is steeper than 2:1 (about 30 degrees) or within a few feet of a structure, check with your city's building or planning department before starting work.
Can I sheet mulch a steep slope?
Sheet mulching is effective on moderate slopes (under 15 degrees) with proper anchoring: landscape staples every 2 to 3 feet, 12-inch overlaps with shingle-style layering, and heavier mulch materials. On steep slopes (15 to 30 degrees), sheet mulching becomes difficult to keep in place and is not recommended as the primary method.
Should I remove grass from my slope all at once or in phases?
For slopes larger than about 500 square feet, phased removal over two growing seasons is safer and more practical. Remove the top third first, stabilize and plant it, then work downward in subsequent phases. This limits the amount of bare soil exposed at any one time and reduces erosion risk.
Is it better to kill the grass first or remove it while it is alive?
On slopes, there is an advantage to killing the grass first with herbicide or solarization and then removing the dead material. Live grass roots hold soil during the killing period, giving you more time to prepare erosion control materials and stage your project. Do not wait too long between killing and removal: dead grass roots decompose over one to three months, gradually losing their grip on the soil.
Your Action Steps
- Measure your slope using the stake-and-level method, a smartphone inclinometer, or the simple walking test. Know your grade before choosing a method.
- Plan your timeline around rain season. Start removal in April through June, complete erosion control by August, and plant natives in September or October for the ideal establishment window.
- Install erosion protection before the first rain. Jute netting, erosion control blankets, or straw wattles are essential on any slope. Do not skip this step.
- Plant native ground covers with deep root systems. California buckwheat, coyote brush, purple sage, and deer grass are proven performers on Southern California slopes. Space tighter than you would on flat ground (18 to 24 inches on center) for faster coverage.
Your hillside does not have to be a maintenance burden or an erosion worry. It can be the most dynamic, most visually striking part of your Yardtopia: a living slope that changes with the seasons and improves the soil it grows in. Browse more slope-appropriate plants and project inspiration at yardtopia.com.