This is the moment everything has been building toward. The vision is clear. The design is set. Your HOA has given the green light. And somewhere in the near future, a team of professionals is going to show up with plants and pavers and tools, and your outdoor space is going to transform in front of your eyes.
KEY TAKEAWAYS
- A great landscape contractor is not the cheapest or the fastest. They are the one who listens carefully, communicates clearly, has verifiable experience in Southern California conditions, and is properly licensed and insured.
- The finishing touches, lighting, mulch, edging, and seasonal color, have outsized impact relative to their cost. They are what separate a yard that looks finished from one that looks like it just got installed.
- Your landscape does not end at project completion. A brief post-installation maintenance plan in the first year protects everything your contractor built and ensures your plants establish the way they were designed to.
How Do You Find the Right Landscape Contractor?
The landscape contracting industry has a wide range of quality, and the stakes of choosing wrong are real. Here is how to find the right one.
- Start with referrals, not search results. Walk around and look at yards that inspire you. When you find one, knock on the door and ask who did the work. This approach gives you a real-world reference before you make a single phone call.
- Verify the license. In California, landscape contractors must hold a valid C-27 contractor's license. Verify at cslb.ca.gov before any other conversation.
- Confirm insurance. Ask for a certificate of general liability insurance and worker's compensation coverage. A contractor without proper insurance creates liability exposure.
- Look for QWEL certification. A Qualified Water Efficient Landscaper certification indicates the contractor has been trained specifically in water-efficient landscape practices and is familiar with rebate programs.
- Request three bids. The goal is not to find the lowest price: it is to understand the market rate and compare how each contractor communicates. The middle bid from the most communicative contractor is usually the best choice.
GOOD TO KNOW
The California Landscape Contractors Association (CLCA) maintains a directory of licensed members at clca.org. IRWD's website and yardtopia.com also connect homeowners with contractors familiar with rebate programs and water-wise installation practices.
What Questions Should You Ask Before Signing a Contract?
- Who will actually be doing the work? Know whether the person you are talking to will be on-site during installation, and who leads the crew day-to-day.
- How do you handle unexpected conditions? A good contractor has a clear process for communicating discoveries and adjusting without creating unpleasant surprises in the final invoice.
- What is included in the warranty? Most reputable landscape contractors offer a 90-day to one-year warranty on plants and installation workmanship.
- Will you handle the IRWD rebate application process? Many experienced Orange County contractors are familiar with turf replacement rebate programs and can manage the application on your behalf.
- What does the payment schedule look like? A standard schedule is roughly one-third upfront, one-third at the midpoint, and one-third upon completion. Be cautious of any contractor who requests more than 40 percent upfront.
PRO TIP
Before signing any contract, confirm it includes: a detailed scope of work with specific plant species and quantities, material specifications, the payment schedule, a project timeline with start and completion dates, warranty terms, and a process for change orders. A contractor who resists putting specifics in writing is a contractor who gives themselves room to cut corners later.
What Should You Expect During Installation?
- Week one: site preparation. The crew removes existing lawn or planting, grades the site, and addresses any drainage issues. If your project includes hardscape, excavation and sub-base preparation happen now. This phase tends to look messy: bare soil, piles of material, equipment on the driveway. This is normal.
- Week two: hardscape installation. Pavers, flagstone, concrete, edging, and retaining walls are installed and set. At the end of this phase, the permanent bones of your landscape are in place.
- Week three: irrigation and planting. Drip irrigation lines are laid and programmed. Then plants go in, working from largest to smallest. Mulch goes on last.
- Final walkthrough. Walk the entire project with the contractor. Run the irrigation system through every zone. Check that all plants are at the correct depth. Confirm the grading drains away from the house.
EXPERT TIP
Take photos of your irrigation layout before the mulch goes on. A simple photo of each planting bed showing the drip line routing and emitter locations is invaluable when you need to add a plant later, troubleshoot an irrigation issue, or show a future contractor what is underground. Most homeowners never think to do this and wish they had. Five minutes with your phone saves hours of confusion later.
What Are the Finishing Touches That Make the Biggest Difference?
Outdoor Lighting
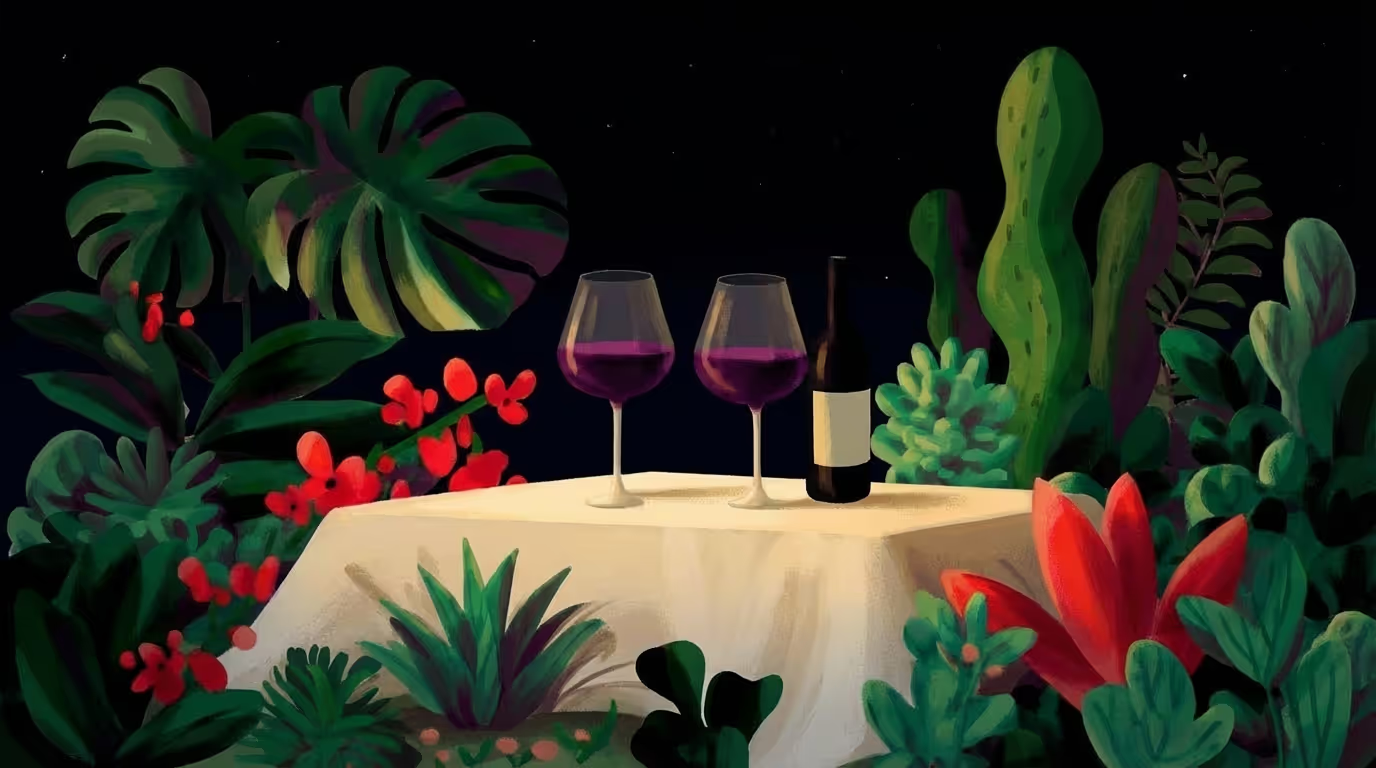
Nothing transforms an outdoor space after dark like well-placed lighting.
"In Southern California's year-round outdoor climate, evening hours are often the best outdoor hours of the day."
- String lights are the single highest-impact lighting addition for most residential yards. Strung overhead between two posts, along a pergola, or woven through branches, they create immediate warmth and ambiance.
- Uplighting placed at the base of a specimen plant or architectural feature creates drama and depth. One or two well-placed uplights on a beautiful agave or citrus tree make the yard look like it was designed by someone who knew exactly what they were doing.
- Path lighting along walkways and planting bed borders marks the edges of pathways, creates a sense of safe movement through the yard at night, and adds a warm glow.
- Lanterns and candlelight at the dining table and seating areas add the intimate, flickering quality that no fixture can fully replicate.
For more information and recommendations, our guide to outdoor string lights and creating the perfect patio ambiance provides a deep dive into the various options for lighting and ambiance to add to your Yardtopia.
QUICK STAT
3 to 5 string light strands — The typical quantity needed to create full overhead coverage for a standard 12-by-16-foot patio. At $20 to $40 per strand for quality LED options, full patio lighting is a $60 to $200 investment with an impact that most homeowners describe as transformative.
Mulch
Fresh mulch applied after installation is not just a visual finishing touch. It is the single most impactful maintenance investment you can make in the first year of a new landscape. A two to four inch layer of wood chip mulch across all planting beds conserves moisture (reducing watering frequency by 25 to 50 percent during the critical establishment period), regulates soil temperature, suppresses weeds, and makes the entire planting look polished and intentional. Refer to our guide on how to mulch your garden for more information on adding mulch to your Yardtopia.
Edging and Borders
Clean edges between planting beds and hardscape surfaces are the detail that makes a landscape look professionally finished. The contrast between a crisp bed edge and a clean paver surface reads as intentional design from across the yard. Steel edging is the most durable and visually clean option. Concrete mow strips serve the same purpose and are standard in many Orange County landscapes.
Seasonal Color
Your permanent landscape framework provides year-round structure. Seasonal color is the layer that keeps things fresh and personal. The most efficient approach is to designate two or three visible spots (entry containers, a focal planter on the patio, the border of the primary seating area) as your "color stations" and refresh them two to three times per year.
GOOD TO KNOW
For HOA communities, seasonal color in containers is almost always permitted without any approval process. Containers are considered furnishings rather than landscaping. This makes container plantings the fastest and most flexible way to add personality and respond to the seasons in communities with strict landscape guidelines.
Your DIY Moment: Outdoor Lighting in an Afternoon
This is the finishing touch with the highest ratio of impact to effort in any outdoor space.
What you need: Two to three strands of quality outdoor LED string lights ($20 to $40 each), two shepherd's hooks or wooden posts if you do not have existing attachment points, one or two solar uplights for a specimen plant, and a power source or solar option.
- Identify your anchor points: a pergola, a fence, a tree, a patio cover, or two posts you install yourself.
- String the lights in a gentle drape (not pulled tight) at a height of eight to ten feet overhead.
- Place one uplight at the base of your most interesting plant and angle it upward.
- Turn everything on at dusk and adjust as needed.
Budget: $80 to $200. Time: two to three hours. Impact: the first evening you sit under those lights, you will understand exactly why this was the right place to start.
What Does Your Landscape Need in the First Year?
The first year is the establishment period, and what you do during this window determines how your landscape performs for the next decade.
- Water consistently but not excessively. Follow the irrigation schedule your contractor sets for the first two to three months, then begin the transition to a reduced schedule. Overwatering is as common as underwatering in the first year and is particularly damaging to drought-tolerant species.
- Refresh mulch after the first three months. New mulch settles and breaks down during the first season. A top-up application maintains the moisture conservation and weed suppression benefits.
- Submit HOA completion documentation (if required by your approval process) once plants have been in the ground for four to six weeks.
- Apply for IRWD rebate completion documentation within the program's timeframe after installation. Your contractor can often assist with this process.
GOOD TO KNOW
IRWD offers a free follow-up irrigation evaluation for homeowners who have completed a turf conversion project. A Water Efficiency Specialist will visit your yard, review your irrigation schedule, and recommend any adjustments to optimize water use for your new plant palette. This service is available at no cost to IRWD customers.
Frequently Asked Questions
How do I verify a landscape contractor's license in California?
Visit cslb.ca.gov and search by contractor name or license number. A valid C-27 landscape contractor's license will show as active. The search also shows any disciplinary actions or complaints filed against the contractor.
Should I be present during installation?
You do not need to be present every day, but being available for a check-in at the start of each major phase (grading complete, hardscape complete, planting complete) lets you confirm the work matches your expectations before it moves on. Most reputable contractors will initiate these check-ins themselves.
What do I do if I am not happy with something during installation?
Speak up immediately. Changes are far easier and less expensive to make during installation than after completion. A good contractor expects and welcomes real-time feedback. If your concern is not addressed, document it in writing so there is a clear record.
What happens if plants die after installation?
Most landscape contractors warranty plants for 90 days to one year under normal conditions. If a plant dies within the warranty period and you have followed the care instructions provided, contact your contractor for a replacement. Document your irrigation records and any issues you noticed: this supports the warranty claim.
How do I maintain my new landscape after the contractor leaves?
Your contractor should provide a basic maintenance schedule covering irrigation adjustments, pruning timing, and fertilizing recommendations for your specific plant palette. The Plants 101 plant care guide covers long-term care in detail for Southern California landscapes.
Your Yardtopia Is Here
Your Yardtopia has come together. It is out there in the sunlight, taking shape with every passing week as plants establish, mulch settles, and the space begins to feel like the outdoor room it was always meant to be. The string lights will go up. The fire will go on for the first time. Friends will gather around the table and linger past the time they planned to leave.
This is what the planning, the design, the contractor conversations, and the finishing touches were all for. Not a yard. A place. Yours. Find yourself outside.
Explore seasonal care guides, plant resources, and IRWD rebate information at yardtopia.com.