The yards that feel the most alive, the most personal, the most like what you envision as your dream Yardtopia, rarely happened all at once. They happened in layers. A fire pit one Saturday. A gravel path the next. Native plants where the lawn used to be. Each project is small enough to finish before Sunday evening, each one changing how the space feels.
KEY TAKEAWAYS
- The best backyard ideas do not require a contractor, a massive budget, or a month of weekends -- most transformations in this guide can be started and finished in a single Saturday.
- Southern California's year-round outdoor season means every improvement pays dividends 300 or more days a year, making your backyard an additional living space your family uses daily.
- Water-wise design is not a compromise -- native plants, gravel patios, and drought-tolerant landscaping look best in our Mediterranean climate while cutting your water bill and potentially qualifying for IRWD rebates.
The Best Backyard Ideas Start with a Single Weekend
This guide covers backyard ideas across every category: landscaping, patios, gathering spaces, budget projects, and water-wise design. Every idea is chosen for the same reason: it can be started this weekend, it works in Southern California's climate, and it makes your outdoor space feel more like a room you actually live in. Whether you have a sprawling lot or a compact courtyard, whether your budget is $100 or $1,000, there is a project here that will change how you feel about your backyard by Monday morning. Before you begin, confirm any HOA regulations.
What Are the Best Backyard Landscaping Ideas for Southern California?
Landscaping is where the biggest visual transformations happen, and in Southern California, the smartest landscaping ideas are also the most water-efficient. The yards that look best here, the ones with texture, color, and year-round interest, are the ones designed for our actual climate rather than fighting against it and keep your Yardtopia looking beautiful and functional all year long.
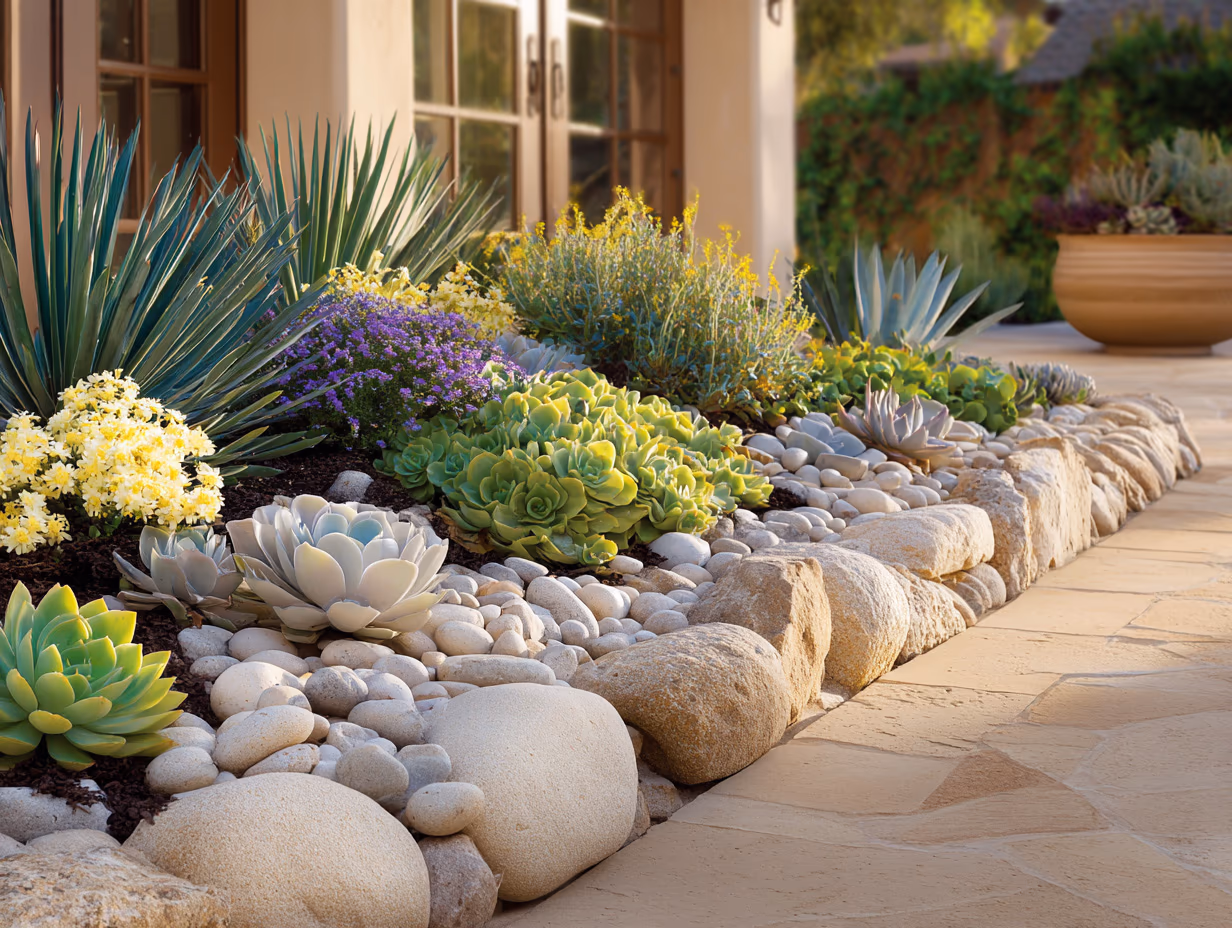
Native Plant Gardens That Practically Water Themselves
California native plants evolved for our exact conditions: long dry summers, mild wet winters, and alkaline soil. Once established (typically one to two seasons of regular watering), most natives thrive on rainfall alone. That is not an exaggeration. A well-planned native garden can reduce outdoor water use by 60 to 80 percent compared to a traditional lawn.
The visual payoff is just as compelling. California buckwheat produces clouds of cream-colored blooms that age to rust. Cleveland sage sends up spikes of violet-blue that hummingbirds cannot resist. Deer grass creates a graceful, flowing texture that catches afternoon light. Planted in groupings of three to five, with decomposed granite or gravel mulch between them, native plants create a landscape that looks intentional, modern, and distinctly Southern Californian.
Weekend project scope: A 100 to 200 square foot native planting bed takes one weekend from start to finish. Remove existing plants or turf (or cover with cardboard and mulch for a no-dig approach), amend the soil lightly, plant in groupings, and mulch. Total materials cost for a mid-sized bed runs $150 to $400 depending on plant sizes.
Gravel and Decomposed Granite Pathing
Few backyard projects deliver as much visual impact per dollar as a gravel pathway or gathering area. Decomposed granite (DG) in warm gold or natural tan tones creates a surface that looks like it belongs in Southern California. It drains beautifully, stays cool under foot compared to concrete, and costs a fraction of paver installation.
A simple gravel path connecting your back door to a seating area or garden bed gives your backyard a sense of structure and purpose. It tells your eye where to go. It creates a feeling of intentional design that a flat expanse of lawn or bare dirt never delivers.
EXPERT TIP: David Gomez, Water Efficiency Specialist, IRWD
Pathways are essential to ensuring accessibility, creating a sense of flow, defining important activity centers and adding visual interest through their shape and materials. Choose materials based on the desired aesthetic, traffic level, and maintenance needs. My favorites are natural stone, decomposed granite, permeable pavers and repurposed concrete. They're durable and last a long time.
Weekend project scope: Lay landscape fabric, set optional steel or stone edging, pour and compact three to four inches of DG or pea gravel. A 30 to 50 foot path typically costs $100 to $300 in materials and takes four to six hours.
Boulder and Dry Creek Features
Large boulders and dry creek beds are the backbone of naturalistic Southern California landscaping. A single well-placed boulder next to a pathway creates a focal point that anchors the entire space. A dry creek bed, a shallow channel lined with river rock that carries water during rain and looks beautiful dry, solves drainage issues while adding visual interest.
Dry creek beds are particularly smart for yards that experience runoff during winter rains. Rather than fighting the water, you work with it, directing it through a beautiful feature that looks just as beautiful during the many dry days between storms.
Weekend project scope: A dry creek bed (10 to 20 feet long) requires digging a shallow channel, lining with landscape fabric, and filling with river rock. Budget $200 to $600 depending on rock type and length. Boulders require delivery but placement is a one-day project.
GOOD TO KNOW
Regional water agencies estimate that replacing traditional lawn with native landscaping can save around 44 gallons of water per square foot per year. For a 500 square foot lawn conversion, that adds up to thousands of gallons annually. And many water districts, including IRWD, offer turf removal rebates to help cover the cost -- check current program details at your local water district.
Which Backyard Patio Ideas Create an Outdoor Living Room?
A small patio can be just enough space where you can create a space to use year-round. The good news: several patio approaches are genuinely weekend-scale projects.
Paver Patios: Modular and Forgiving
Interlocking concrete pavers have become the go-to patio material for DIY homeowners, and for good reason. They do not require mixing concrete, they forgive minor imperfections in your base preparation, and they can be rearranged or repaired individual piece by individual piece. A 10 by 12 foot paver patio transforms a bare patch of dirt into a defined outdoor dining room or lounge area.
The key to a long-lasting paver patio is base preparation. The general process involves excavating to the proper depth, laying and compacting a gravel base, adding a layer of leveling sand, setting your pavers, and sweeping polymeric sand into the joints. Follow the manufacturer's specifications for your chosen paver system, as base depth requirements vary by product and soil conditions. With a rented plate compactor and a helper, most homeowners complete a 120 square foot patio in a full weekend.
Cost: Pavers range from $2 to $8 per square foot for materials. A 120 square foot patio runs $400 to $1,200 in materials plus $50 to $75 for compactor rental.
Concrete Patio Makeovers
If you already have a concrete patio that looks tired, staining or resurfacing is one of the highest-return weekend projects available. Concrete stain transforms flat gray into warm terra cotta, slate gray, or natural stone tones. A weekend of cleaning, etching, and applying stain can make a 20-year-old patio look like a custom installation.
For more dramatic results, concrete overlay products (thin cementitious coatings applied over existing concrete) create the look of stamped stone or tile at a fraction of the cost of demolishing and replacing. These typically require two days: one for surface prep and base coat, one for the decorative layer.
Cost: Concrete stain and supplies typically run $100 to $250 for a typical patio. Overlay systems cost $300 to $800 in materials for a 150 to 200 square foot area.
Permeable Options That Work with Our Climate
Permeable paving, materials that allow rainwater to filter through rather than running off, is increasingly popular in Southern California and may qualify for stormwater management incentives. Permeable pavers, gravel-set flagstone, and spaced concrete steppers with ground cover planted between them all create beautiful patios that handle winter rains intelligently.
The permeable approach also creates some of the most visually interesting patios: think flagstone set in decomposed granite, concrete pavers with creeping thyme filling the gaps, or large-format steppers surrounded by crushed stone. These designs feel organic and connected to the landscape in a way that a solid concrete slab never achieves.
PRO TIP
Before starting any patio project, spend one evening sitting in the spot where you plan to build. Bring a chair and a drink, and stay for an hour past sunset. You will learn things about sun angles, wind patterns, privacy sight lines, and noise that no measuring tape can tell you. This ten-dollar investment of time routinely prevents thousand-dollar mistakes in placement.
What Are the Smartest Small Backyard Ideas That Make a Space Feel Bigger?
A compact backyard is not a limitation. It is a design opportunity. Small spaces force intentional choices, and intentional choices create the most memorable outdoor rooms. Some of the most stunning backyards in Southern California are under 500 square feet. Always check HOA requirements before building.
Vertical Gardens and Living Walls
When you cannot expand outward, go up. A vertical garden on a fence, wall, or freestanding frame adds greenery, color, and even food production without using a single square foot of ground space. Pocket planters, wall-mounted felt systems, and repurposed pallet gardens all work in our climate.
For the simplest version, mount a row of 8 to 10 inch terra cotta pots on a fence using plant hangers. Fill with trailing succulents, herbs, or cascading flowers. The entire project takes two hours and transforms a blank fence into a living feature.
For a more ambitious weekend project, build a freestanding trellis (cedar or redwood, 4 by 8 feet) and plant climbing vines at the base: jasmine for fragrance, bougainvillea for color, or an edible passion fruit vine (Passiflora edulis) for homegrown fruit. Within two growing seasons, you have a living wall that provides privacy, shade, and beauty.
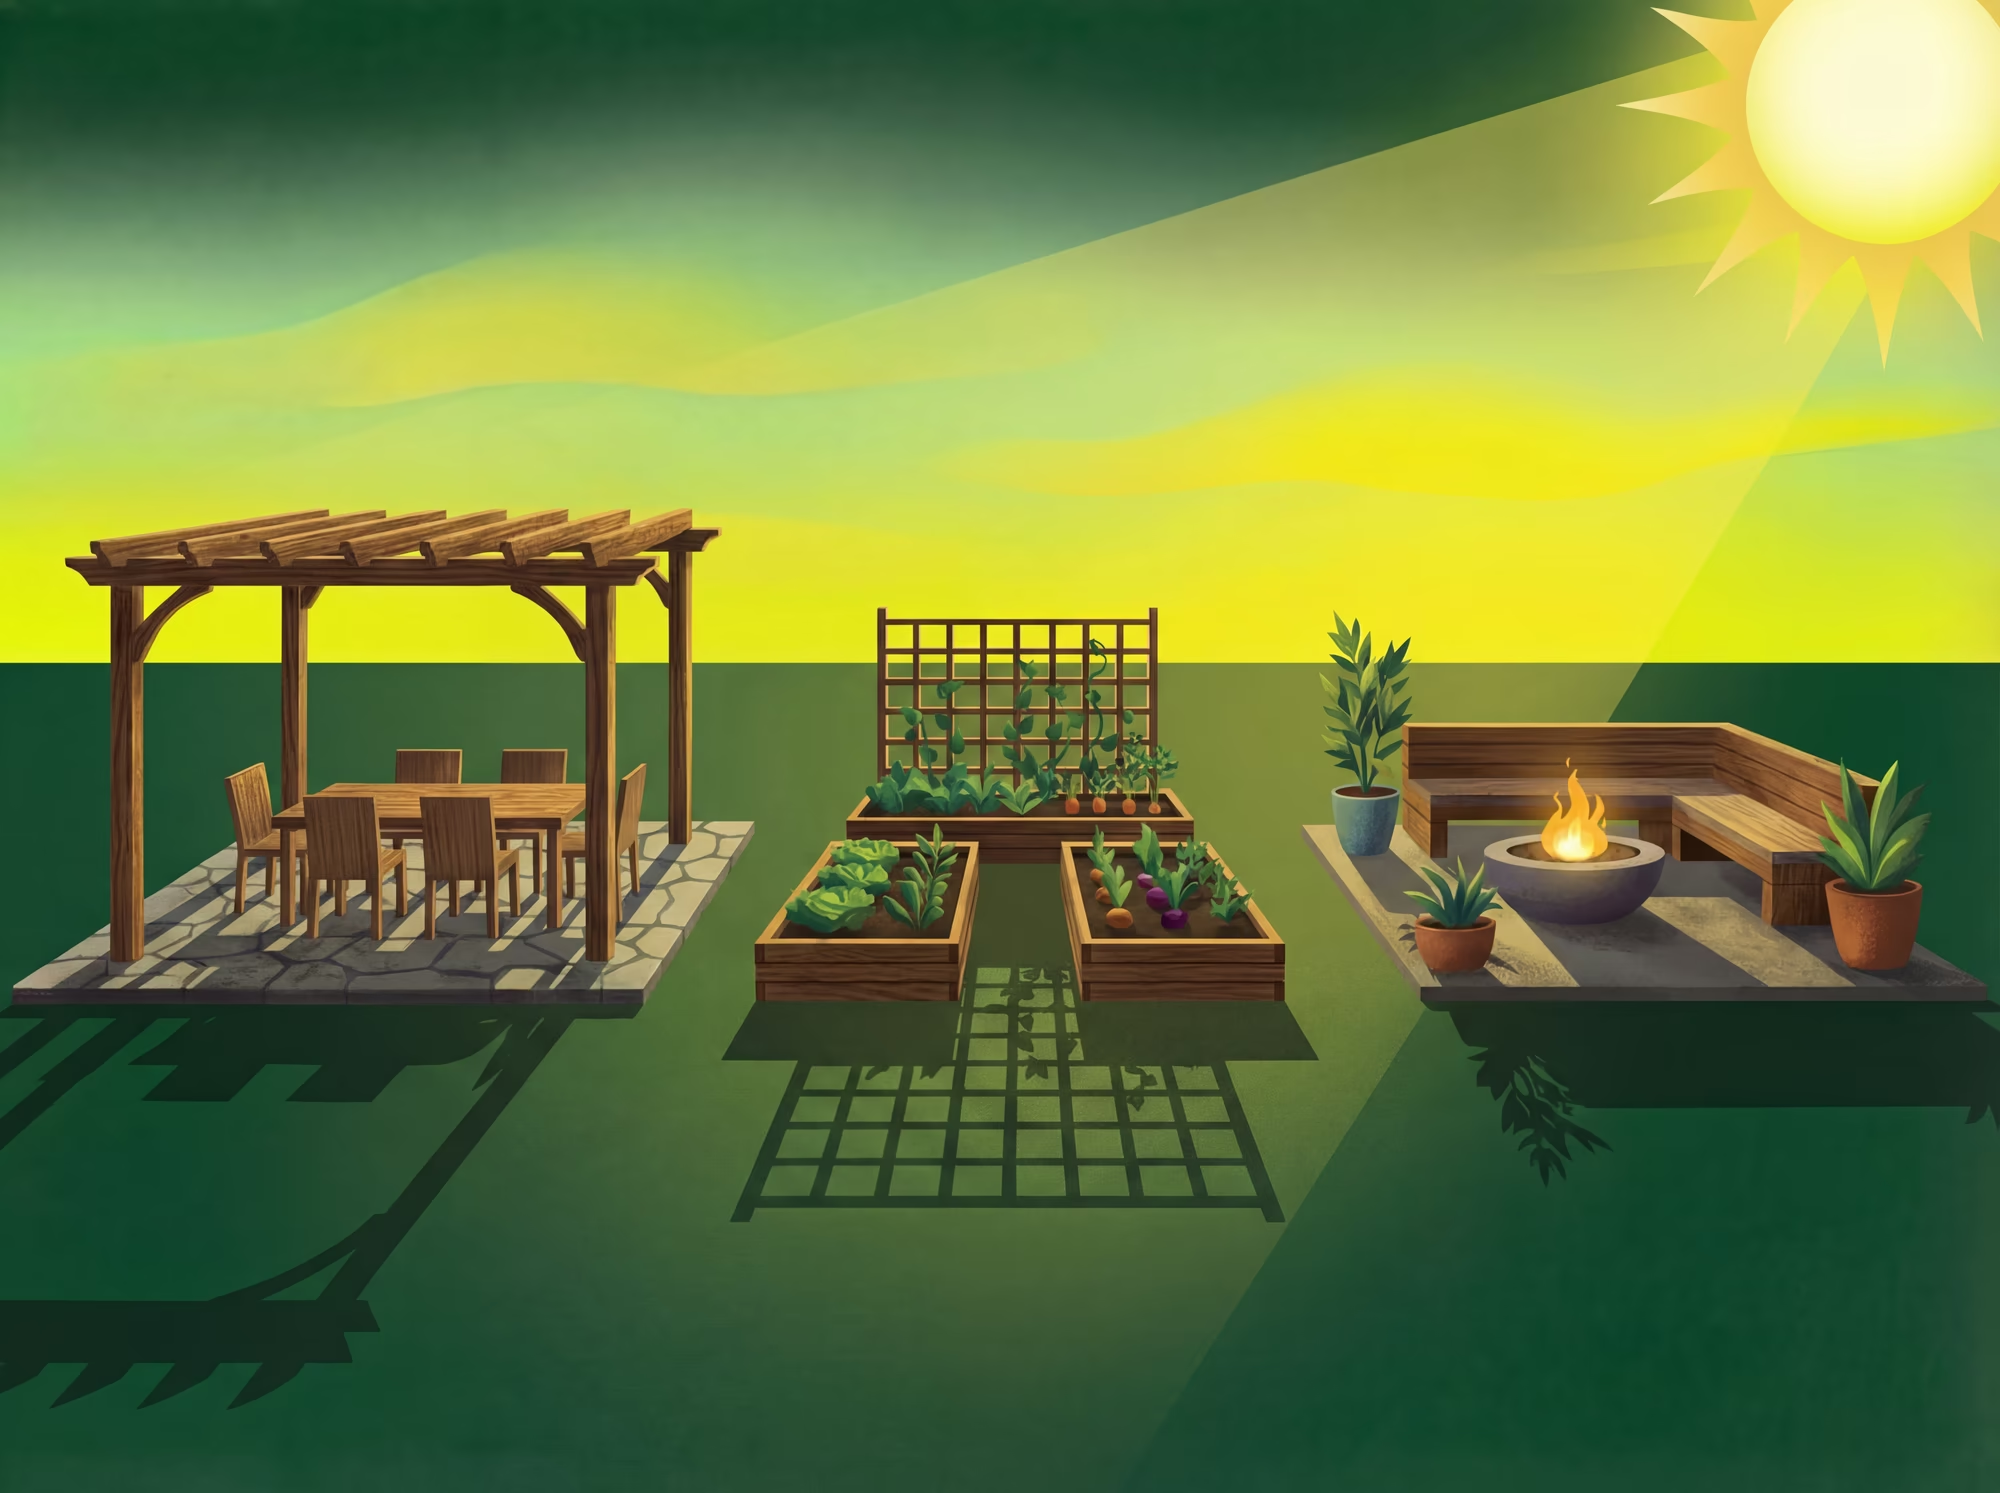
Multi-Zone Design: Rooms Within the Room
The trick to making a small backyard feel larger is dividing it into distinct zones rather than leaving it as one open space. This seems counterintuitive, but it works. A gravel dining area, a planted garden corner, and a fire pit nook create three experiences in the same footprint. Your eye reads each zone as a separate space, and the result feels expansive.
Use changes in surface material (patio here, gravel there, planting bed in between) and low plantings or small hedges (18 to 24 inches tall) to define zones without blocking sight lines. The goal is to suggest boundaries, not build walls.
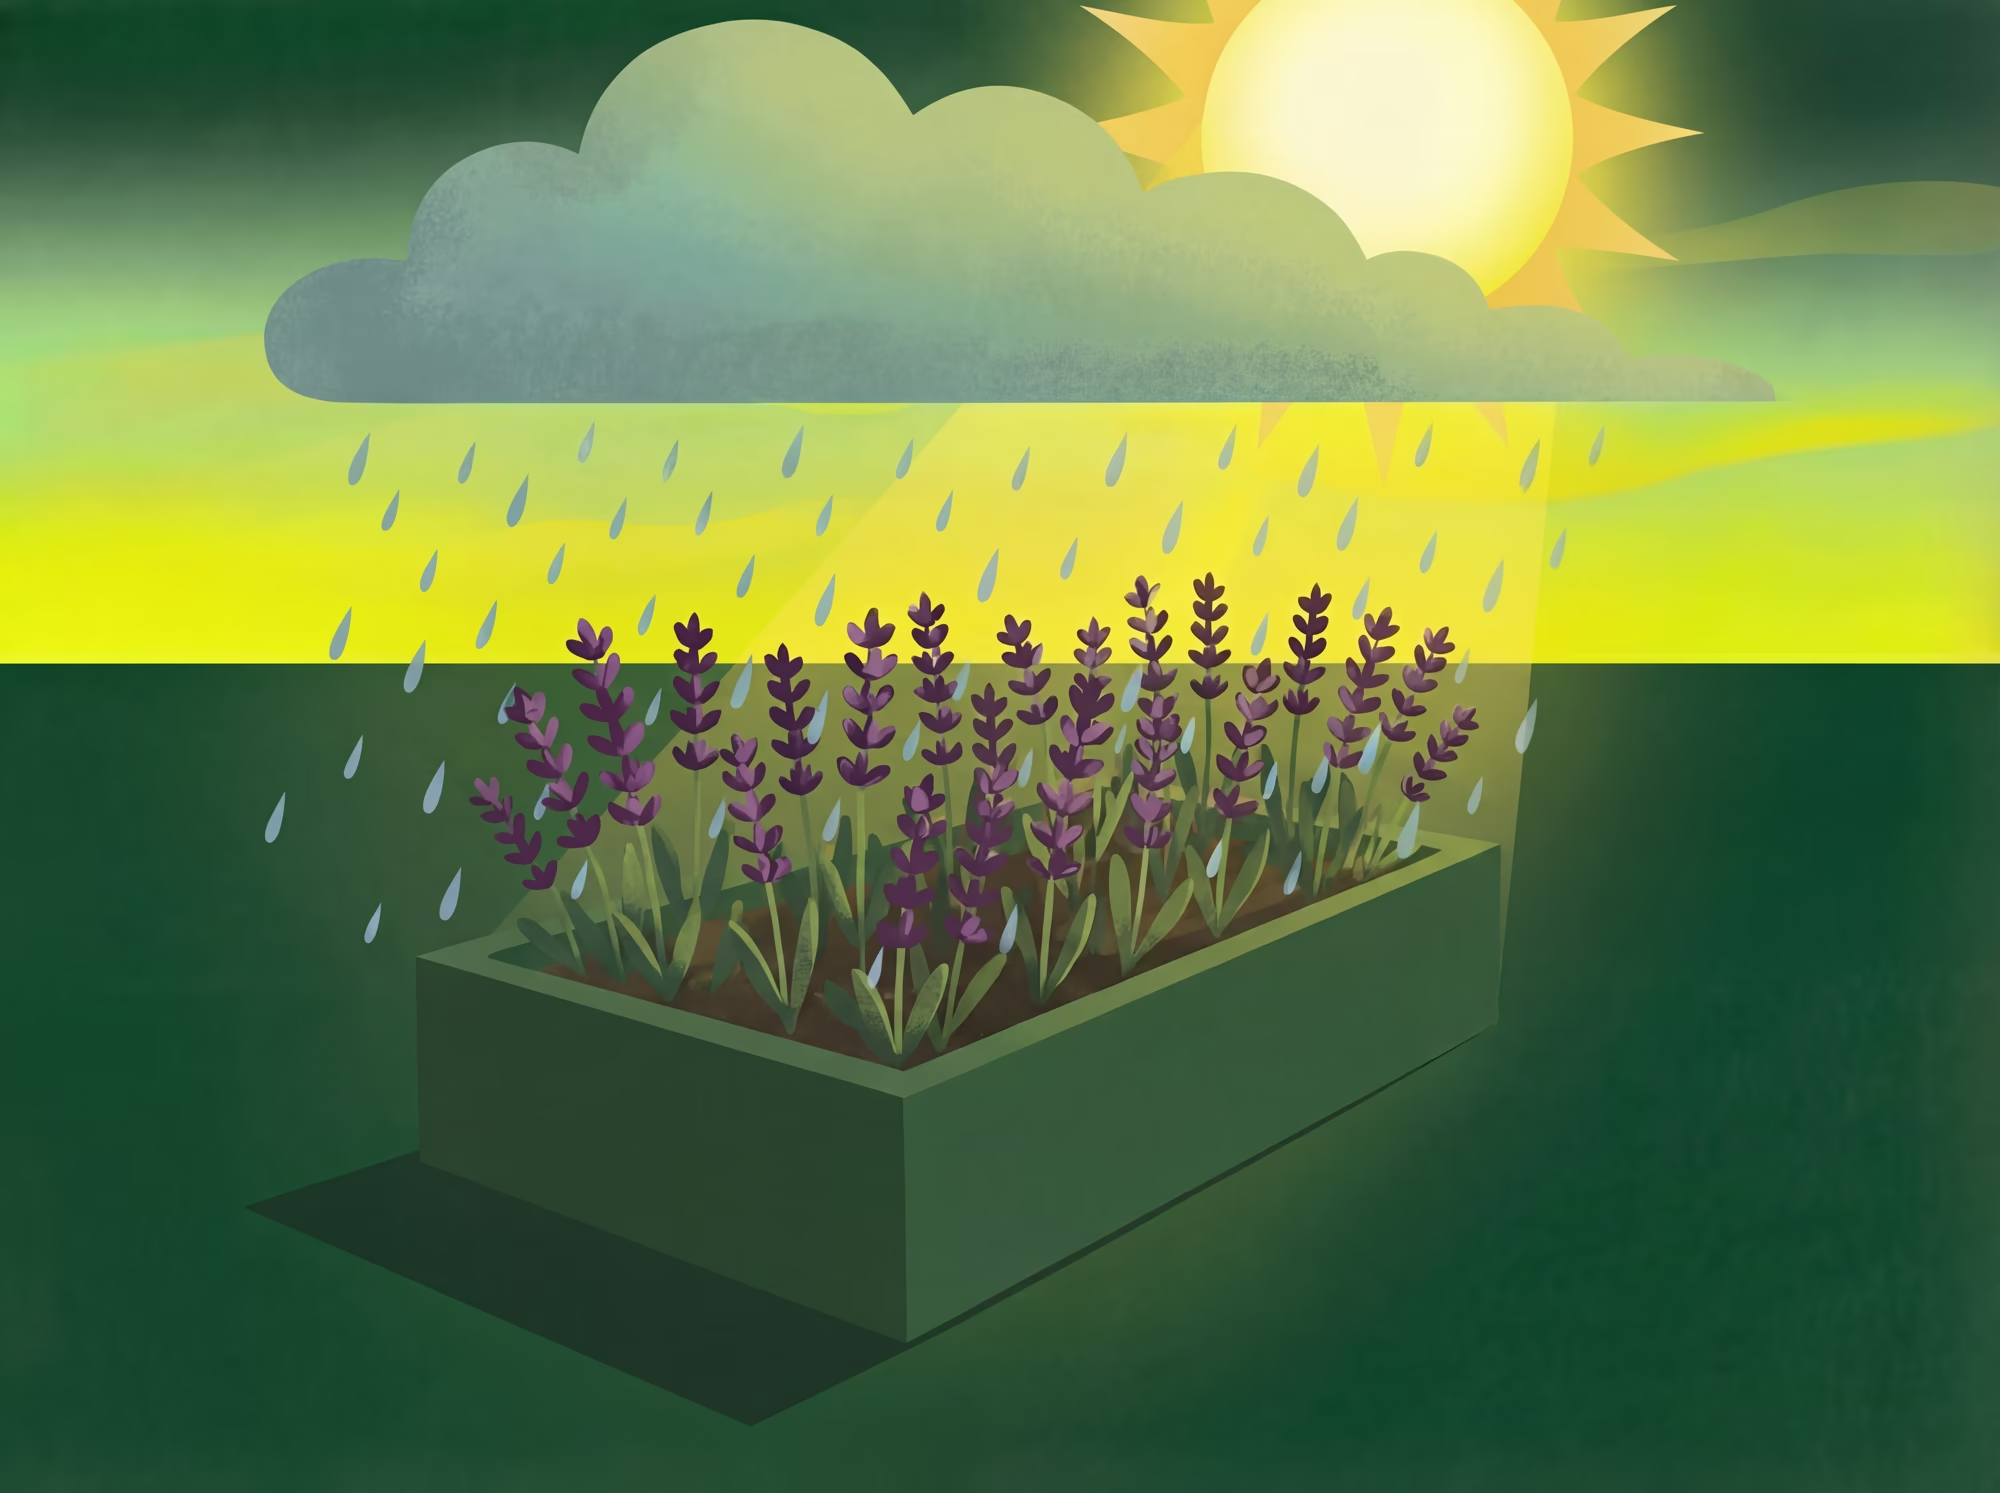
Container Gardens That Move with You
Large ceramic or concrete planters filled with ornamental grasses, citrus trees, or flowering shrubs give you the visual impact of a planted garden with complete flexibility. Move them to rebalance a space, cluster them to create a privacy screen, or rotate seasonal performers to the most visible position.
In Southern California, container citrus is particularly rewarding. A Meyer lemon or Bearss lime in a 20 to 24 inch pot can produce fruit year-round with relatively low maintenance. Positioned on a patio, it becomes a conversation piece, a source of actual lemons for your drinks, and a signal that this backyard is alive and productive.
GOOD TO KNOW
Landscape designers often call it the "outdoor room" approach. Dividing a backyard into distinct zones -- dining, lounging, garden -- tends to create a sense of greater depth and spaciousness than an open, undivided lawn. The trick is using subtle transitions, a step down, a material change, a low planting border, rather than solid dividers that block sight lines and airflow.
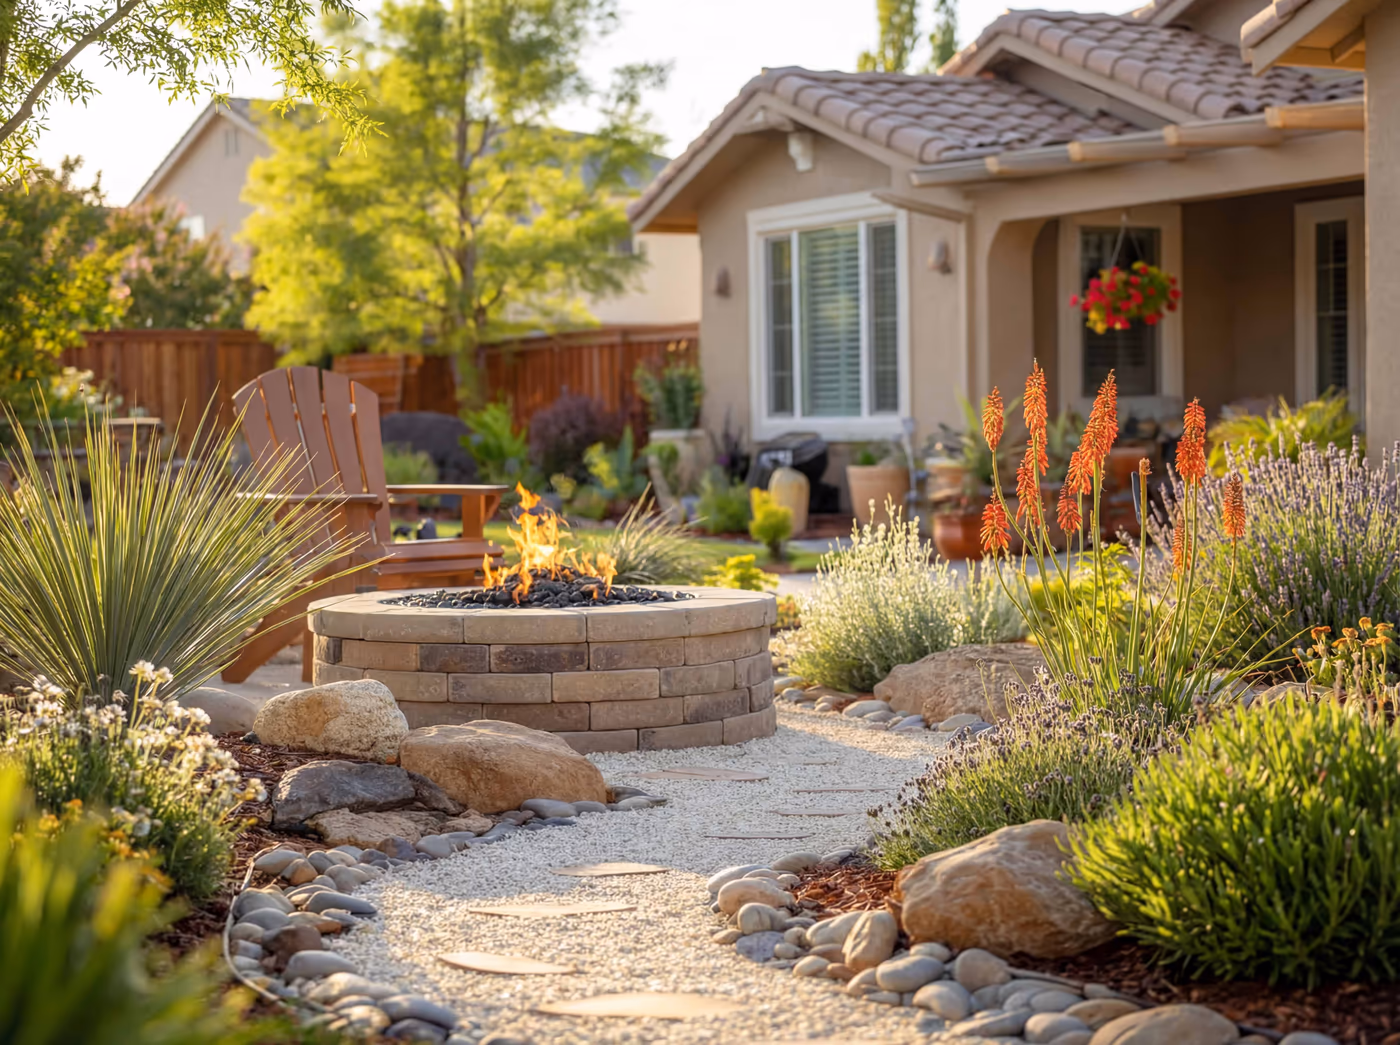
How Do You Add a Fire Feature or Gathering Space to Your Backyard?
Nothing transforms how a backyard feels after dark quite like fire. A fire pit or fire table turns an empty patio into a destination. It extends outdoor hours by three to four months in Southern California, making even cool winter evenings comfortable. And the gathering effect is primal: people are drawn to fire the way they are drawn to water.
"Fire pits elevate outdoor spaces by creating a warm gathering area for family and friends. They add a welcoming atmosphere that expands your living space outdoors and significantly enhances the overall look and feel of your home."
Edgar Godinez, Owner, Urban Customs Landscape
Portable Fire Pits: Tonight's Gathering Spot
A portable fire pit is the single fastest way to create a gathering space in your backyard. Gas-powered tabletop models ($150 to $400) light with a switch and produce no smoke, making them ideal for close-set patios and neighbors nearby. Wood-burning steel fire pits ($100 to $500) deliver the crackle and scent that many people consider essential to the experience.
Set a portable fire pit on a non-combustible surface (existing concrete patio, gravel pad, or fire-rated pavers) and arrange four to six chairs in a loose circle. That is it. You have a gathering space.
Built-In Fire Pits: The Weekend Masonry Project
A simple built-in fire pit using concrete retaining wall blocks is one of the most popular and achievable weekend masonry projects. Stack two to three courses of blocks in a 36 to 44 inch diameter circle, set on a gravel base, and you have a permanent, attractive fire feature for $150 to $400 in materials.
The project typically takes four to six hours: level the ground, set the first course on a compacted gravel pad, stack remaining courses with construction adhesive between layers, and add a fire ring liner (optional but recommended for longevity). The result looks like it cost five times what you spent.
Safety note: Always maintain generous clearance from structures, fences, and overhanging vegetation. Gas and wood-burning fire pits have different clearance requirements, and local fire codes vary by community. Before installing any fire feature, check with your local fire department or building authority for current setback requirements and seasonal burn restrictions in your area.
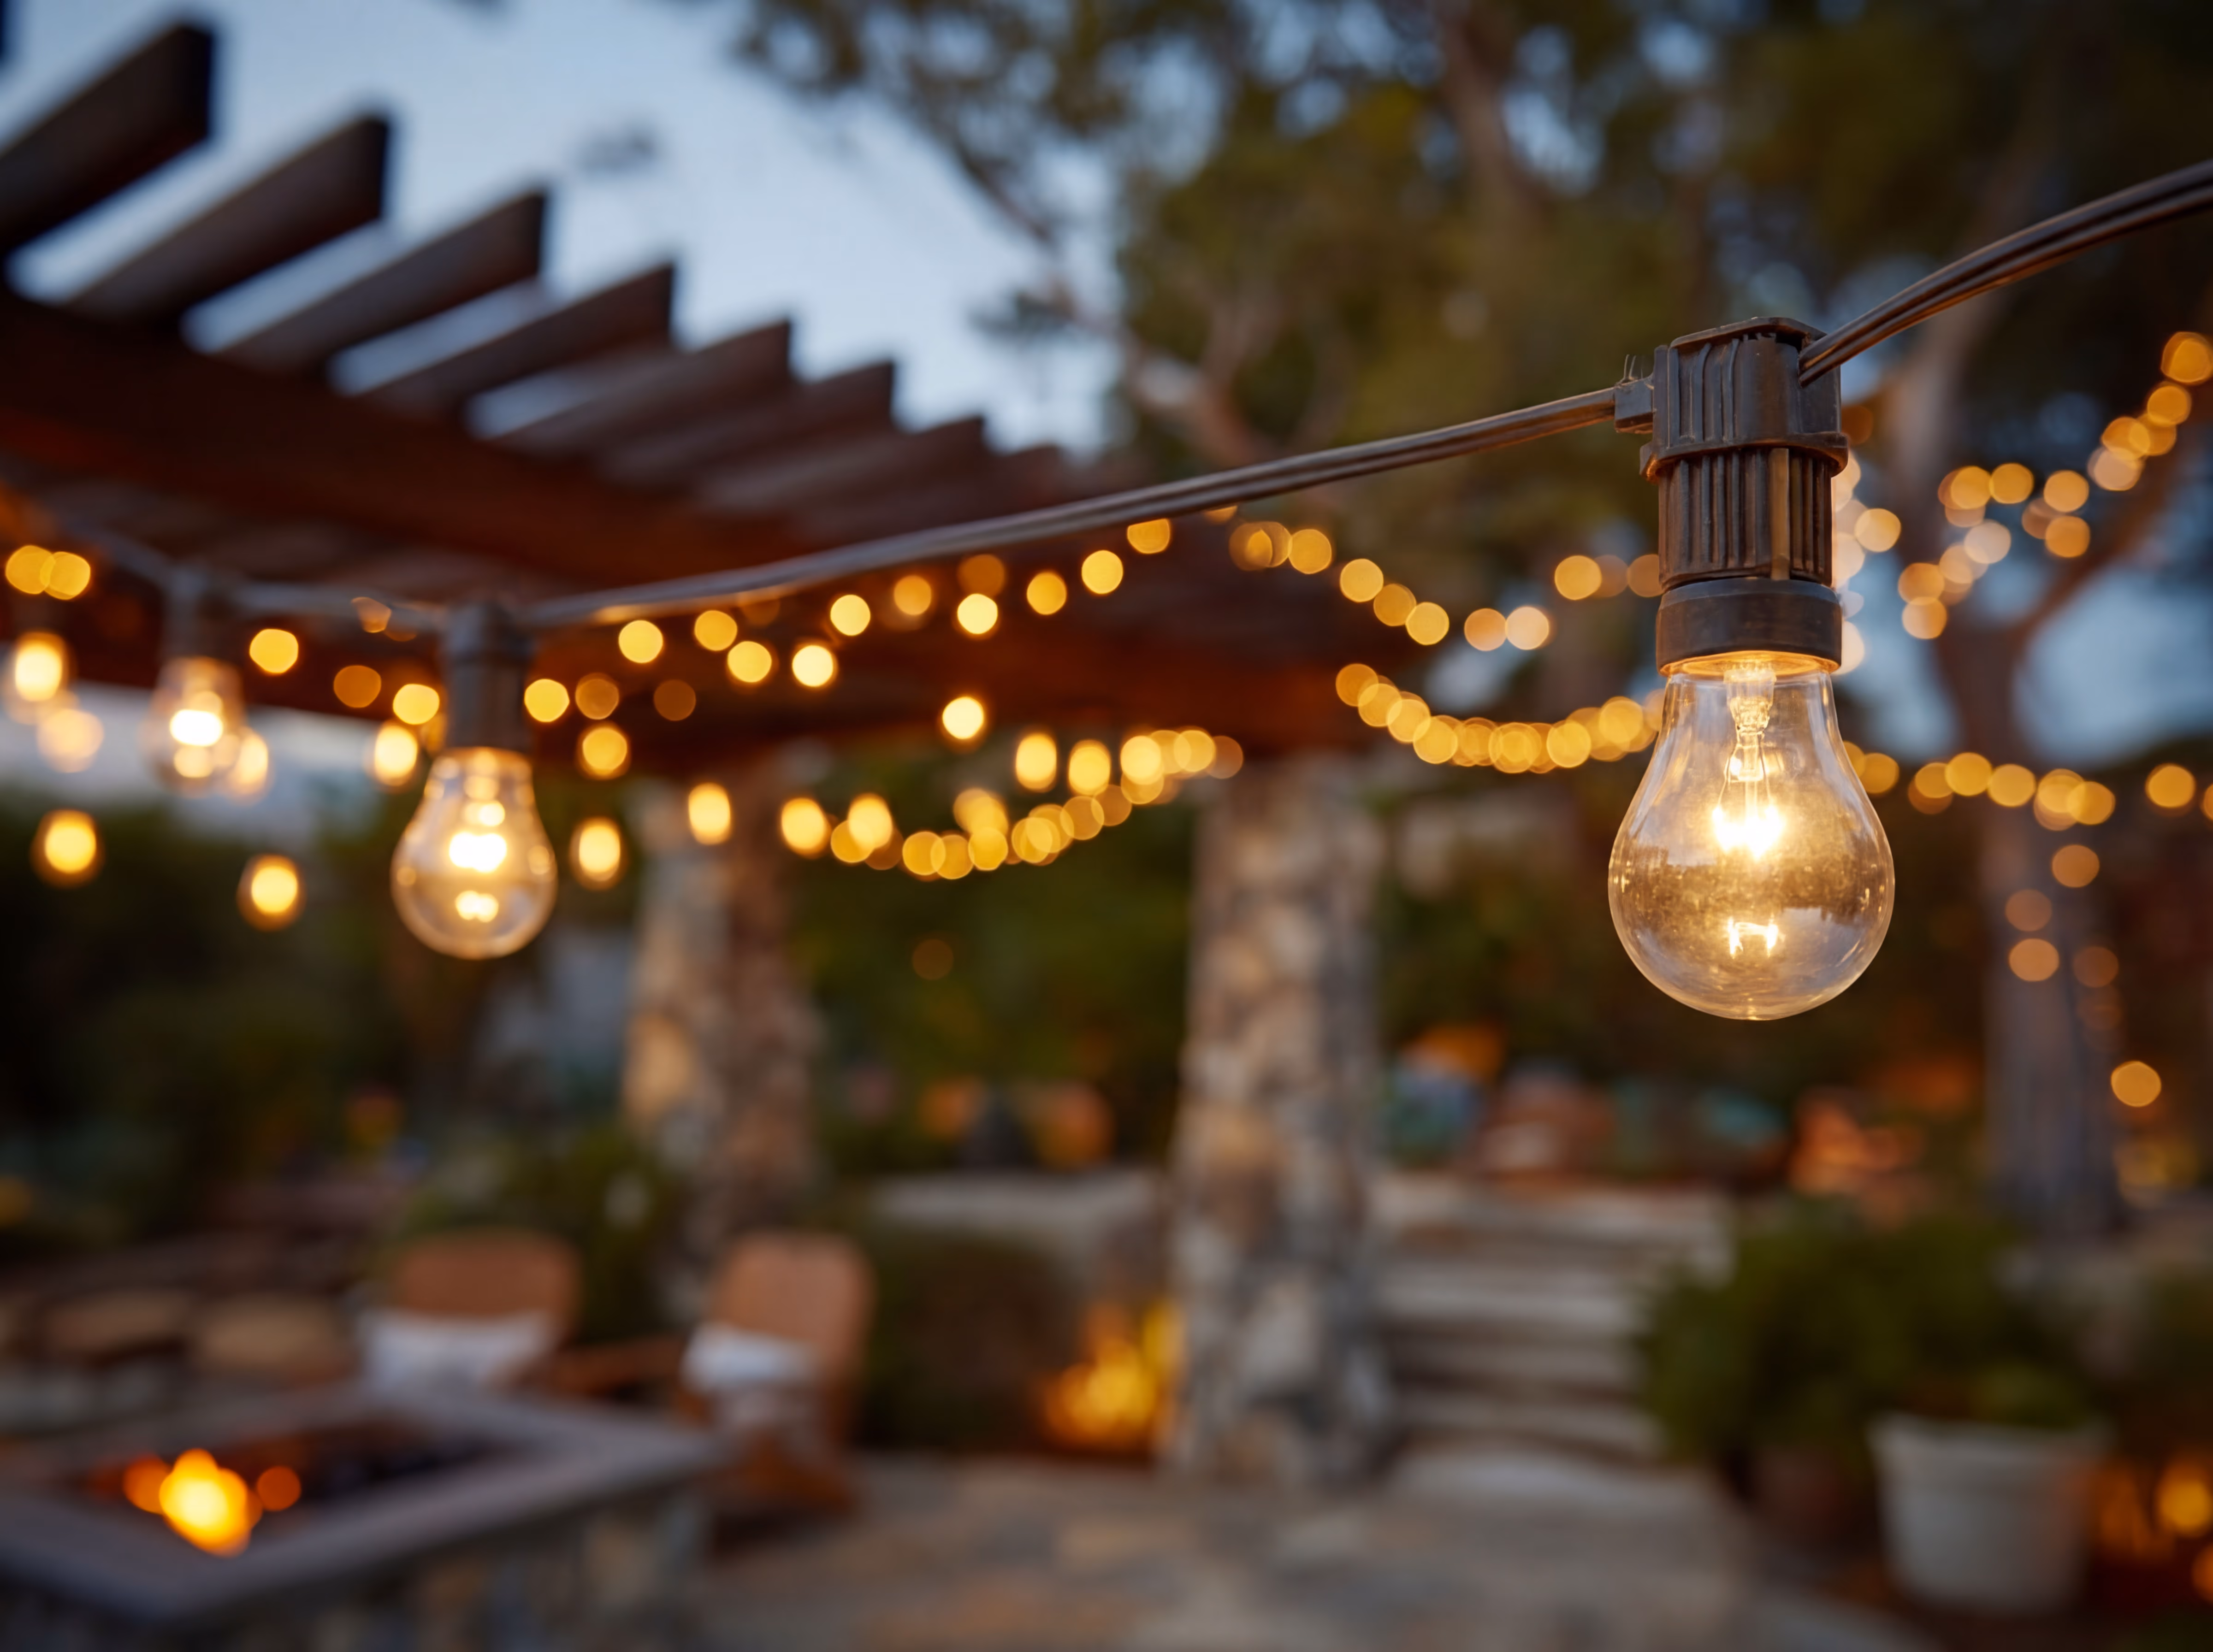
String Lights: The Transformation Nobody Expects
String lights are the most underappreciated backyard transformation tool in existence. A $30 to $80 set of outdoor-rated LED string lights, hung in parallel lines across a patio or zigzagged between anchor points, turns an ordinary backyard into something that feels like your favorite outdoor restaurant.
The key is using commercial-grade bulbs (not craft-store decorative lights) hung at eight to ten feet high. Mount screw-in hooks on your fence posts, house eaves, or dedicated wooden poles, run the lights in evenly spaced rows, and plug in. The warm glow flattens imperfections, creates ambiance, and makes every evening feel like an event. This is a one-hour project with an outsized impact.
What Are the Best DIY Backyard Ideas on a Budget?
Some of the most impactful transformations for your Yardtopia can start with projects that cost less than a restaurant dinner for two. The trick is choosing projects that punch above their price point: small investments that change how the entire space reads. Always check with your HOA regulations and guidelines.
Weekend Projects Under $200
Mulch refresh ($40 to $100): Four to six inches of fresh bark mulch or wood chips across existing garden beds instantly makes a backyard look maintained and intentional. Mulch also suppresses weeds, retains soil moisture (reducing water use by 25 to 50 percent), and breaks down into soil nutrients over time. A cubic yard covers roughly 100 square feet at three inches deep and typically costs $30 to $50 per yard at your local landscape supply (or pick up a few bags from the home center).
Stepping stone path ($50 to $150): Large concrete or natural stone steppers set into existing lawn or gravel create structure and flow. Space them at a natural stride length (24 to 30 inches center to center), set each stepper into a shallow excavation, and backfill with gravel or let the surrounding ground cover fill in. Done in an afternoon.
Paint a focal wall ($30 to $60): One section of fence or one house-adjacent wall painted in a bold, warm color (deep green, terra cotta, matte black) creates a backdrop that anchors the entire space. This is particularly effective behind a planting bed or seating area, where the color contrast makes everything in front of it pop.
Outdoor rug and pillows ($50 to $150): A weather-resistant outdoor rug and a few throw pillows on existing furniture instantly create a "room" feeling on a patio. The rug defines the space, the pillows add comfort and color, and the entire effect communicates that this is a living area, not just a slab.
The Phased Backyard Makeover
One small step can be enough to build your Yardtopia over time. Phased projects let you spread costs over months, test how you use each new element before investing in the next, and build a backyard that reflects actual experience rather than guesswork.
Month one: Mulch, declutter, and define one zone (seating or dining area) with a rug and string lights. Cost: $100 to $200.
Month two: Add a gravel or DG pathway connecting the house to your new zone. Cost: $100 to $300.
Month three: Plant native plants along the path or around the seating area. Cost: $150 to $400.
Month four: Add a fire pit and additional seating. Cost: $100 to $400.
By the end of four months, you have a transformed backyard for $450 to $1,300, each piece tested and adjusted before the next investment. That is less than most homeowners spend on a single contractor consultation.
EXPERT TIP
The single highest-impact budget project is subtraction, not addition. Remove anything that does not serve the space: dead plants, broken furniture, unused planters, that old grill you have been meaning to fix for three years. Clearing visual clutter changes how a backyard feels more dramatically than any individual purchase. Spend one Saturday editing before you spend one dollar adding.
How Do You Design a Backyard That Saves Water and Looks Beautiful?
In Southern California, water-wise design is not a sacrifice. It is a style. The landscapes that look most natural and striking in our Mediterranean climate are the ones built for our actual rainfall patterns: lush natives instead of thirsty lawns, gravel and stone instead of constant irrigation, drought-tolerant ground covers instead of turf grass.
The Water-Wise Design Principles
Right plant, right place. Group plants by water need and sun exposure. Succulents and natives on the sunny south side. Shade-tolerant ferns near the house. Edibles in raised beds with drip irrigation. This approach, called hydrozoning, eliminates the single biggest source of outdoor water waste: irrigating low-water plants at the same rate as high-water ones.
Reduce lawn, gain living space. Every square foot of traditional lawn removed saves roughly 44 gallons of water per year and frees that space for something you actually use: a patio, a garden bed, a play area, a dining zone. For many homeowners, a front lawn sees surprisingly little actual use compared to the water and maintenance it demands, which is a good reason to consider converting that space into something more functional.
Mulch everything. Three to four inches of organic mulch on every exposed soil surface reduces evaporation by 25 to 50 percent. It also suppresses weeds, moderates soil temperature, and breaks down slowly into soil nutrition. In our climate, mulch is not optional landscaping. It is a water conservation tool that also happens to look beautiful.
"Whether you live in a condo with a small patio or a large home with room to grow, you can create a Yardtopia anywhere."
Juan Garcia, Senior Water Efficiency Specialist, IRWD
IRWD Rebates and Incentives
Irvine Ranch Water District offers some of the most generous landscape transformation rebates in Orange County. Turf removal rebates, smart irrigation controller incentives, and other programs may help offset your backyard transformation costs.
The key detail most homeowners miss: many rebate programs require approval before you begin work. Apply first, get approval, then start your project. The process adds a few weeks to your timeline but can return hundreds or thousands of dollars depending on the scope of your transformation.
Learn more about rebate opportunities at:
The Water-Wise Backyard Payoff
A water-wise backyard designed for Southern California conditions can cost significantly less to maintain annually than a traditional lawn-centered landscape. Lower water bills, less mowing (or none), fewer fertilizer and chemical applications, and reduced pest issues all compound over time. Many homeowners find that within a couple of years, their redesigned yard requires far less time and effort to maintain than their previous landscape.
The aesthetic payoff is equally real. Native and drought-adapted landscapes develop character and complexity over time in a way that lawns never do. A two-year-old native garden has texture, layers, seasonal variation, and wildlife activity that a lawn can never deliver, no matter how green you keep it.
GOOD TO KNOW
Southern California water districts have collectively invested hundreds of millions of dollars in landscape transformation rebates over the past decade. IRWD's programs are among the most accessible, with streamlined applications and consistent funding. Combining a turf removal rebate with a smart controller incentive can offset a meaningful portion of material costs for a typical backyard project. Check Yardtopia.com for current program details and eligibility.
Where Do You Start When You Have More Ideas Than Weekends?
The most common reason homeowners stall on backyard projects is not budget or skill. It is overwhelming. You see 20 possibilities and cannot pick one. So nothing happens, and the yard stays exactly as it is for another season.
Here is a simple planning process that cuts through the noise and gets you moving.
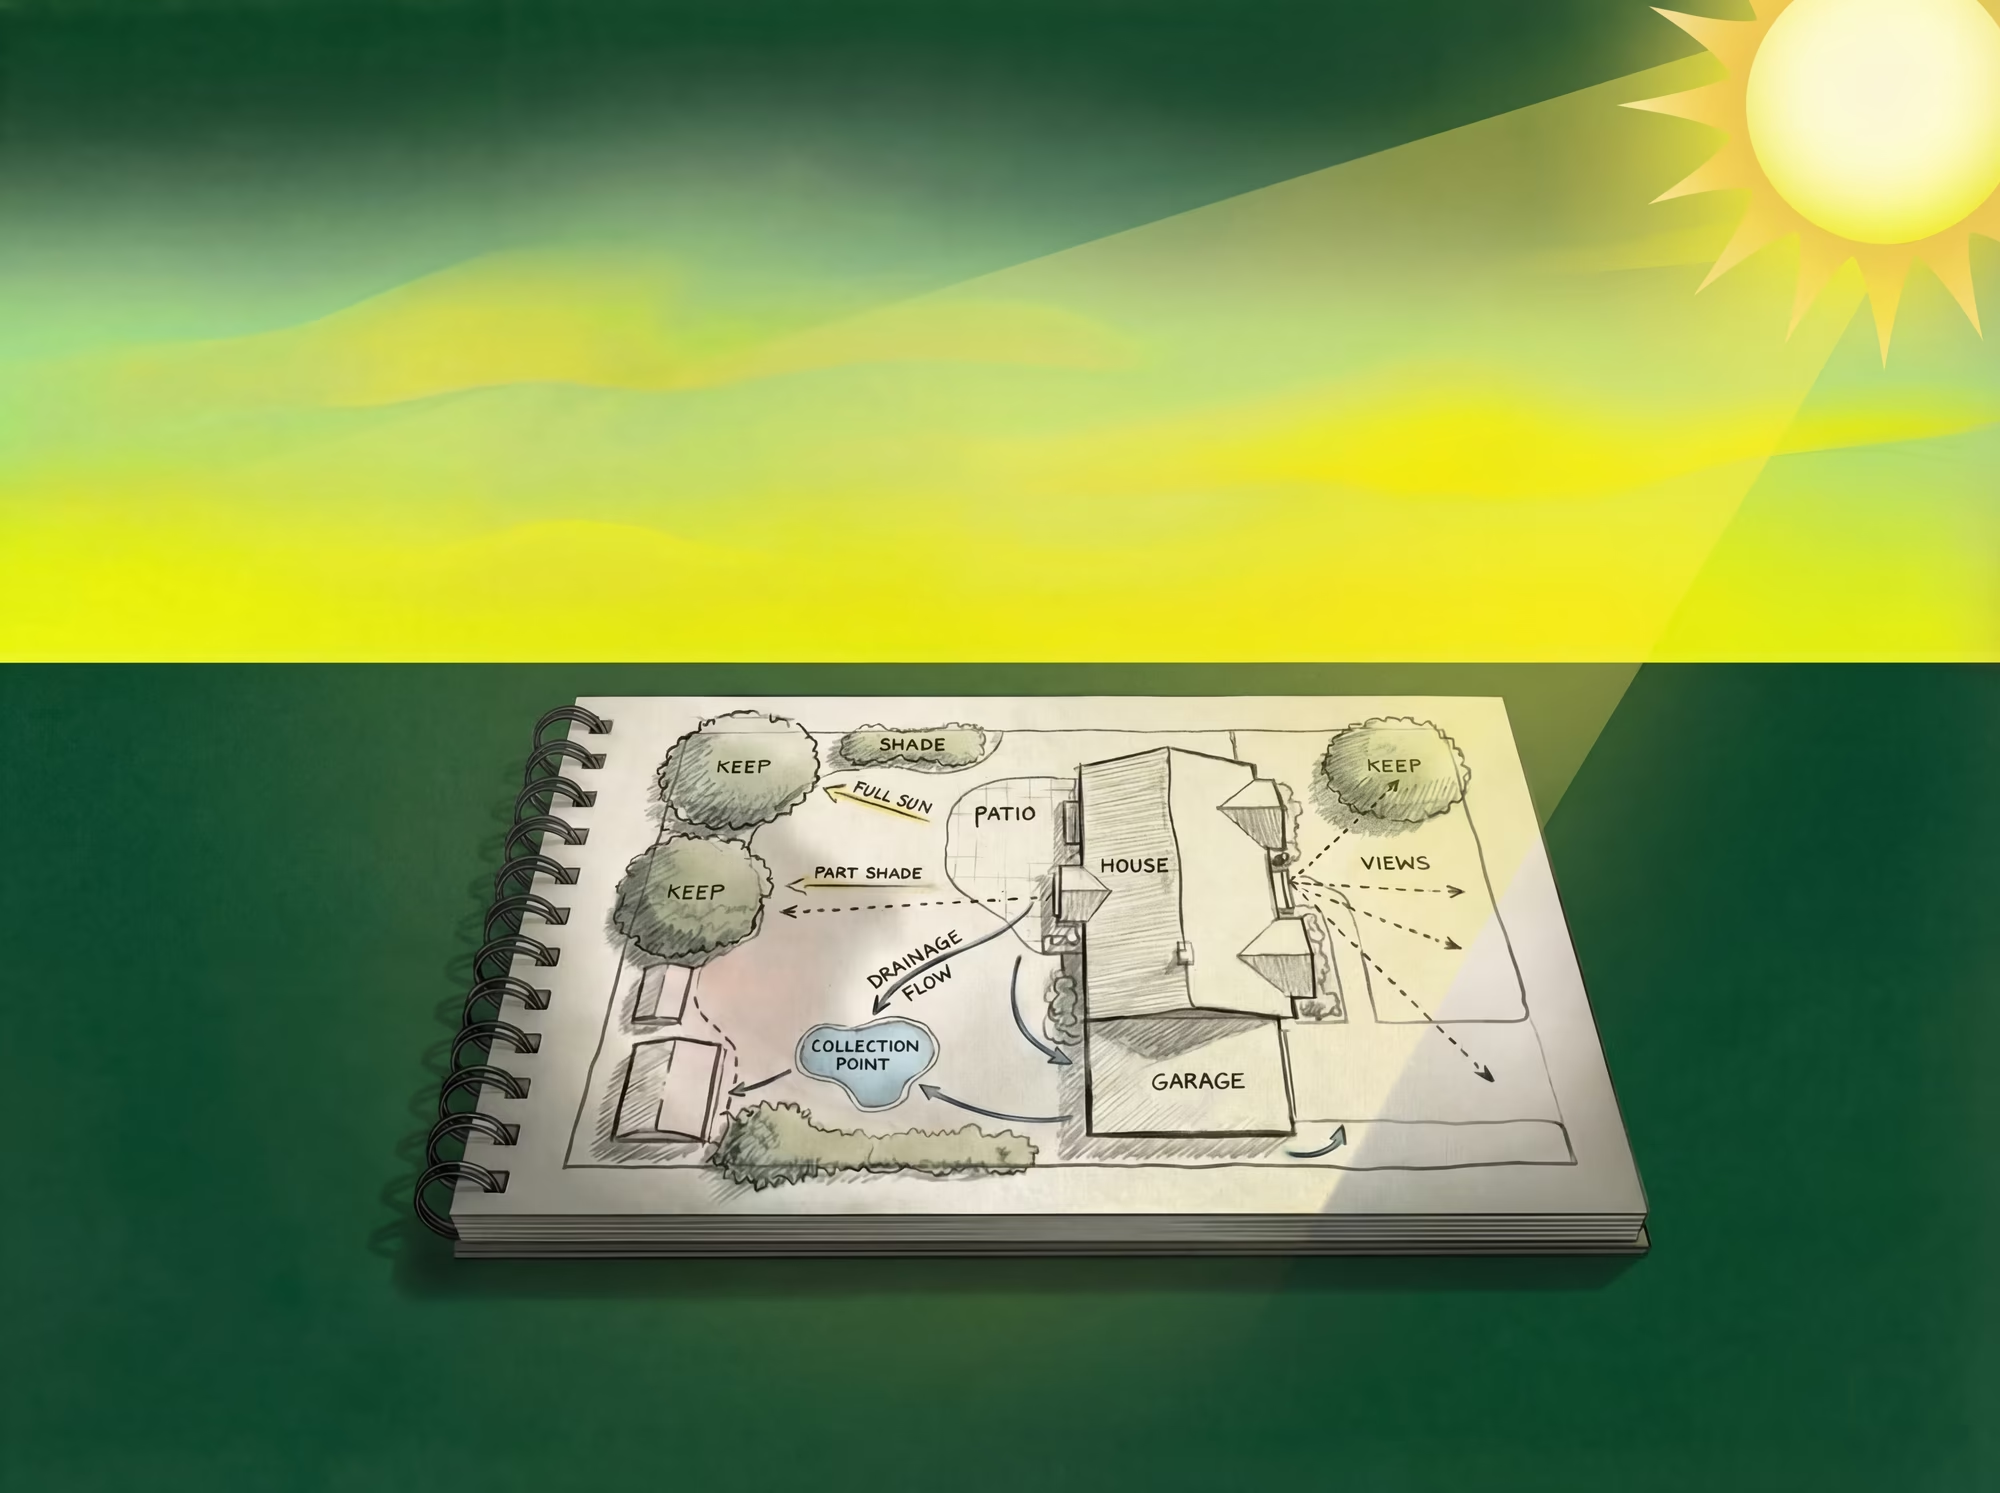
Step 1: Spend One Evening Outside
Before you buy anything or draw any plans, go sit in your backyard for an hour on a typical evening. No phone, no agenda. Notice where the sun falls, where shade develops, which direction sounds come from, and where your eye naturally rests. Notice what bothers you (the underutilized areas) and what already works (the mature tree, the existing patio, the view of the mountains).
This single hour of observation gives you more useful design information than any Pinterest board.
Step 2: Pick One Zone, Not the Whole Yard
Choose the area you noticed most during your evening observation: the spot with the most potential or the one that bothers you most. That is your first weekend project zone. It might be a 10 by 10 foot corner or a 200 square foot patio area. Define it, and focus entirely on that zone for your first project.
The rest of the yard will wait. And once you finish one zone successfully, the momentum and confidence to tackle the next one arrives naturally.
Step 3: Choose One Project from This Guide
Match your zone to a project: a gravel seating area, a native planting bed, a fire pit, a container garden, string lights. Pick the one that excites you most, gather materials on Saturday morning, and start building. By Sunday evening, you will have one finished space that changes how your entire backyard feels.
Step 4: Live with It Before Adding More
Use your new space for two to three weeks before starting the next project. Notice what works and what you would adjust. Do you need more shade? A path connecting this zone to the house? Better lighting? Let real experience guide your next weekend project rather than a theoretical master plan.
The best backyards are not designed in one sitting. They are discovered one weekend at a time.
Backyard Ideas at a Glance
| Project | Cost | Time | Difficulty | Water Impact | Best For |
|---|---|---|---|---|---|
| Native plant garden | $150-$400 | 1 weekend | Moderate | Saves 60-80% | Landscaping transformation |
| Gravel/DG pathway | $100-$300 | 4-6 hours | Easy | Neutral (permeable) | Structure and flow |
| Paver patio | $400-$1,200 | 1 full weekend | Moderate | Neutral | Outdoor living room |
| Concrete stain | $100-$250 | 1 day | Easy | None | Existing patio refresh |
| Vertical garden | $50-$200 | 2-4 hours | Easy | Minimal | Small spaces |
| Container citrus | $40-$80 each | 1 hour | Easy | Minimal | Patios, small yards |
| Portable fire pit | $100-$500 | Immediate | None | None | Evening gathering |
| Built-in fire pit | $150-$400 | 4-6 hours | Moderate | None | Permanent focal point |
| String lights | $30-$80 | 1 hour | Easy | None | Instant ambiance |
| Mulch refresh | $40-$100 | 2-4 hours | Easy | Saves 25-50% | Entire yard improvement |
| Stepping stone path | $50-$150 | 3-4 hours | Easy | Neutral | Connecting zones |
| Fence accent wall | $30-$60 | 2-3 hours | Easy | None | Visual anchor |
Frequently Asked Questions
What are some easy backyard ideas for beginners?
Mulching garden beds, hanging string lights, and creating a gravel seating area are the three easiest starting points. Each can be completed in half a day, requires no specialized skills, and makes a visible difference. From there, a stepping stone path or container garden builds confidence for larger projects like a paver patio or native planting bed.
How much does a backyard makeover cost?
A meaningful backyard transformation in Southern California can start at $200 to $500 using a phased approach: mulch, a seating area, and basic plantings. A more comprehensive makeover covering patios, landscaping, lighting, and a fire feature typically runs $1,500 to $5,000 in DIY materials. Professional installation adds significantly to costs, but many of these projects are designed for homeowner completion. Water district rebates can offset a significant portion of landscaping material costs.
What backyard ideas add the most value to a home?
Patio additions and outdoor living spaces consistently rank among the highest-return exterior improvements, with industry reports showing strong cost recovery at resale. Native and drought-tolerant landscaping adds both curb appeal and practical value for Southern California buyers who increasingly expect low-water landscapes. Fire features, outdoor lighting, and defined entertaining areas also increase perceived home value.
Can you really transform a backyard in one weekend?
A single zone, absolutely. A 100 to 200 square foot area can go from bare dirt to a finished native garden, gravel patio, or fire pit seating area in one full weekend. A complete yard transformation typically takes four to eight weekends spread over a few months, with each project building on the last. The phased approach actually produces better results because you learn from each project and adjust your plan as you go.
What are the best backyard ideas for Southern California?
Ideas that work with our Mediterranean climate rather than against it perform best long-term. Native plant gardens, drought-tolerant ground covers, gravel and decomposed granite surfaces, outdoor living rooms, and fire features all thrive in year-round outdoor conditions. Avoid projects designed for seasonal climates, like elaborate lawn installations or cold-weather plantings, that will struggle in our dry, warm environment.
How do you redesign a backyard on a budget?
Start with subtraction: clear clutter, remove dead plants, and clean existing surfaces. Then add the highest-impact, lowest-cost elements first: mulch ($40 to $100), string lights ($30 to $80), and an outdoor rug to define a seating zone ($30 to $100). Spread larger projects across months. Use free resources like UC Master Gardener consultations and IRWD rebate programs to stretch your budget further.
Which backyard projects save the most water?
Replacing traditional lawn with native plants or drought-tolerant landscaping delivers the biggest water savings -- regional water agencies estimate around 44 gallons per square foot per year. Adding three to four inches of mulch to existing garden beds helps reduce evaporation significantly. Switching to drip irrigation instead of sprinklers improves water delivery efficiency. These three changes combined can make a dramatic difference in outdoor water use.
The Bottom Line
Your backyard does not need a master plan, a massive budget, or a professional crew to become the outdoor space you actually want. It needs one weekend and one project. A gravel path. A native garden bed. A fire pit and a few chairs. String lights and an evening spent outside instead of inside.
Start with the zone that excites you most. Spend a Saturday building something. Live with it. Then do it again. Each weekend adds a layer, and each layer makes the whole space feel more alive, more intentional, more like a room you love being in. The backyard ideas that matter most are not the ones you save on your phone. They are the ones you actually build.
Southern California gives you 300 days a year to enjoy what you create. Your Yardtopia is waiting, one weekend at a time.