Whether you are setting up a drip watering system for a few raised beds or designing a garden irrigation system for your entire landscape, you will find the steps, the shopping list, and the confidence to bring your Yardtopia to life.
KEY TAKEAWAYS
Instead of broadcasting water across your entire yard and hoping for enough water to land where it is needed, drip delivers a slow, steady supply directly to each plant's root zone. The difference is not subtle. Traditional sprinklers lose 25% to 35% of their water to evaporation, wind drift, and runoff before it ever reaches the soil. Drip systems put approximately 90% of every drop exactly where your plants can use it. In Southern California, where every gallon matters.
This guide walks you through everything you need to know about drip irrigation: what it is, how the components fit together, how to plan a layout for your specific garden, and how to install the entire system in a single weekend.
What Is a Drip Irrigation System and Why Does It Matter in Southern California?
A drip irrigation system is a network of tubing and emitters that delivers water slowly and directly to plant root zones, one drip at a time. Unlike sprinklers that throw water into the air and rely on gravity and luck to distribute it evenly, drip keeps everything low to the ground and precisely targeted. Water seeps into the soil right where roots can absorb it, with almost nothing lost to evaporation or overspray.
The concept has been used in commercial agriculture since the 1960s, when Israeli engineers developed modern drip technology to farm arid desert land. Today, the same principles work beautifully in residential gardens, and they are especially valuable in Southern California's Mediterranean climate. With hot, dry summers that can stretch from May through October and average annual rainfall of just 12 to 15 inches in Orange County, efficient water use is not optional. It is the foundation of sustainable landscaping.
Here is the key number to remember: drip irrigation systems deliver approximately 90% water absorption at the root zone, compared to 65% to 75% for conventional sprinklers. That means if you are currently watering your garden with sprinklers, switching to drip could reduce your outdoor water consumption by 30% to 50% without changing a single plant in your landscape.
"Smart irrigation controllers have made a dramatic difference when programmed correctly. When it comes to reducing waste from atomization, pressure-regulating spray bodies can save up to a gallon of water per minute per nozzle. Drip irrigation can also save a lot of water but the lines need to be flushed after a repair, and watch for potential clogs."
Andrew Chase, Director of Water Management, Monarch Environmental
Beyond efficiency, drip irrigation keeps foliage dry, which reduces fungal diseases like powdery mildew that thrive in Southern California's warm conditions. It also minimizes weed growth between plants because water is not being broadcast across bare soil. And because the system operates at low pressure and low flow rates, it works well even on slopes, clay soils, and irregularly shaped garden beds where sprinklers struggle.
GOOD TO KNOW
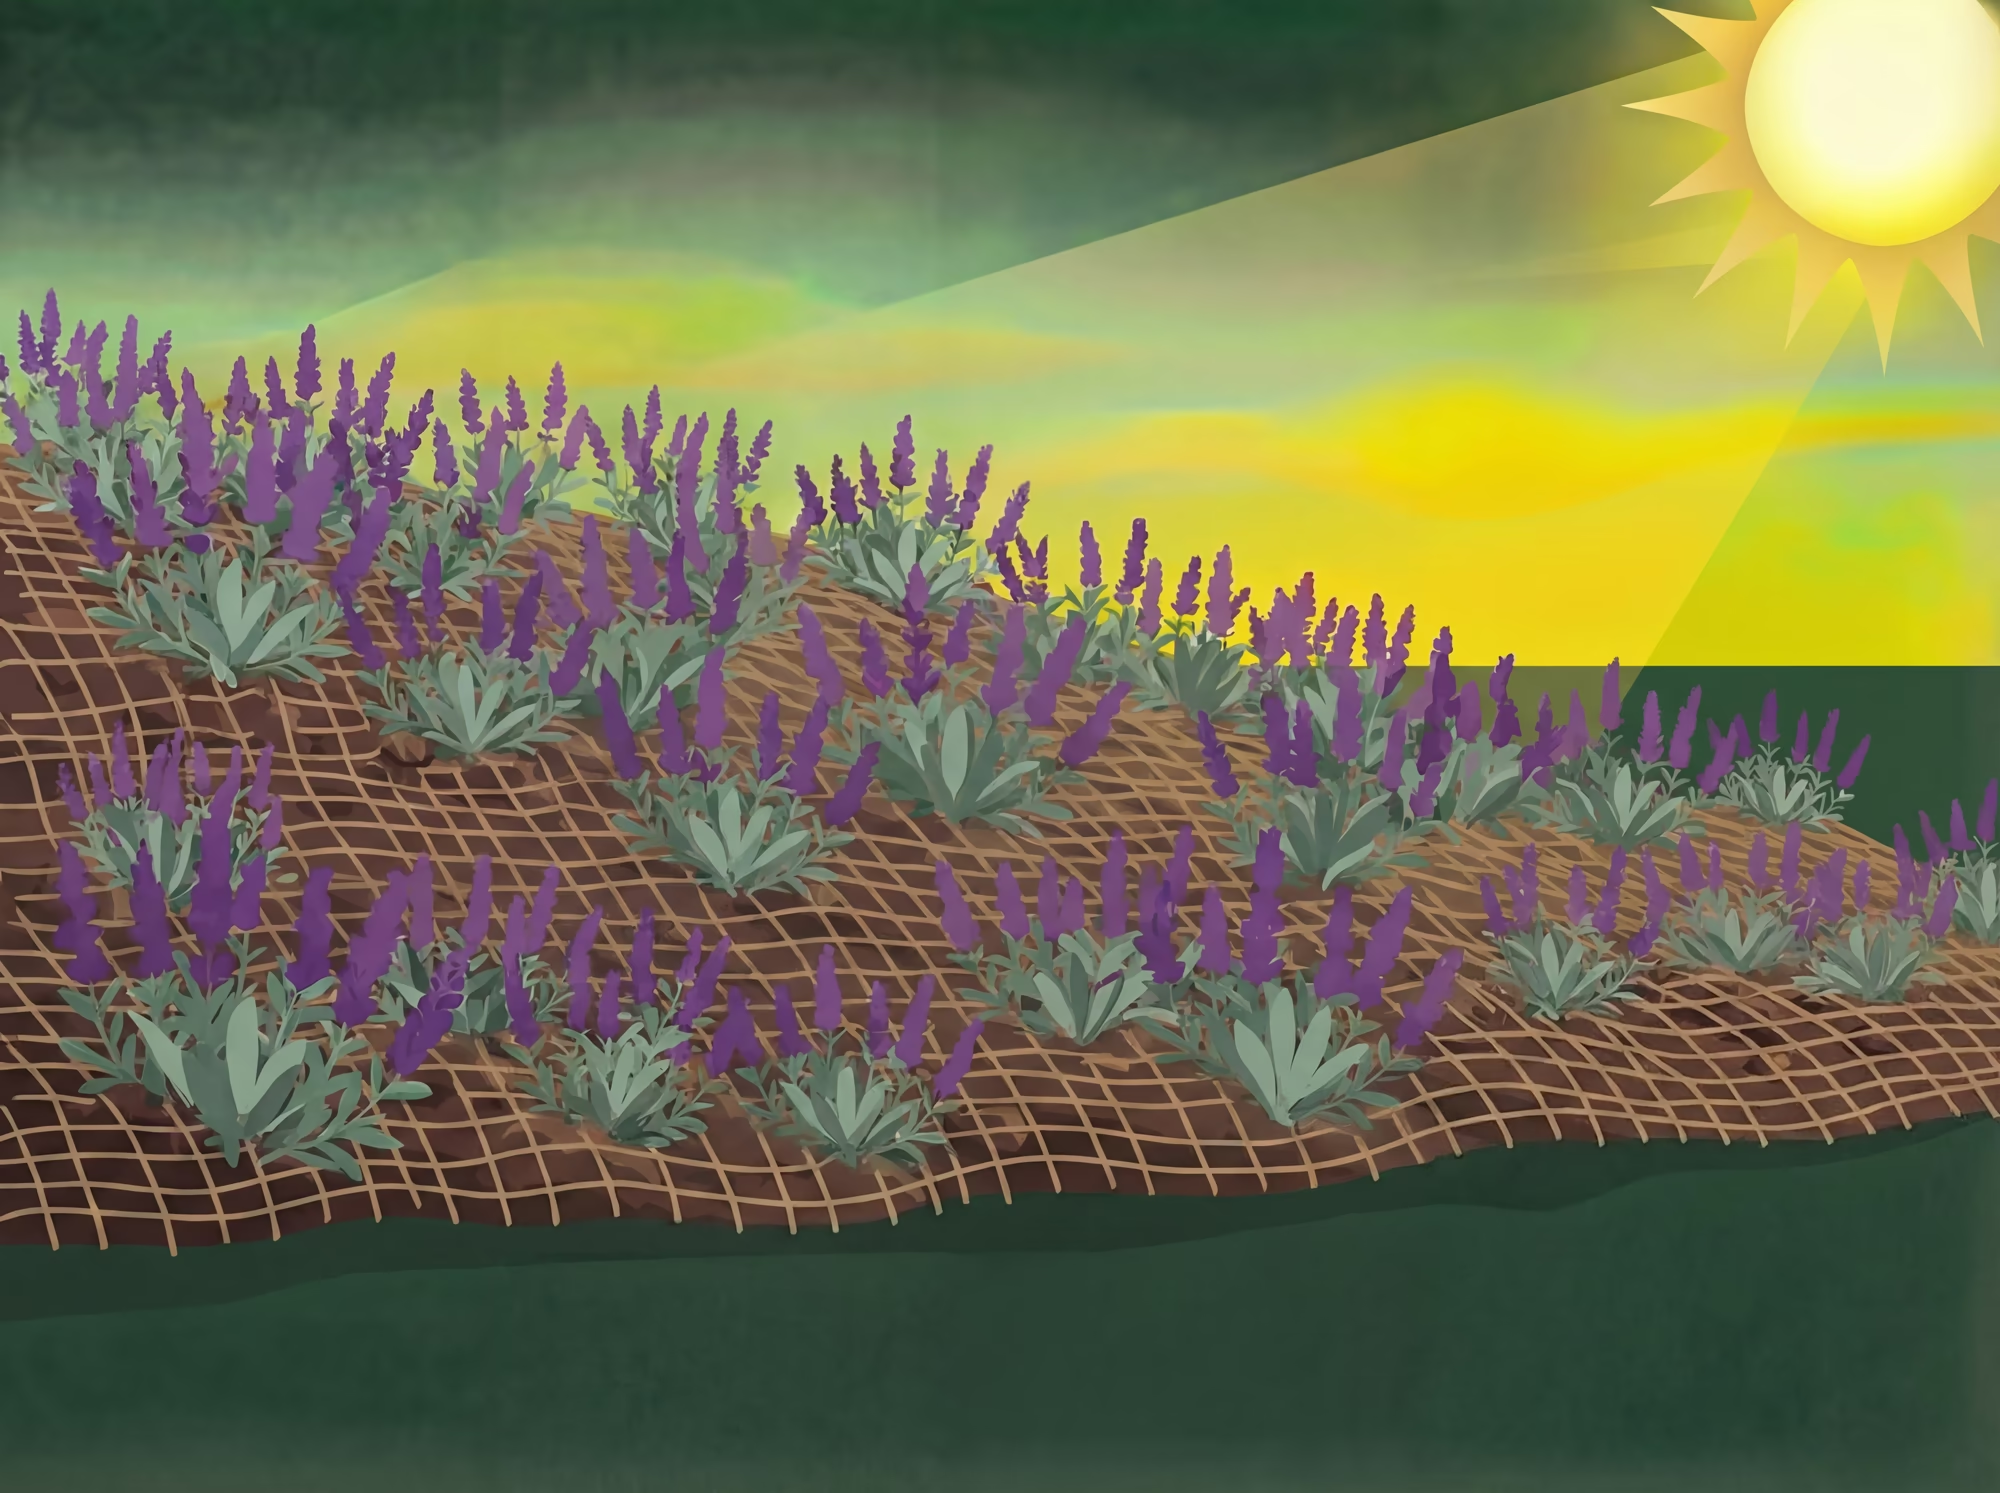
Drip irrigation is not just for vegetable gardens. It works for ornamental beds, native plant landscapes, fruit trees, container gardens, and even ground cover plants that need establishment watering. Many homeowners start with one garden bed and expand from there.
What Components Make Up a Drip Irrigation System?
A drip irrigation system may look complicated when you see it laid out at the hardware store, but it is really just a series of simple parts that connect in a logical sequence. Understanding each component helps you shop with confidence and troubleshoot issues down the road.
Here is the lineup from your water source to your plants:
Backflow Preventer
This small valve attaches directly to your outdoor faucet or hose bib. It ensures that water can only flow one direction: from the faucet into your drip system, never backward into your home's drinking water supply. Most building codes require one, and they cost $8 to $15. It is a non-negotiable starting point.
Pressure Regulator
Standard household water pressure runs 40 to 60 PSI. Drip systems operate at 15 to 30 PSI. Without a pressure regulator, that excess pressure will blow fittings apart and burst emitters. Look for a regulator rated at 25 PSI for most residential drip setups. They cost $5 to $10 and save hours of frustration.
Filter
Even clean municipal water carries tiny sediment particles that can clog drip emitters over time. An inline filter catches debris before it reaches your tubing. A 150-mesh filter works well for most home systems. Clean it once or twice per season and your emitters will stay flowing.
Mainline Tubing (1/2 Inch)
This is the backbone of your system. Half-inch polyethylene tubing runs from your water source along the main paths of your garden. It carries water to each planting zone where smaller distribution lines branch off. Mainline tubing is flexible, easy to cut, and connects with simple compression fittings. No glue, no special tools.
Distribution Tubing (1/4 Inch)
Quarter-inch tubing branches off the mainline to reach individual plants or rows. You punch a small hole in the mainline, insert a barbed connector, and run the 1/4" line wherever you need it. These smaller lines are especially useful for reaching containers, navigating tight spaces in raised beds, and connecting individual emitters to specific plants.
Emitters
Emitters are the business end of the system. They control how much water each plant receives. There are several types, and choosing the right one depends on your plants and layout.
Emitter TypeFlow RateBest ForSpacingNotesDrip emitters (button style)0.5 to 2 GPHIndividual plants, trees, shrubsAt each plantMost precise control; pressure-compensating models recommendedInline drip tubing0.5 to 1 GPH per emitterGarden rows, raised beds, hedgesPre-spaced 6", 9", 12", or 18"Emitters built into tubing; simplest for uniform plantingsMicro-sprayers5 to 25 GPHGround covers, dense plantings3 to 6 ft apartSmall spray radius; use only in low-wind areasSoaker/drip tapeVariableVegetable rows, annual bedsContinuous along rowMost affordable; best for seasonal gardensAdjustable drippers0 to 10 GPHMixed plantingsAt each plantTurn to set flow; flexible but less precise
EXPERT TIP
For most Southern California home gardens, pressure-compensating drip emitters are worth the small price premium. They deliver the same flow rate whether the emitter is at the beginning of a 100-foot line or the end, and whether your yard is flat or sloped. Standard emitters vary output based on position and pressure, which means uneven watering.
End Caps and Fittings
Every mainline run needs an end cap to close off the tubing. Figure-eight end caps make it easy to remove the cap, flush the line, and replace it. You will also need tees, elbows, and couplings to navigate corners and branch points. All of these use simple compression or barbed connections.
Timer/Controller (Optional but Recommended)
A battery-operated hose-end timer costs $25 to $50 and turns your drip system into a fully automated watering solution. Set the days, start time, and duration, and your garden waters itself. Some models offer Bluetooth or Wi-Fi connectivity for adjustments from your phone.
GOOD TO KNOW
A complete drip irrigation kit bundles most of these components together and typically costs $50 to $100 for a starter setup covering 100 to 200 square feet. Kits are a great way to get started without hunting down individual parts. Just make sure the kit includes a pressure regulator and filter, as some budget kits skip these essentials.
How Do You Plan Your Drip Irrigation Layout?
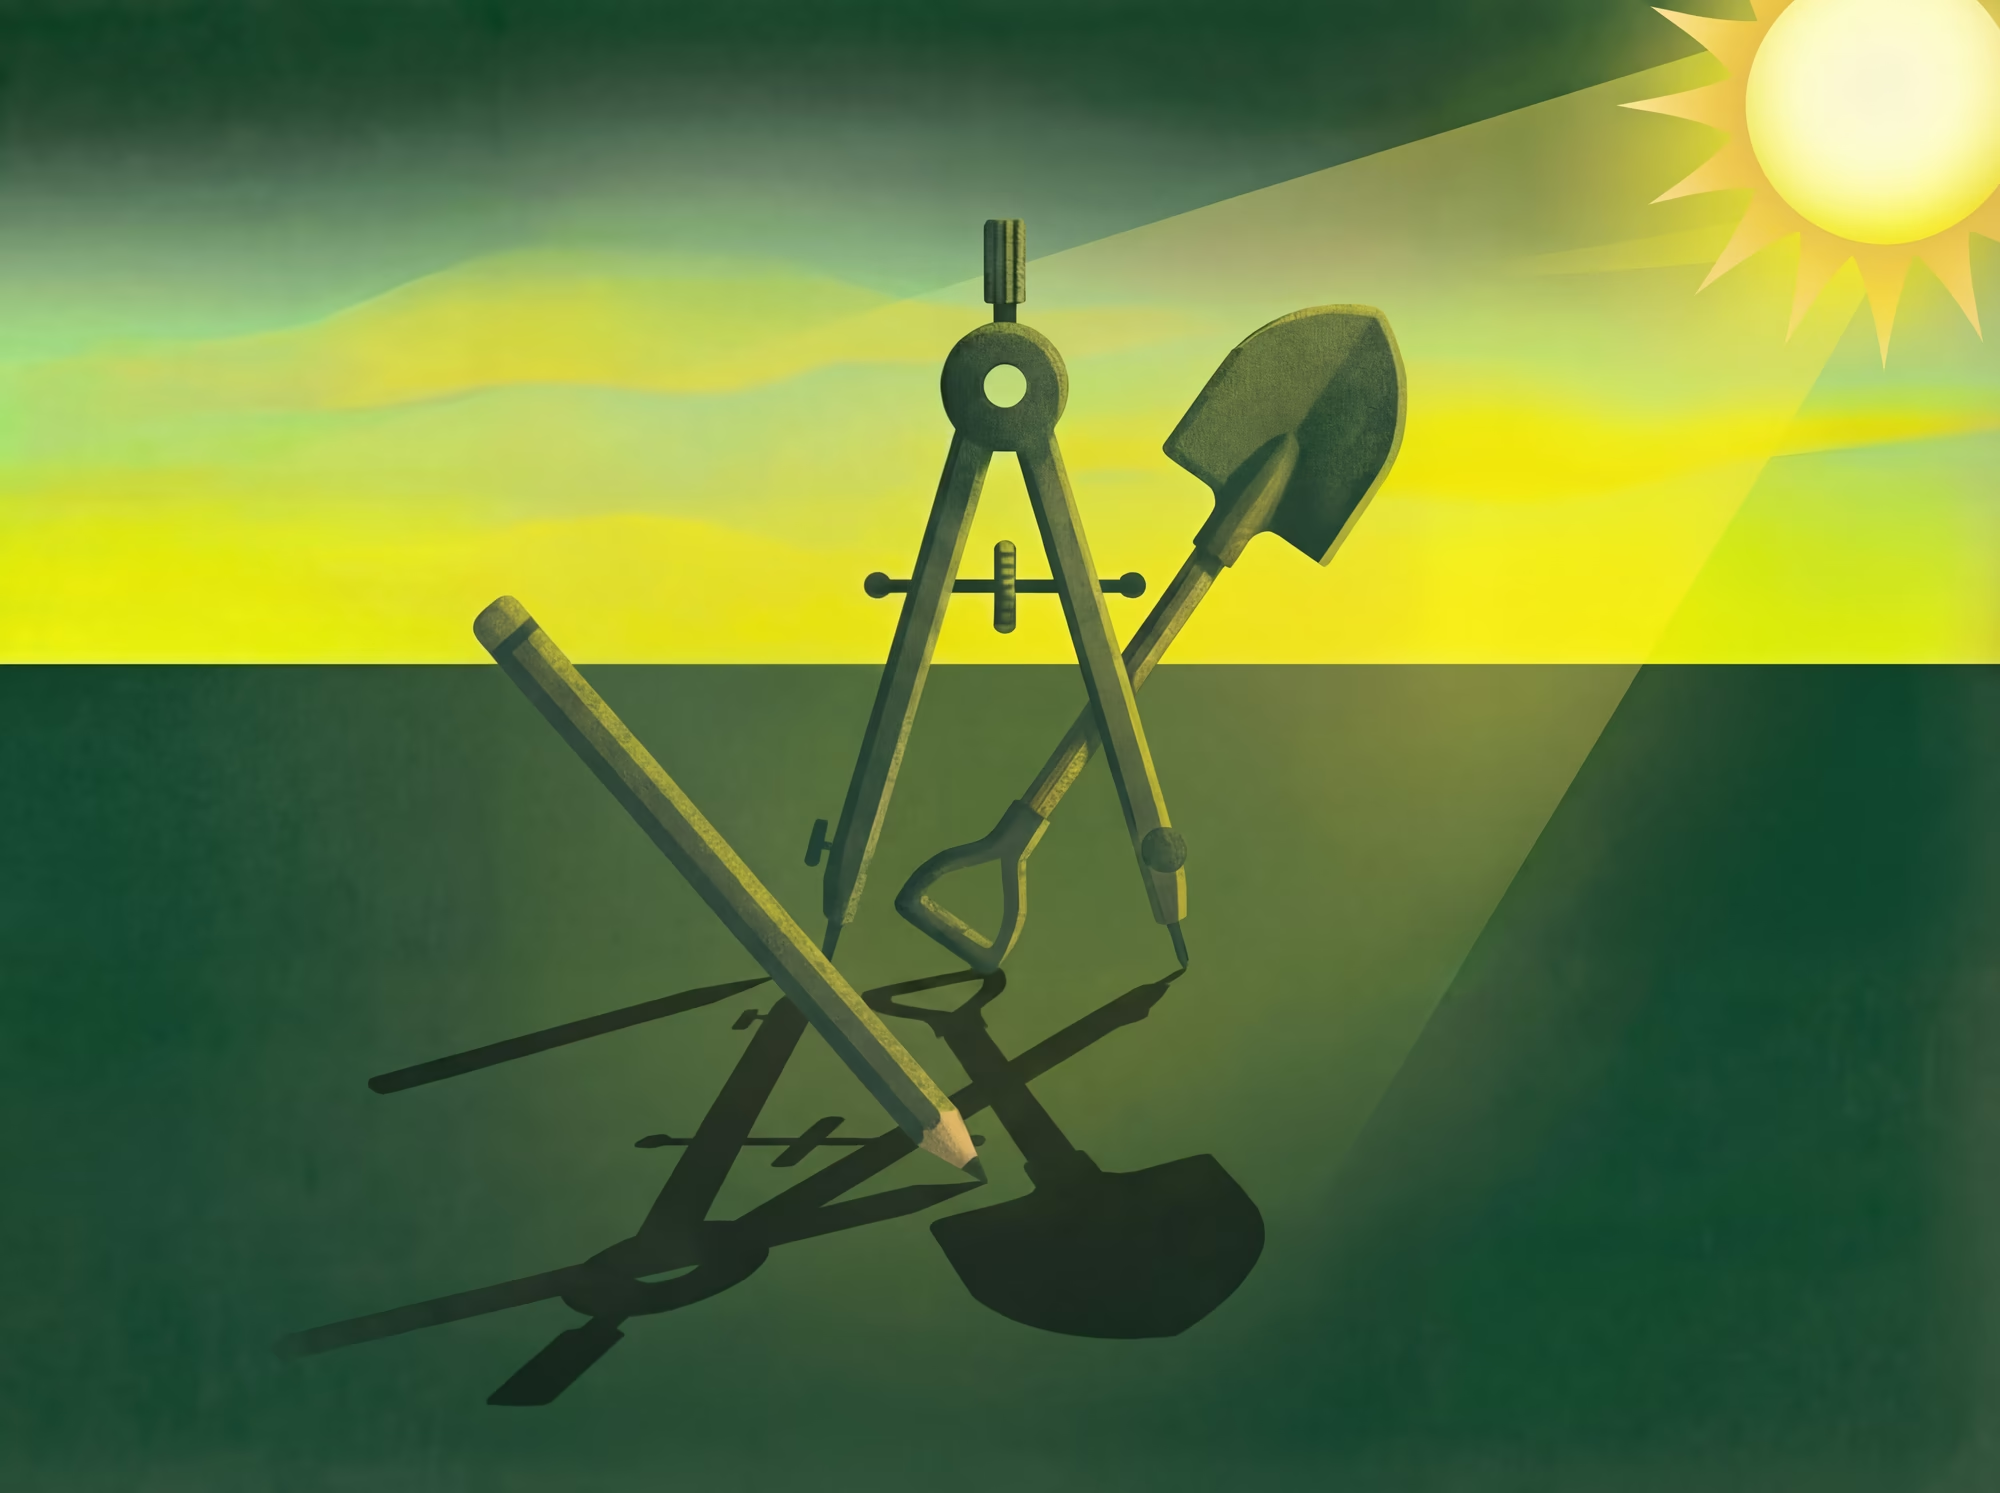
Planning is the step that separates a drip system that waters your Yardtopia beautifully from one that frustrates you all season. Spending 30 minutes with a pencil and a rough sketch of your garden will save you multiple trips to the hardware store and hours of rework.
Map Your Garden Zones
Start by walking your garden with a tape measure and a piece of graph paper. Sketch the general shape of each planting area: vegetable beds, ornamental borders, fruit trees, container groupings, and any raised garden beds. Note where your outdoor faucet is located, because that is where your mainline starts.
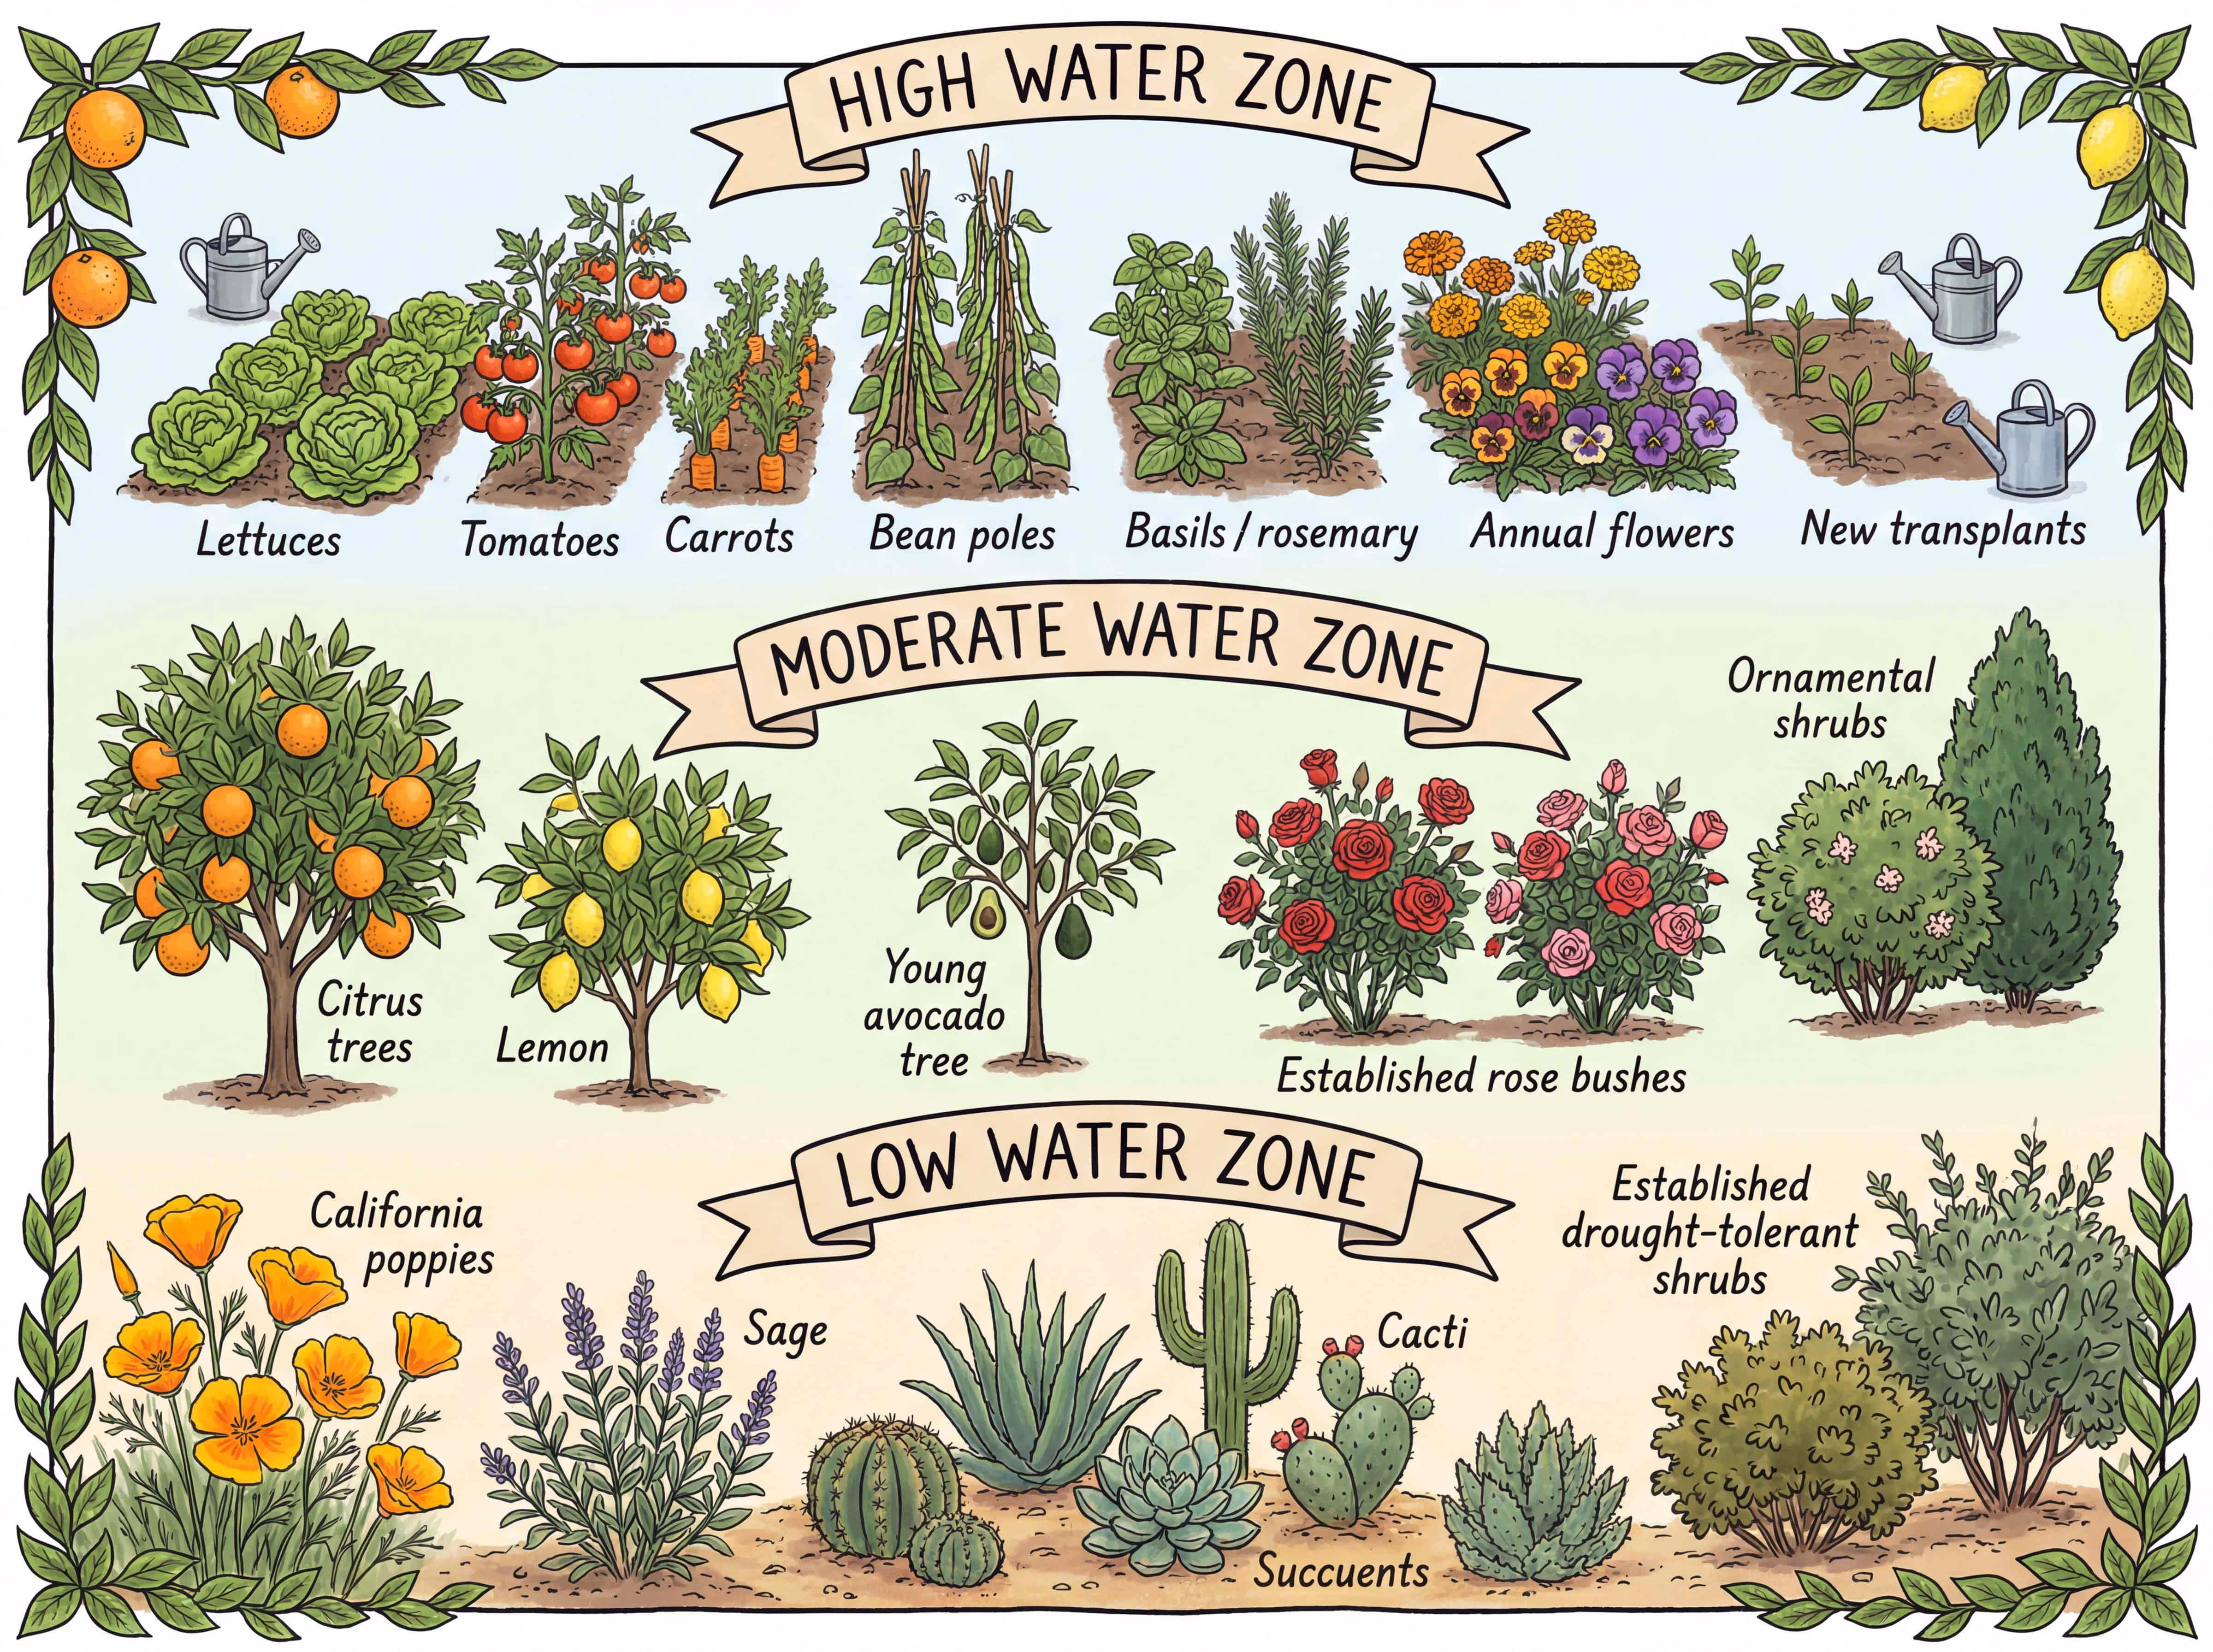
In Southern California, grouping plants by water needs is especially important. Native and drought-adapted plants like California buckwheat, sage, and manzanita need far less irrigation than tomatoes, peppers, and citrus. If you mix high-water and low-water plants on the same drip zone, you will either underwater one group or overwater the other.
Organize your layout into hydrozones:
Each hydrozone should have its own drip line or at minimum its own set of emitters sized to deliver the appropriate flow rate.
Calculate Emitter Spacing and Flow
A general rule for emitter placement: install one emitter within 6 inches of each plant's stem, positioned so water reaches the root zone. For larger plants and trees, use two to four emitters spaced evenly around the drip line of the canopy.
For vegetable rows and dense plantings, inline drip tubing with pre-spaced emitters (typically 12 inches apart) is the most efficient approach. One or two runs of inline tubing per raised bed will cover most configurations.
Sketch Your Supply Route
Draw the path your 1/2" mainline will take from the faucet to each garden zone. Keep mainline runs under 200 feet total for a single hose bib connection. If your garden is large, consider splitting the system into two zones with a Y-valve at the faucet.
Mark where you will need tees (to branch the mainline), elbows (to turn corners), and where 1/4" distribution lines will branch off to reach individual plants or rows.
EXPERT TIP
Take a photo of your finished sketch and keep it on your phone. When you are at the hardware store, you will have your measurements, fittings count, and tubing lengths right in your pocket. Buy 10% to 15% more tubing than you think you need. It is inexpensive and you will use it for adjustments.
How Do You Install a Drip Irrigation System Step by Step?
This is the hands-on section. With your plan sketched and materials purchased, installation is a straightforward process that most homeowners complete in three to five hours. No special tools required. No plumbing experience necessary.
Tools You Will Need
Step 1: Connect to Your Water Source
Attach the backflow preventer to your outdoor faucet or hose bib. Thread the pressure regulator onto the backflow preventer. Attach the filter to the pressure regulator. Finally, connect your 1/2" mainline tubing to the filter output using a hose-thread adapter or compression fitting.
Turn the water on briefly to confirm everything is tight and there are no leaks at the connections. It is much easier to fix a fitting at the faucet than to troubleshoot a leak after your entire system is laid out.
Step 2: Lay the Mainline Tubing
Unroll your 1/2" mainline along the route you planned. On warm days, the tubing becomes flexible and easy to work with. On cooler mornings, let the tubing sit in the sun for 20 to 30 minutes before you start. It will be much easier to handle.
Secure the mainline to the ground every 3 to 4 feet using tubing stakes or hold-downs. Route the tubing along bed edges, fence lines, or paths where it will not be a tripping hazard. Use elbows for 90-degree turns and tees where you need to branch to a second garden zone.
Step 3: Install Distribution Lines
At each planting area, use your hole punch tool to create a small opening in the mainline. Insert a barbed 1/4" connector (also called a transfer barb) and run your 1/4" distribution tubing to the plants that need water.
For raised beds, run one or two lines of inline drip tubing lengthwise through the bed, spacing them 12 inches apart for most vegetable plantings. For individual shrubs or trees, run a single 1/4" line from the mainline to each plant and attach an emitter at the end.
Step 4: Place Your Emitters
If you are using inline drip tubing, the emitters are already built in. Just position the tubing so emitters fall near plant stems.
For individual emitter installations, push a button-style drip emitter onto the end of each 1/4" distribution line, or punch directly into the mainline and insert an emitter where you need one. Choose your flow rate based on the plant: 0.5 GPH for small herbs and annuals, 1 GPH for most vegetables and perennials, 2 GPH for shrubs and young trees.
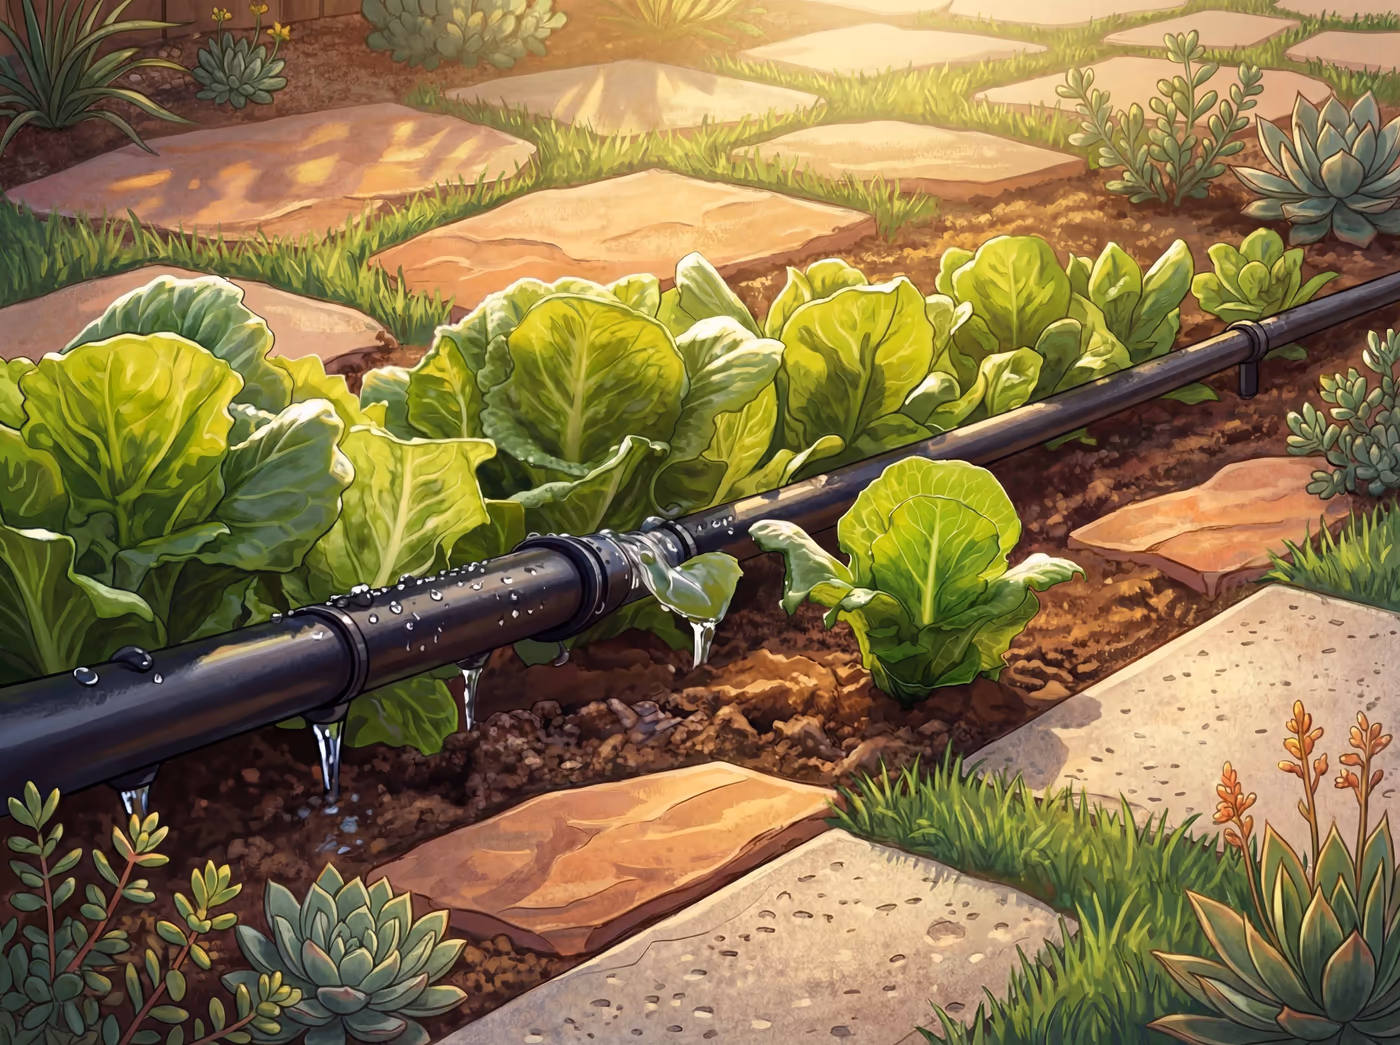
Step 5: Flush the System
Before capping any lines, turn on the water and let it run through the entire system for two to three minutes. This flushes out any dirt or plastic shavings from cutting and punching. You will see water flowing freely from every open end. Once the water runs clear, you are ready to cap.
Step 6: Cap the Ends
Fold the end of each mainline back on itself and secure it with a figure-eight end cap. These are designed to be easily removable, so you can flush the system again at the start of each season. Cap 1/4" lines with goof plugs (small stoppers that seal unused holes or line ends).
Step 7: Test and Adjust
Turn the system on and walk the entire layout. Check every emitter to confirm water is flowing. Look for:
Make adjustments as needed. This is the fine-tuning step that makes the difference between a system that "works" and one that works beautifully.
GOOD TO KNOW
The most common beginner mistake is not flushing the system before capping. Tiny plastic shavings from the hole punch will clog emitters within days if you skip this step. The two minutes it takes to flush can save you hours of troubleshooting later.
Set your timer, step back, and appreciate what you just built. A do it yourself drip irrigation system that keeps your garden healthy while using a fraction of the water a traditional setup would require. One weekend, one project, and your Yardtopia waters itself.
What About Drip Irrigation for Raised Beds?
If you garden in raised beds, drip irrigation is an especially good match. Raised beds drain faster than in-ground plantings because of their elevated soil volume and improved drainage, which means they dry out faster and benefit the most from slow, consistent watering.
The Simplest Setup
For a standard 4-foot by 8-foot raised bed, the easiest approach is two parallel runs of inline drip tubing spaced 12 inches apart, running the length of the bed. This provides even coverage for most vegetable and herb plantings. For wider beds (4 feet or more across), add a third run down the center.
Connect each run to your mainline using a 1/4" barbed tee, and secure the tubing along the soil surface with small U-shaped stakes. The tubing can run under a layer of mulch for a clean look and added moisture retention.
Kit Options for Raised Beds
Several manufacturers offer drip irrigation kits specifically designed for raised beds. These typically include:
A raised bed drip kit costs $15 to $30 per bed and installs in under 30 minutes. If you have multiple raised beds, connect them in series from a single mainline run. Just keep total line length under 50 feet per 1/4" run to maintain adequate pressure.
Container Drip Options
For container gardens and potted plants on a patio, 1/4" tubing with individual adjustable drippers works well. Run a 1/4" line from your mainline to each pot and insert a dripper rated at 0.5 to 1 GPH. Containers dry out faster than beds, so you may need to run your drip system longer or more frequently for potted plants.
If you are building an edible garden in containers or raised beds as part of your Yardtopia, drip irrigation takes the guesswork out of watering and gives you consistently better harvests. Plants that receive steady, even moisture produce more fruit, develop stronger root systems, and resist heat stress better than those on an inconsistent hand-watering schedule.
EXPERT TIP
When installing drip tubing in raised beds, lay it on top of the soil and cover it with 2 to 3 inches of mulch. This protects the tubing from UV degradation, keeps it from shifting, and adds the moisture-retention benefits of mulching. Just leave the emitter openings uncovered so water flows freely into the soil.
How Long Should You Run Your Drip Irrigation?
This is one of the most common questions about drip irrigation, and the answer depends on your soil type, your emitter flow rate, your plants, and the time of year. There is no single magic number, but there are reliable starting points for Southern California gardens.
Seasonal Watering Guidelines
SeasonFrequencyDuration per ZoneNotesSummer (Jun-Sep)3 days per week1 cycle of 30 to 40 minutesIncrease during heat waves above 95 degreesSpring (Mar-May)2 days per week1 cycle of 40 to 50 minutesReduce as spring rains supplementFall (Oct-Nov)1 to 2 days per week1 cycle of 20 to 30 minutesTaper as temperatures coolWinter (Dec-Feb)One day per week1 cycle of 40 to 50 minutesPause during rainy periods
These ranges assume 1 GPH emitters in loamy soil. Sandy soils drain faster and may need shorter, more frequent sessions. Clay soils absorb water slowly and benefit from longer run times at lower frequency. Refer to the watering guide for specific dripline system information at IRWD.com/watering-guide.
"For healthy roses, you need to commit to proper watering, and don't plant more than you can care for. I love my soaker hoses. They keep water where it needs to be—circled around the root zone. And mulch, mulch, mulch! It keeps roots cooler in summer and feeds the soil."
Marilyn Carne-Smith, Consulting Rosarian, Orange County Rose Society
How to Dial It In
The best way to calibrate your drip system is to check soil moisture after a watering session. Use your finger, a screwdriver, or an inexpensive soil moisture meter. Push it into the ground 4 to 6 inches deep near an emitter. The soil should feel evenly moist (like a wrung-out sponge) but not waterlogged.
If the top inch is wet but deeper soil is dry, you need longer run times. If water is pooling on the surface, your emitters may be flowing faster than the soil can absorb. Reduce duration and add a second session later in the day.
Timer Recommendations
A simple battery-operated hose-end timer makes watering completely hands-off. Set it to run in the early morning (between 4:00 and 7:00 AM) when evaporation is lowest and water pressure is highest. Most timers let you program multiple start times per day if you need split watering sessions for clay soil.
Wi-Fi and Bluetooth controllers offer additional convenience: adjust schedules from your phone, skip watering after rainfall, and track usage over time. These smart controllers typically cost $50 to $100 and connect directly to your hose bib, just like a basic timer.
GOOD TO KNOW
IRWD publishes seasonal watering recommendations specific to Orange County. Their guidelines account for local evapotranspiration rates and can help you fine-tune your schedule throughout the year. Check their website or contact their conservation team for current recommendations.
Signs You Are Getting It Right (and Wrong)
Healthy watering looks like:
Too much water looks like:
Too little water looks like:
Can You Get a Rebate for Installing Drip Irrigation?
Yes. If you live in the IRWD service area or another Southern California water district, there is a strong chance you can get money back for installing drip irrigation. Water agencies actively incentivize efficient irrigation because it reduces demand on the regional water supply, which benefits everyone.
IRWD Rebate Programs
IRWD serves more than 400,000 customers across Orange County and offers several programs that can offset the cost of upgrading to drip irrigation. Rebate programs typically cover:
Rebate amounts and eligibility requirements change periodically, so check current program details at Yardtopia.com or contact IRWD directly before you begin your project. In many cases, you need pre-approval before starting installation to qualify for the rebate.
Other Southern California Water District Incentives
Water districts throughout the region offer similar programs. If you are not in the IRWD service area, check with your local water provider. Common programs include:
The Savings Calculation
Even without rebates, drip irrigation pays for itself quickly. A basic system for a 200-square-foot garden costs $50 to $150 in materials. If switching from sprinklers reduces your outdoor water use by 30% to 50%, you could see the investment returned within a single growing season through lower water bills.
With a rebate covering part or all of the material cost, the return is even faster. Factor in reduced plant replacement (healthier plants live longer), lower disease treatment costs, and less time spent hand-watering, and the total value adds up.
If you are also considering removing your lawn and replacing it with a water-efficient landscape, drip irrigation is often a component of turf replacement rebate programs. Combining a lawn removal rebate with an irrigation upgrade rebate can significantly reduce the total cost of transforming your yard.
GOOD TO KNOW
Keep your receipts. Most rebate programs require proof of purchase for materials and, in some cases, photos of the completed installation. Take before and after photos of each irrigation zone you convert. This documentation also helps if you ever need to troubleshoot or expand your system later.
Frequently Asked Questions
How does drip irrigation work?
Drip irrigation works by delivering water slowly through a network of tubing and emitters placed directly at plant root zones. Water flows from your faucet through a pressure regulator (which reduces household pressure to the 15 to 30 PSI drip systems need), through a filter (which prevents clogging), and into mainline tubing that distributes it to individual emitters throughout your garden. Each emitter releases water at a controlled rate, typically 0.5 to 2 gallons per hour, allowing the soil to absorb moisture deeply without runoff or evaporation loss.
How much does a drip irrigation system cost to install yourself?
A basic DIY drip irrigation system for a small to medium garden costs $50 to $150 in materials. A starter kit covering 100 to 200 square feet typically runs $50 to $80 and includes mainline tubing, emitters, connectors, and a pressure regulator. Larger gardens or multiple zones may require $100 to $200 in components. The tools you need (hole punch, tubing cutter, stakes) are often included in kits or cost under $15 separately. The labor is free because installation is a straightforward weekend project.
How long should I run drip irrigation in Southern California?
In summer, run drip irrigation 30 to 60 minutes per zone, three to four times per week. In spring and fall, reduce to 20 to 40 minutes, two to three times per week. During winter, once per week for 15 to 20 minutes is usually sufficient, and you can pause entirely during rainy stretches. These are starting points for 1 GPH emitters in loamy soil. Check soil moisture at a 4 to 6 inch depth to calibrate the schedule for your specific garden conditions.
Can I connect drip irrigation to my existing sprinkler system?
Yes. You can convert an existing sprinkler zone to drip by removing the sprinkler heads and installing a drip conversion kit at each riser. The kit replaces the sprinkler head with a pressure regulator and filter, then connects to 1/4" drip tubing that you route to your plants. This approach keeps you on your existing irrigation controller and timer schedule while gaining the efficiency benefits of drip. Many water district rebate programs specifically support this type of conversion.
How far apart should drip emitters be?
Emitter spacing depends on soil type and plant size. In sandy soil, place emitters 12 inches apart because water drains straight down with minimal lateral spread. In loamy soil, 18 inches apart works well. In clay soil, you can space emitters up to 24 inches apart because water spreads laterally through the dense soil structure. For individual plants, place one to two emitters within 6 inches of the stem. For trees, use three to four emitters spaced evenly around the canopy drip line.
Do I need a timer for drip irrigation?
A timer is not strictly required, but it is strongly recommended. Drip irrigation runs at low flow rates, which means it is easy to turn it on and forget about it for hours. A simple battery-operated hose-end timer costs $25 to $50 and eliminates the risk of overwatering while ensuring your plants get water on a consistent schedule, even when you are away. Set it and forget it is the main advantage of drip irrigation, and a timer makes that possible.
How long do drip irrigation systems last?
With basic maintenance, a residential drip irrigation system lasts 10 to 15 years or longer. The mainline tubing is the most durable component and can last decades if protected from direct sunlight (cover it with mulch or bury it slightly). Emitters typically last 5 to 10 years before needing replacement. Filters and pressure regulators may need replacement every 5 to 7 years. The most common maintenance tasks are flushing lines at the start of each season and occasionally replacing a clogged emitter.
The Bottom Line
A drip irrigation system is one of the highest-return improvements you can make to your garden. It saves water, saves time, and produces healthier plants, all for less than the cost of a nice dinner out. And the installation genuinely is a weekend project.
Your action steps:
Every drop that goes directly to a root zone instead of evaporating into the air is a drop that works for your yard, your water bill, and your community. That is what building your Yardtopia looks like: practical choices that add up to something beautiful.