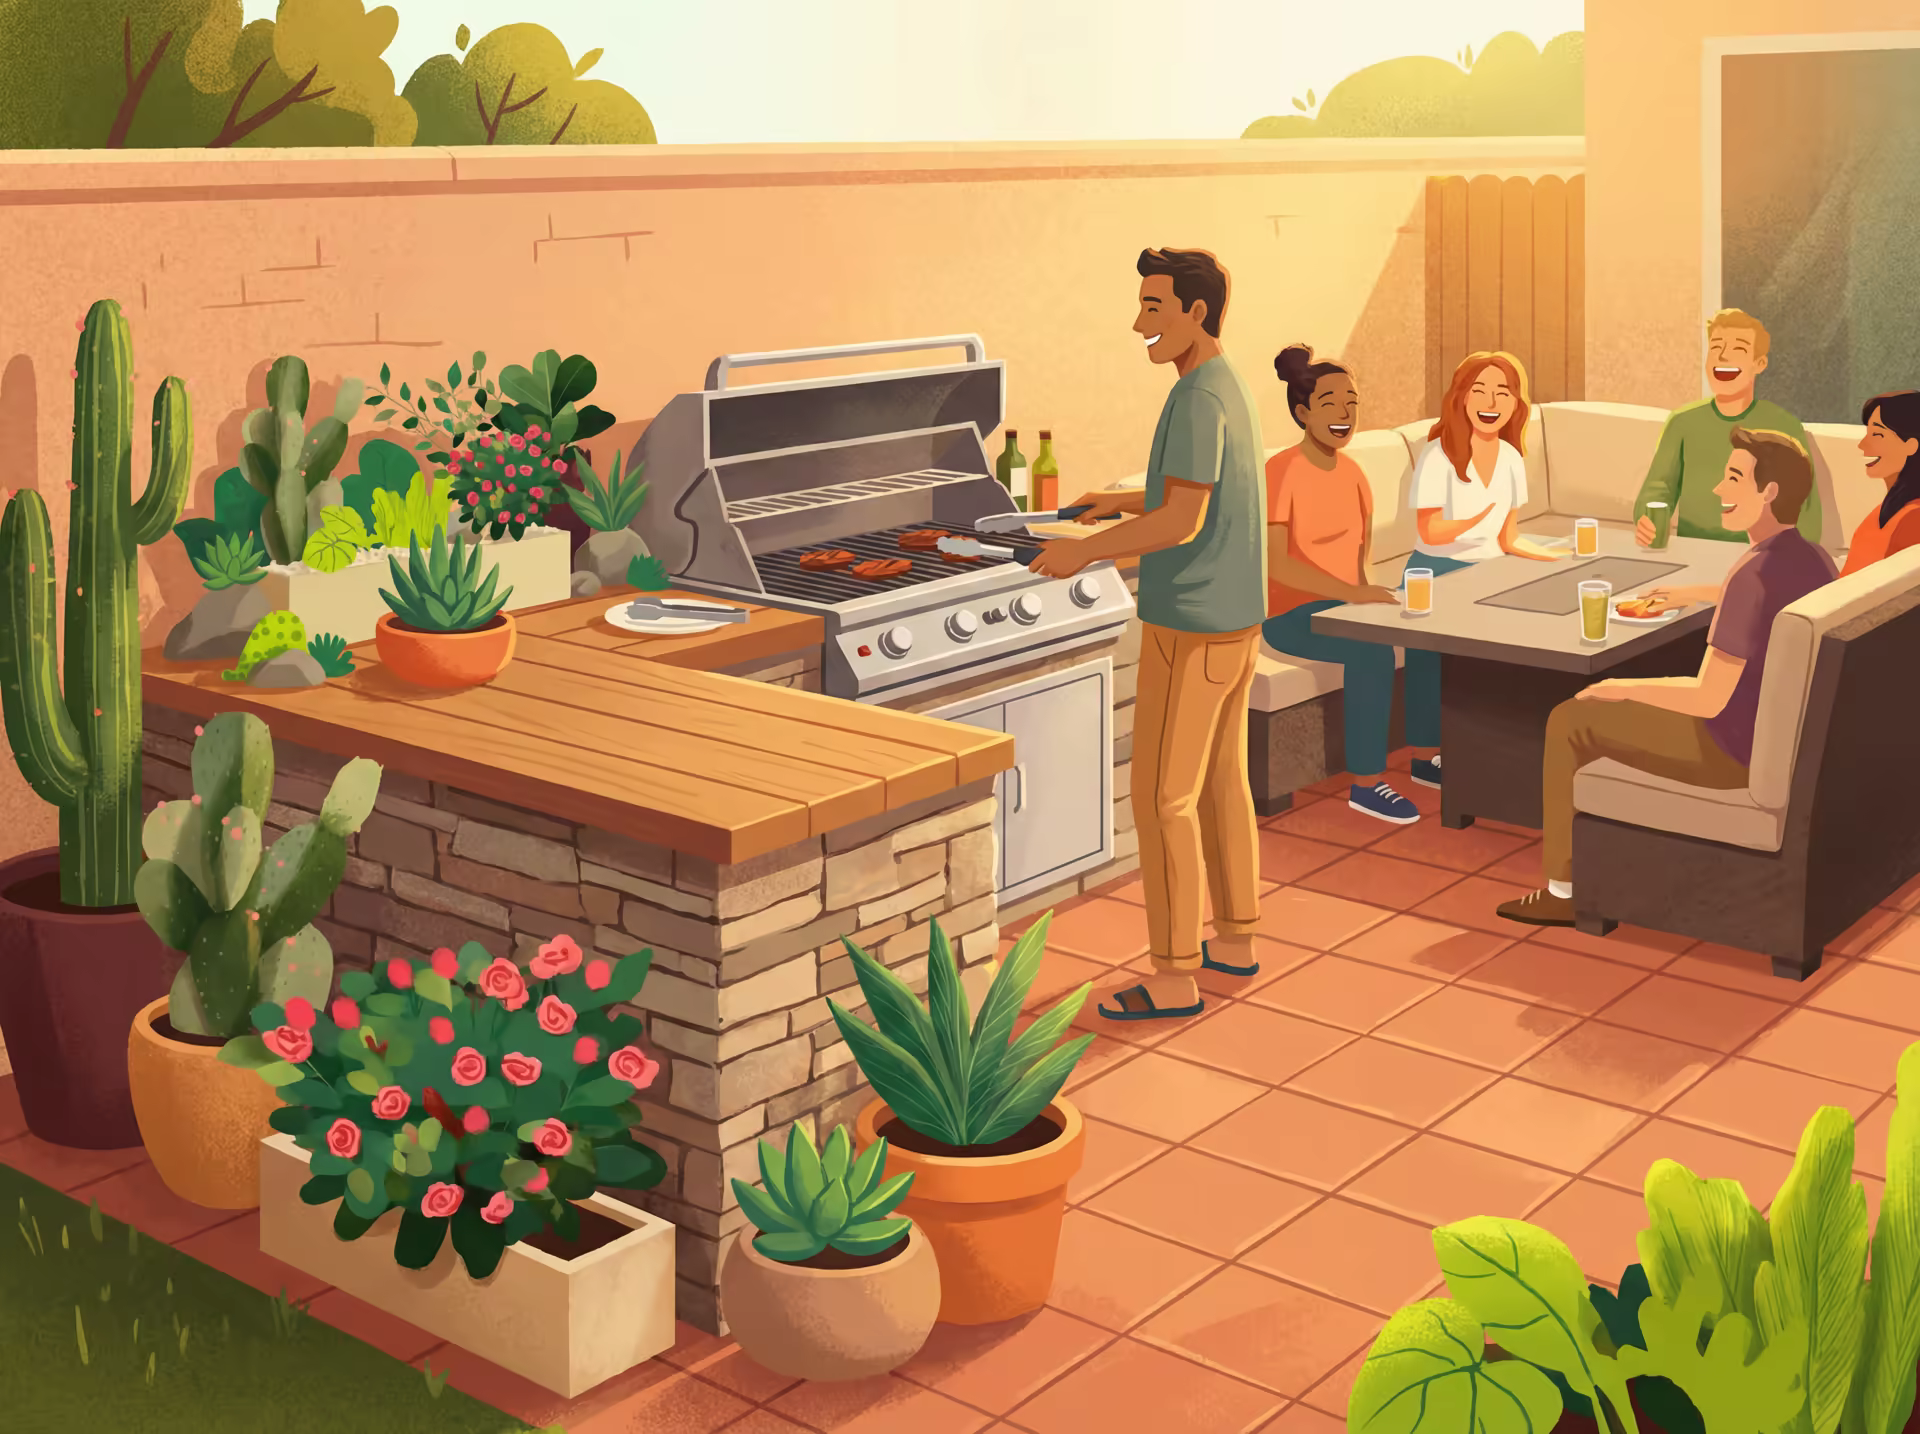
You are cooking, talking, pouring drinks, and watching your kids chase each other across the yard, all without leaving the conversation. This is what an outdoor kitchen actually gives you. It is not just a grill upgrade. It is a different way of living in your backyard, the kind that makes a space feel like you truly created your Yardtopia.
KEY TAKEAWAYS
- You do not need $30,000 and a contractor to start cooking outdoors. A well-planned grill station with counter space costs $1,000 to $3,000 and transforms how you use your backyard starting this month. Every level of outdoor kitchen is a complete, worthwhile setup on its own.
- Southern California is one of the best places in the country to invest in an outdoor kitchen. Year-round cooking weather means your setup earns its keep 300 or more days a year, and the return on investment in warm-climate markets is among the highest nationally.
- The outdoor kitchen that works best is designed around how you actually live, not around the most expensive grill. Start with where people already gather, face the cook toward the conversation, and build in stages. The best outdoor kitchens grew over time.
Why Does an Outdoor Kitchen Change How You Actually Live in Your Backyard?
That distinction matters. The outdoor kitchen does not replace your indoor kitchen. It replaces your dining room. It replaces the restaurant you used to drive to every Friday. It replaces the evenings you spent inside when the weather was perfect for being outside.
Homeowners who have built outdoor kitchens say the same thing with remarkable consistency. The biggest change was not in how they cook, but in how and where they eat. Families that ate in front of the television started eating outside together. Partners who never touched a pan indoors became the weekend grill master. Kids who had to be called to dinner started showing up at the counter to watch the food being made.
Which Materials Hold Up in Southern California?
Material selection is where outdoor kitchen builds succeed or fail over the long term. Southern California's intense UV exposure, occasional heavy rain, and coastal salt air create a demanding environment. The right materials look as good in year five as day one. The wrong ones mean fading, cracking, and expensive replacements within a couple of seasons.
Countertops
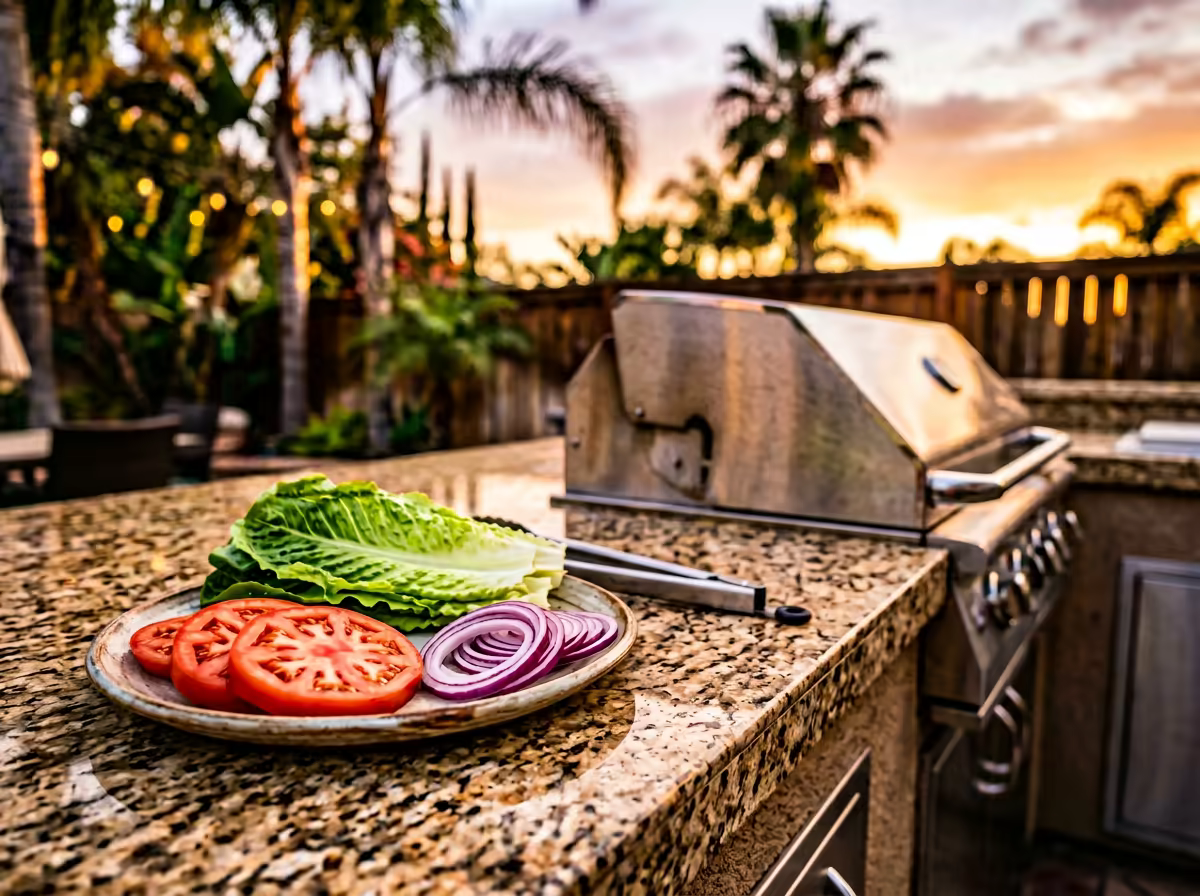
The countertop is the most visible and most-used surface in your outdoor kitchen. It needs to handle hot pans, direct sun, rain, and daily use without fading, cracking, or staining.
| Material | Heat Resistant | UV Resistant | Maintenance | Cost | Community Verdict |
|---|---|---|---|---|---|
| Granite | Excellent | Good | Seal every 1-2 years | $$$ | Top recommendation for outdoor kitchens |
| Dekton / Porcelain | Excellent | Excellent | Virtually none | $$$$ | Growing favorite for zero-maintenance appeal |
| Concrete | Good | Good | Seal regularly, can develop hairline cracks | $$ | Budget-friendly, highly customizable with stains |
| Natural Quartzite | Good | Good | Moderate sealing | $$$ | Solid alternative to granite |
| Engineered Quartz | AVOID | AVOID | N/A | N/A | Resin binder breaks down in UV. Indoor only. |
| Tile | Good | Good | Grout maintenance required | $ | Looks like stone at a fraction of the cost |
| Stainless Steel | Excellent | Excellent | Fingerprints, hot to touch in direct sun | $$$ | Commercial, functional look |
Granite remains the top recommendation for good reason: it handles heat, survives UV exposure, and requires only periodic sealing. For even lower maintenance, Dekton and porcelain slabs resist UV, heat, scratches, and staining with virtually no upkeep.
GOOD TO KNOW
One of the most common material mistakes: choosing engineered quartz for an outdoor countertop. Engineered quartz is a favorite indoors, but the resin binder that holds it together breaks down in direct sunlight, causing discoloration, warping, and surface damage. Natural quartzite and granite are the outdoor-rated alternatives that give you the look without the risk.
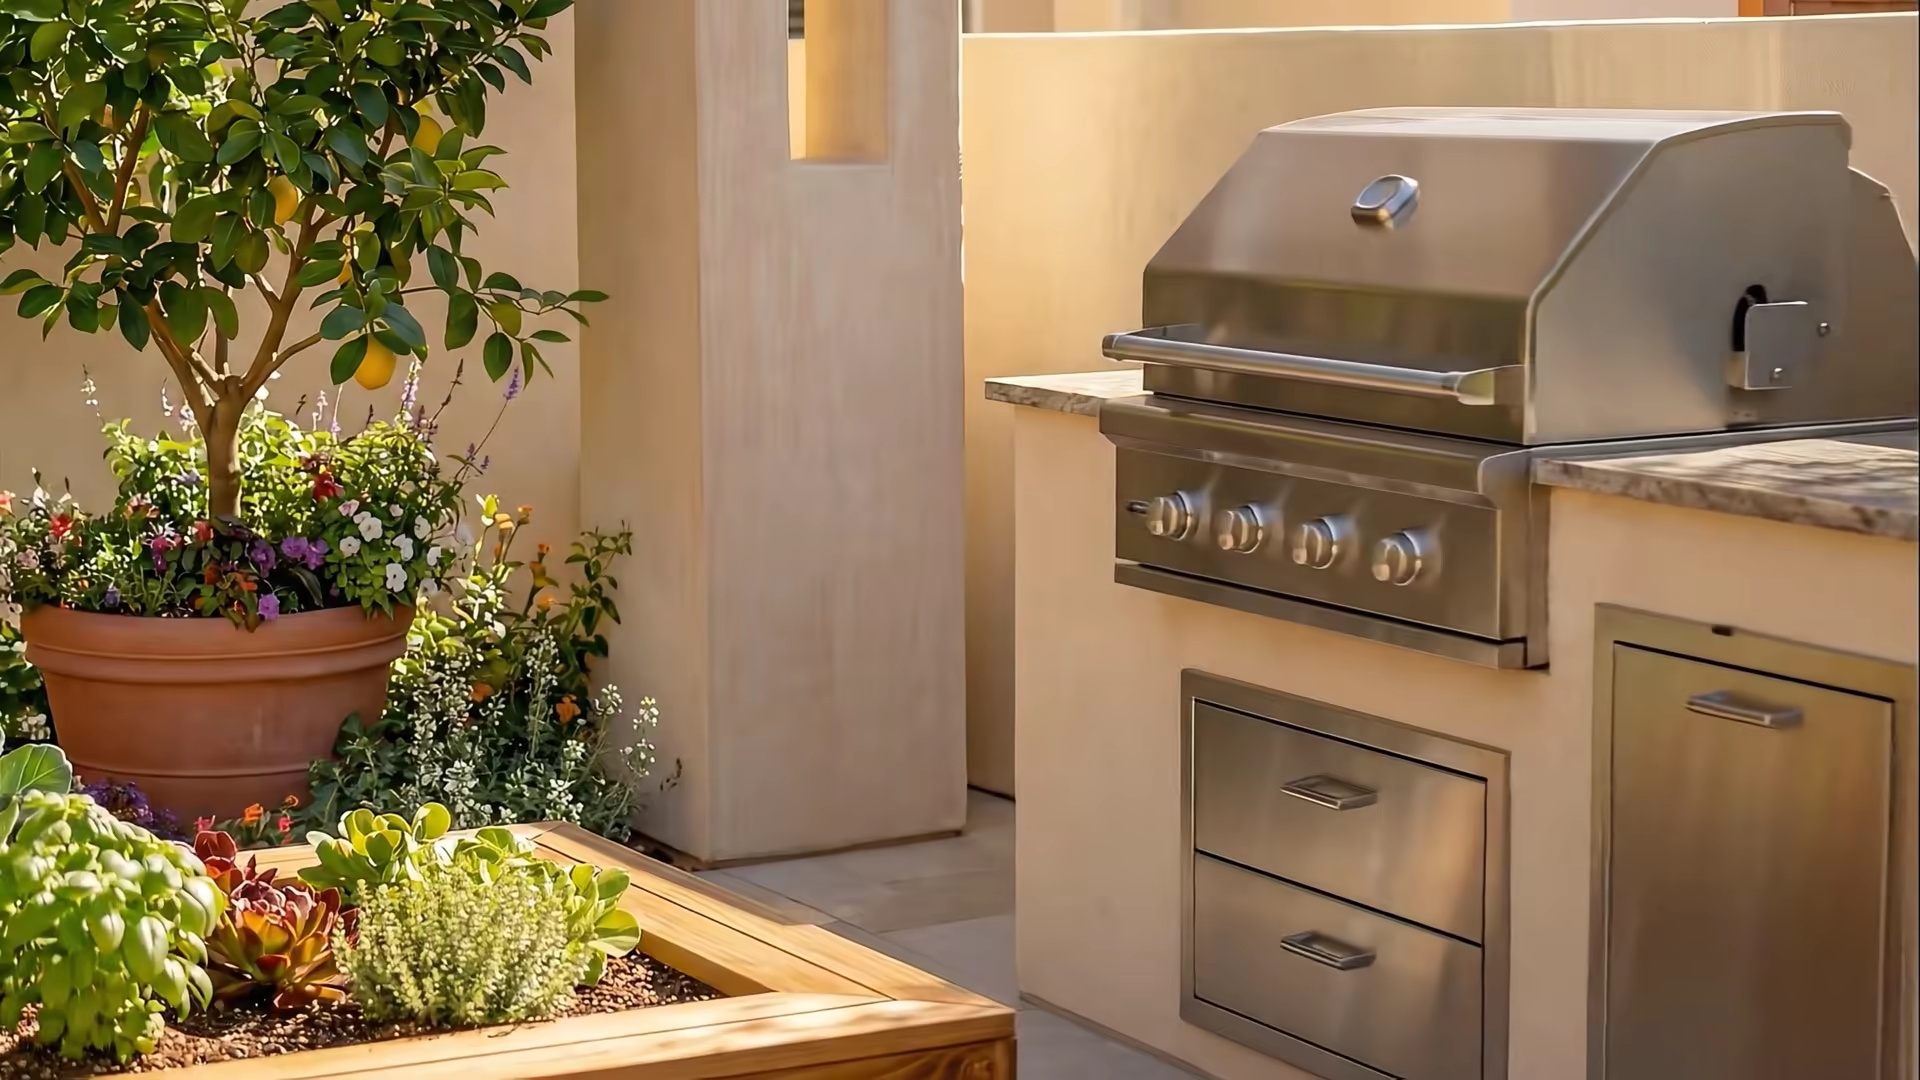
Structure and Cabinets
The bones of your outdoor kitchen island need to resist fire, moisture, and pests. Several approaches work well, each with different cost and DIY implications.
- 316 marine-grade stainless steel is the premium choice. It resists corrosion even in salt air environments, making it the top recommendation for coastal areas within 5 to 10 miles of the ocean.
- 304 stainless steel is the most common grade. It performs well inland but can corrode in coastal environments. For most of Orange County outside the immediate coast, 304 is a solid, cost-effective choice.
- Concrete block (CMU) is the budget builder's best friend. Fire-resistant, affordable, and structurally sound. The trade-off: it needs an exterior finish (stone veneer, stucco, or tile) to look complete.
- Metal stud and cement board framing offers a DIY-friendly, non-combustible structure that accepts any exterior finish. This is the approach most weekend builders choose for its balance of cost, workability, and fire safety.
- Wood framing is the easiest to work with but requires fire treatment and is less durable long-term. It works for covered kitchens where moisture exposure is minimal.
The Coastal Factor
If you live within 5 to 10 miles of the Southern California coast, salt air accelerates corrosion on every metal component. Marine-grade 316 stainless steel is the standard for coastal builds. Powder-coated finishes provide minimum protection, but bare aluminum and standard 304 stainless will show corrosion signs within a few years.
What Should You Include in Your Outdoor Kitchen (and What Can You Skip)?
Feature selection is where budgets expand and regrets accumulate. A few features are universally loved, several are genuinely divisive, and a handful are consistently regretted. Knowing which is which before you build saves money, space, and frustration.
Must-Haves (Universally Loved)
- Counter space on both sides of every cooking surface. The single most cited regret among outdoor kitchen owners: not enough counter space. You need room to set down plates, stage raw ingredients, rest finished meat, and keep drinks within reach. Build more counter space than you think you need. No one has ever finished an outdoor kitchen and wished for less.
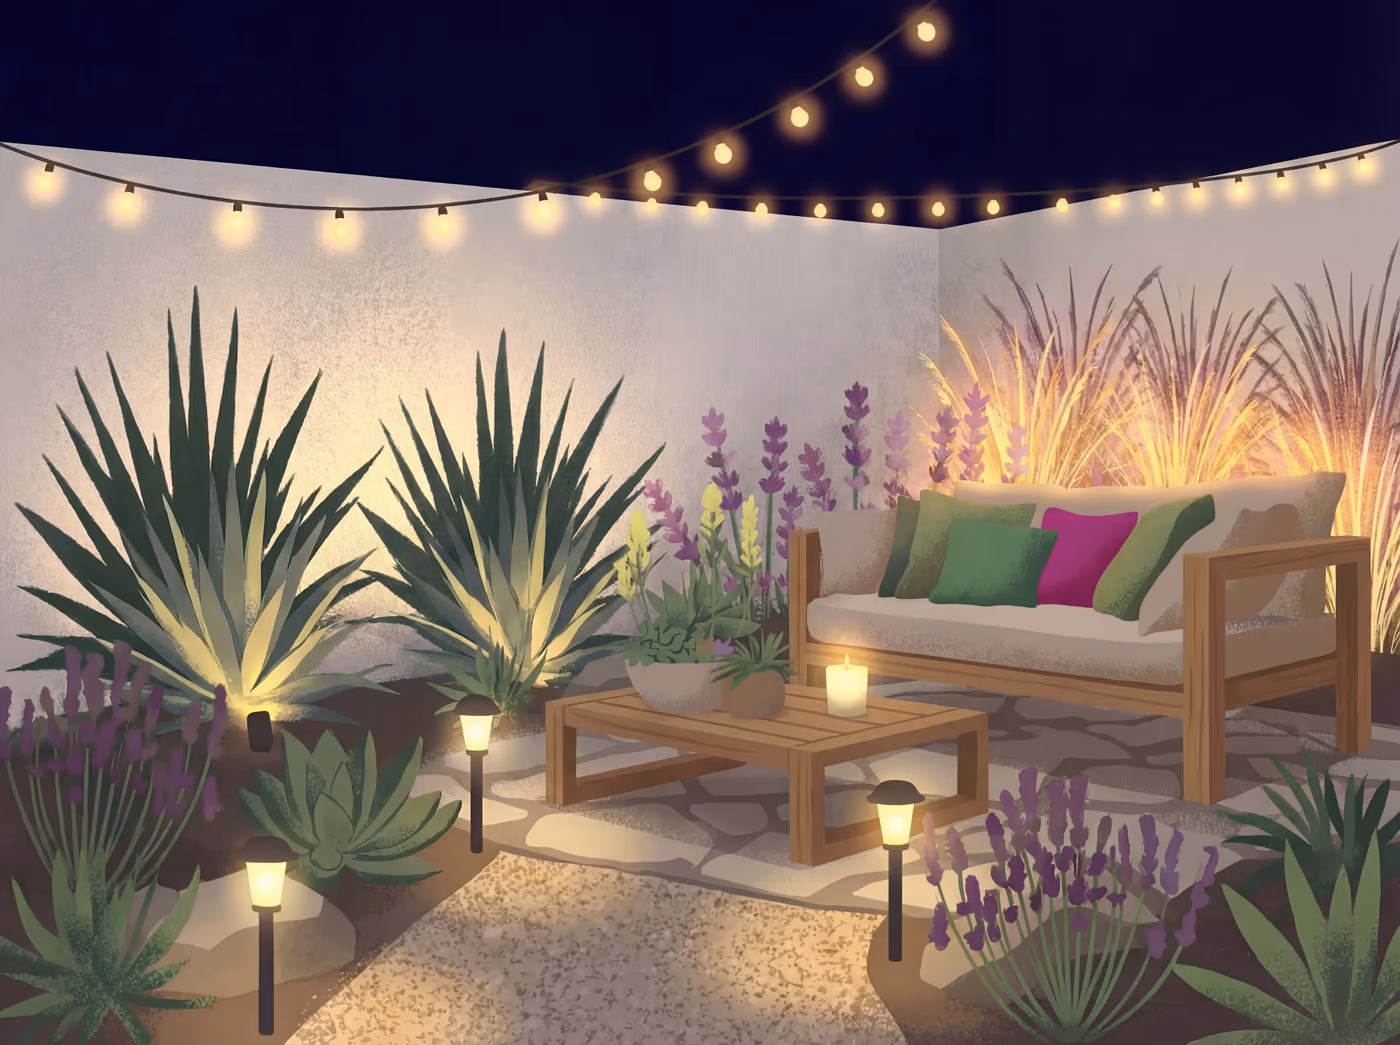
- Good lighting. Most outdoor cooking happens at dinner time, in fading or absent light. Directed task lighting over the grill surface is essential for safety and cooking accuracy. Ambient lighting for the surrounding area creates the atmosphere that makes people want to stay outside. LED floods on dimmers are the most recommended setup: bright for cooking, soft for dining.
- A cover or roof. Overhead protection extends the usability and lifespan of everything in your outdoor kitchen. Sun degrades materials. Rain drives people indoors. A covered outdoor kitchen is a year-round outdoor kitchen.
- Drawers, not cabinet doors. Drawers are easier to access (no bending into dark cabinets), stay cleaner, and organize supplies more efficiently. If you are choosing between drawer inserts and cabinet doors, choose drawers.
Worth It for Most People
- Outdoor refrigerator. Keeps drinks cold and stages meat without constant trips inside. A compact outdoor-rated fridge fits under most island countertops and costs $500 to $1,500. Most owners consider it one of the best additions they made.
- Ceiling fan (under covered areas). Moves smoke away from the cook and keeps air circulating on warm evenings. In Southern California's year-round cooking climate, this comfort addition makes a noticeable difference.
- Bar seating on the opposite side of the island. Guests sit, the cook stands on the other side, and the island becomes a conversation hub. If your layout allows it, 24 to 36 inches of overhang on one side creates a natural bar.
Divisive (Honest Assessment)
- Outdoor sink. The most debated feature in outdoor kitchen communities. Homeowners whose kitchen is far from the house call it essential: "I use mine every single day." Those with their setup close to the back door say: "Waste of money." The compromise: include a plumbing stub during construction even if you do not install a sink now. Adding plumbing to a finished island later costs dramatically more.
- Side burners. If you cook complete meals outdoors (sauces, sides, boiling water for corn), a side burner is a genuine cooking tool. If you primarily grill meat, it collects dust and takes up counter space. Be honest about how you cook before adding one.
- Built-in pizza oven. Enthusiasts describe the experience as "thrilling": watching dough transform in a 900-degree oven, second by second. But pizza ovens require skill, take 30 to 45 minutes to reach temperature, and occupy significant space. If the idea excites you, start with a portable countertop model ($300 to $800) before committing to a built-in.
Commonly Regretted
- Kegerators. The idea is appealing, but the reality is high maintenance and narrow use. Most homeowners who installed one say the same thing: "We just stock the fridge with a variety of cold beer instead."
- Features that photograph well but add no cooking utility. Decorative extras look impressive in the showroom but add nothing to the cooking or gathering experience.
- Under-sink without hot water. Cold-water-only sinks are significantly less useful than expected. If you install a sink, budget for hot water or reconsider.
GOOD TO KNOW
The community's most consistent advice about features: "Order every appliance before a single block is laid." Your contractor or your DIY plan needs exact dimensions of every grill, fridge, door, and drawer insert before construction begins. The cutout dimensions for a 36-inch grill vary by manufacturer, sometimes by a full inch. Retrofitting an island to fit a different appliance is expensive and frustrating. Measure twice, order first, build second.
How Much Does an Outdoor Kitchen Actually Cost?
Cost is the most searched question in the outdoor kitchen space, and the most poorly answered. Here is what outdoor kitchens actually cost, in honest tiers based on what real homeowners spend.
The 4-Tier Budget Breakdown
| Tier | Cost Range | What You Get | Best For |
|---|---|---|---|
| Starter | $500-$2,000 | Grill station with prep surface. No utilities. Cinder block island ($500-$800) or metal stud station ($1,000-$2,000). | Testing the concept. Renters. First-time outdoor cooks. |
| Mid-Range DIY | $3,000-$8,000 | Built grill island with countertops, storage, basic electrical (outlets, lights). Maybe a mini fridge. | Homeowners who want a dedicated setup without major construction. |
| Mid-Range Pro | $10,000-$25,000 | Custom island, quality appliances, plumbing (sink), electrical, some hardscaping. | The "this is our forever home" investment. |
| Premium | $30,000-$80,000+ | Full kitchen: multiple cooking zones, bar area, premium materials, entertainment features. | Dedicated entertainers. High-use outdoor living. |
Where the Money Actually Goes
Understanding the cost breakdown helps you see where to invest and where to save.
- Appliances (30 to 40 percent). The grill is the centerpiece. A quality built-in gas grill runs $1,000 to $4,000. Outdoor refrigerators add $500 to $1,500. Side burners and other cooking appliances add $200 to $1,500 each.
- Structure and framing (20 to 30 percent). Cinder block is the budget leader at $500 to $1,500 for a basic island frame. Metal stud and cement board runs $800 to $2,000. Custom masonry with stone veneer: $3,000 to $10,000+.
- Countertops (variable by material). Tile starts at $15 to $30 per square foot. Concrete runs $40 to $80. Granite runs $60 to $150. Dekton and porcelain slabs run $80 to $200.
- Labor (20 to 40 percent if hiring professionals). DIY eliminates this. Professional installation adds $5,000 to $20,000+ depending on complexity.
- Utilities (often underestimated). Gas line installation runs $500 to $2,000. Electrical runs $500 to $2,000. Plumbing for a sink runs $1,000 to $3,000. Total utility costs can reach $2,000 to $5,000+.
The Hidden Cost: Utilities
Running utilities to a new location is consistently the most underestimated expense. The closer your outdoor kitchen is to existing gas, water, and electrical lines, the less this costs. Budget shortcut: use propane tanks instead of running a natural gas line. Add electrical outlets but skip plumbing initially (run the stub so you can add a sink later). These choices can save $2,000 to $4,000 upfront.
The Entertainment Savings Reframe
Several homeowners frame the investment differently: they used to spend $200 to $300 every weekend eating out. Now they host it at home for $50. At that rate, even a $5,000 outdoor kitchen pays for itself within a year. The math works, especially when you factor in 300+ days of Southern California cooking weather.
Can You Build an Outdoor Kitchen Yourself?
Yes. The question is which parts you should DIY and which you should hire out. Always remember to check HOA guidelines before building.
Three Paths Compared
| Approach | Cost Savings | Skill Required | Timeline | Permits |
|---|---|---|---|---|
| Full DIY | 30-50% | Moderate to high | Weeks to months | Gas / electrical yes, structure varies |
| Modular / Kit | 10-20% | Low (assembly only) | 1-2 days | Usually not required |
| Hire a Pro | None (but time saved) | None | 1-4 weeks | Contractor handles everything |
What You Can Realistically DIY
- Cinder block or metal stud island framing. The most common DIY approach. Stacking blocks or building a metal stud frame with cement board requires basic construction skills and common tools. Multiple builders complete the framing in a single weekend.
- Countertop installation. With a pre-cut slab ordered to your dimensions, setting the countertop is a manageable two-person job.
- Gravel or paver pad preparation. Excavate, compact gravel, level, and set pavers or pour a concrete pad. Straightforward weekend work.
- Tile or stone veneer application. Thin-set stone veneer is designed for DIY. Full masonry veneer typically requires experience.
- Low-voltage lighting. LED landscape and under-counter lighting runs on low-voltage transformers and is safe for homeowner installation.
"Live with your yard for at least one full season before you build. Watch where the sun hits, where wind comes from, where people naturally gather, and where you already tend to stand when grilling. Build where life already happens."
What You Should Hire Out
- Gas line connections. A safety and code requirement, not a suggestion. Natural gas and propane connections must be done by a licensed professional.
- Electrical circuits. New dedicated circuits from your panel require a licensed electrician and a permit.
- Plumbing rough-in. Supply and drain lines need professional installation for code compliance and proper backflow prevention.
- Structural footings. If building on a slope or unstable soil, structural footings may be required. A professional assessment is worth the cost.
The Weekend Project Path
A Level 2 grill island is a realistic weekend-to-two-weekend project for a moderately handy homeowner, with total costs ranging from $500 for a basic cinder block setup to $3,000 for a metal stud and granite build. The phased approach works beautifully: build the island on weekend one, add the grill on weekend two, finish the exterior on weekend three. Each stage is a complete, usable setup.
The Most Important DIY Advice
Run all utilities during framing, not after. Even if you skip the sink now, have a plumber run the stub during construction. Even if you skip the fridge circuit, have an electrician run the conduit. Adding utilities to a finished island means tearing into finished surfaces, and the cost doubles or triples.
PRO TIP
The community's most emphatic DIY advice: "Live with your yard for at least one full season before you build. Watch where the sun hits, where wind comes from, where people naturally gather, and where you already tend to stand when grilling. Build where life already happens." This ten-dollar investment of time routinely prevents thousand-dollar mistakes in placement.
How Do You Cook Outdoors in Southern California Year-Round?
Southern California is one of the best places in the country to invest in an outdoor kitchen. Year-round cooking weather, a culture that revolves around outdoor living, and a landscape movement that rewards replacing lawn with functional space make the value proposition stronger here than almost anywhere. But cooking year-round in this climate has its own considerations.
Year-Round Cooking Weather
Three hundred or more days a year, the weather is suitable for outdoor cooking. While a $10,000 outdoor kitchen in Chicago sits covered and unused from November through April, the same investment in Orange County earns its keep twelve months a year. This year-round usability also means year-round wear: materials face continuous UV exposure, hardware sees constant use. Build for durability from the start.
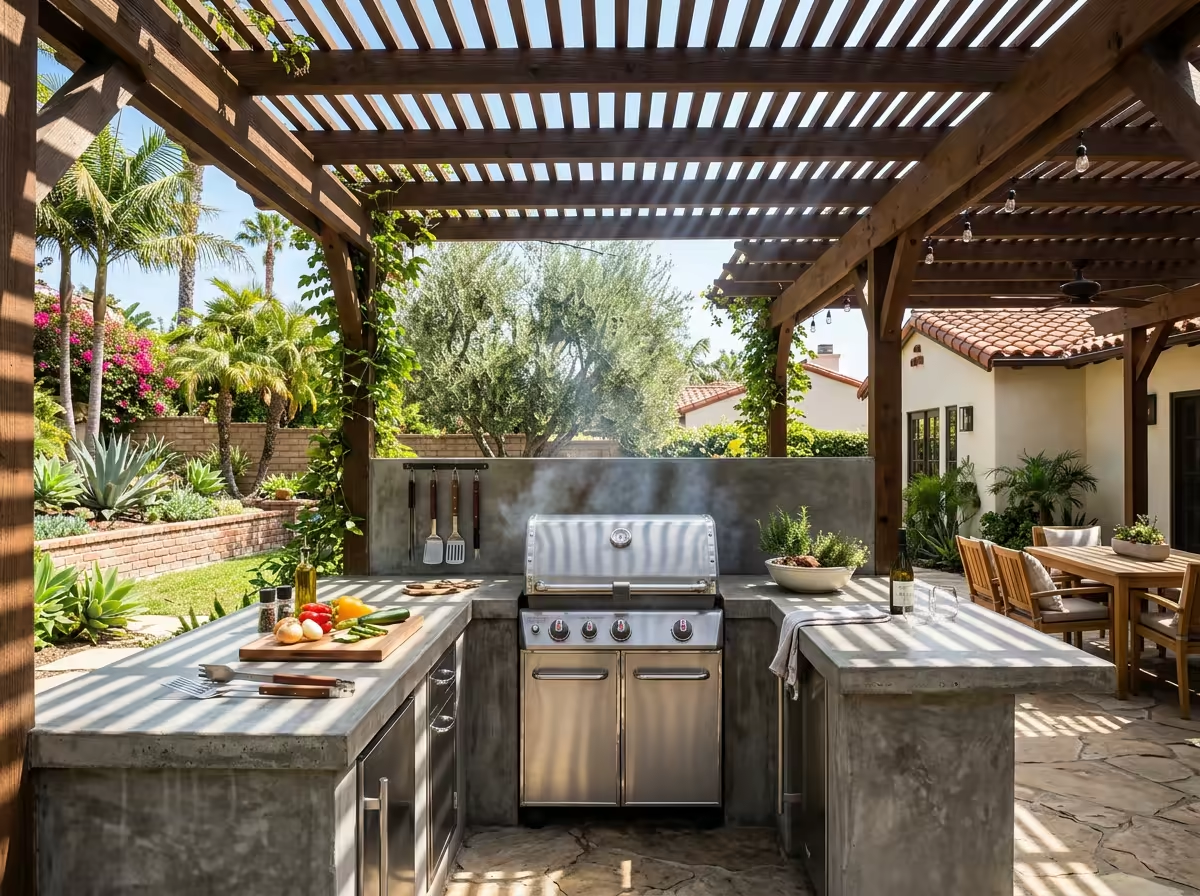
Managing the Heat
A shade structure over your outdoor kitchen is not optional in Southern California. It is foundational. Pergolas filter sunlight while allowing airflow. Solid patio covers provide complete protection. Shade sails offer a more affordable option that can be installed in an afternoon. Without shade, surfaces become too hot to touch, the cook suffers in direct sun, and UV-sensitive materials degrade faster. A covered outdoor kitchen is cooler, more comfortable, and lasts longer.
Fire Safety in California
California fire codes require open-flame cooking devices to be at least 10 feet from combustible materials in multi-family buildings. Single-family homes are exempt from this specific rule, but keeping your grill and cooking area a safe distance from your home, wooden fences, and overhanging branches remains a smart safety practice. Use non-combustible island materials and check your local fire department's guidelines for your specific situation. During Santa Ana wind events, when hot, dry conditions increase fire risk, keep a fire extinguisher within easy reach and use common sense about open-flame cooking.
Wind and the Santa Anas
Southern California's Santa Ana winds bring hot, dry gusts that push smoke and can carry embers. Position the cooking area where wind carries smoke away from the house, and consider a windbreak (masonry wall, dense hedge, or solid fence section) on the prevailing wind side. During severe Santa Ana events, avoid open-flame cooking on red flag warning days and keep lids closed on grills when not actively tending food.
Coastal Considerations
Within 5 to 10 miles of the coast, salt air accelerates corrosion on every metal surface. Marine-grade 316 stainless steel is the standard for all components: grill housing, cabinet doors, drawer slides, and hardware. Standard 304 stainless develops surface rust within a few years in coastal environments.
The Outdoor Kitchen as Water-Wise Hardscape
Here is a connection most outdoor kitchen content overlooks: your outdoor kitchen and its surrounding patio replace turf with functional living space. The hardscape that supports your outdoor kitchen is space that no longer needs irrigation. Your outdoor kitchen is not just a cooking space. It is part of a yard design that uses less water and more life. For homeowners considering lawn removal, the outdoor kitchen area is one of the most compelling reasons to convert: you are not giving up green space. You are gaining a room. It is part of creating your Yardtopia, one functional, beautiful space at a time.
Browse outdoor kitchen and backyard ideas including imagery and guides to get started at Yardtopia.com.
GOOD TO KNOW
In warm-weather markets like Southern California, outdoor kitchen investments show 55 to 200 percent ROI, skewing higher than national averages because the kitchen is usable year-round. Industry data consistently places outdoor kitchens among the highest-return home improvements in warm-climate markets. For Southern California homeowners, the combination of year-round usability, lifestyle enhancement, and water-wise hardscape value makes the investment particularly strong.
Frequently Asked Questions
How much does it cost to build an outdoor kitchen?
A basic grill station with counter space starts at $500 to $2,000 for a DIY build. A mid-range outdoor kitchen with a built-in grill, countertops, and storage typically runs $3,000 to $8,000 for a DIY project or $10,000 to $25,000 with professional installation. Premium outdoor kitchens with multiple cooking zones, plumbing, and entertainment features can reach $30,000 to $80,000 or more. The biggest cost variable is whether you build yourself or hire a contractor, and how far utilities need to run from existing connections.
Can I build an outdoor kitchen myself?
Yes. A basic grill island built from cinder blocks or metal studs with a countertop is a realistic weekend project for moderately handy homeowners. Multiple DIY builders report completing Level 2 setups for $1,000 to $3,000 in materials. However, gas line connections, new electrical circuits, and plumbing should always be done by licensed professionals for safety and code compliance.
Do I need a permit for an outdoor kitchen in California?
In most California jurisdictions, you need permits for gas line work, new electrical circuits, and plumbing connections. A simple grill island without utilities may not require a permit, but requirements vary by city and county. Check with your local building department before starting construction. Building without required permits can affect your homeowner's insurance, complicate a future home sale, and create safety concerns.
What is the best countertop material for an outdoor kitchen?
Granite is the most commonly recommended outdoor kitchen countertop. It resists heat, handles UV exposure well, and requires only periodic sealing every one to two years. Dekton and porcelain slabs are gaining popularity for their near-zero maintenance. The one material to avoid outdoors is engineered quartz: its resin binder breaks down in direct sunlight, causing discoloration and surface damage.
Is an outdoor kitchen worth the investment?
In Southern California, where you can use the space year-round, outdoor kitchens consistently rank among the highest-ROI home improvements. Industry data suggests 55 to 200 percent return depending on quality and market. Many homeowners also report that the kitchen pays for itself in reduced restaurant spending, with some estimating $200 to $300 per month in savings from entertaining at home instead of eating out.
What are the most common outdoor kitchen mistakes?
Not enough counter space is the single most cited regret. Other common mistakes include ignoring wind direction (smoke blows into the house), choosing indoor-rated materials like engineered quartz for outdoor use, building too far from the indoor kitchen, skipping shade or a cover, and forgetting about storage. The best prevention: live with your yard for a full season, observe how you use the space, and order all appliances before construction begins so dimensions are exact.
What is the difference between a grill island and an outdoor kitchen?
A grill island is a built-in grill with countertop space, usually without plumbing or significant electrical work. An outdoor kitchen adds multiple cooking zones, a sink, refrigeration, storage, and sometimes a bar or dining area. Many homeowners start with a grill island and expand over time. There is no wrong starting point. A well-designed grill station is a complete, worthwhile setup on its own.
An outdoor kitchen is not one thing. It is a spectrum from a $500 grill station to an $80,000 outdoor living room, and every level along that spectrum is a complete, worthwhile setup that changes how you use your backyard. The grill station where you first cooked outside for your family is just as real as the full kitchen with the bar and the pizza oven. Each stage matters.
Southern California is one of the best places in the country to invest in outdoor cooking space. Year-round weather, a culture that already revolves around outdoor living, and a landscape movement that rewards converting lawn to functional hardscape make the value proposition stronger here than almost anywhere else. Your outdoor kitchen is not just a cooking space. It is part of your Yardtopia.
Start with where life already happens in your yard. Watch where people gather, where the sun falls at dinner time, where the wind carries smoke. Then build one stage at a time. The outdoor kitchens that feel the most like home grew that way.