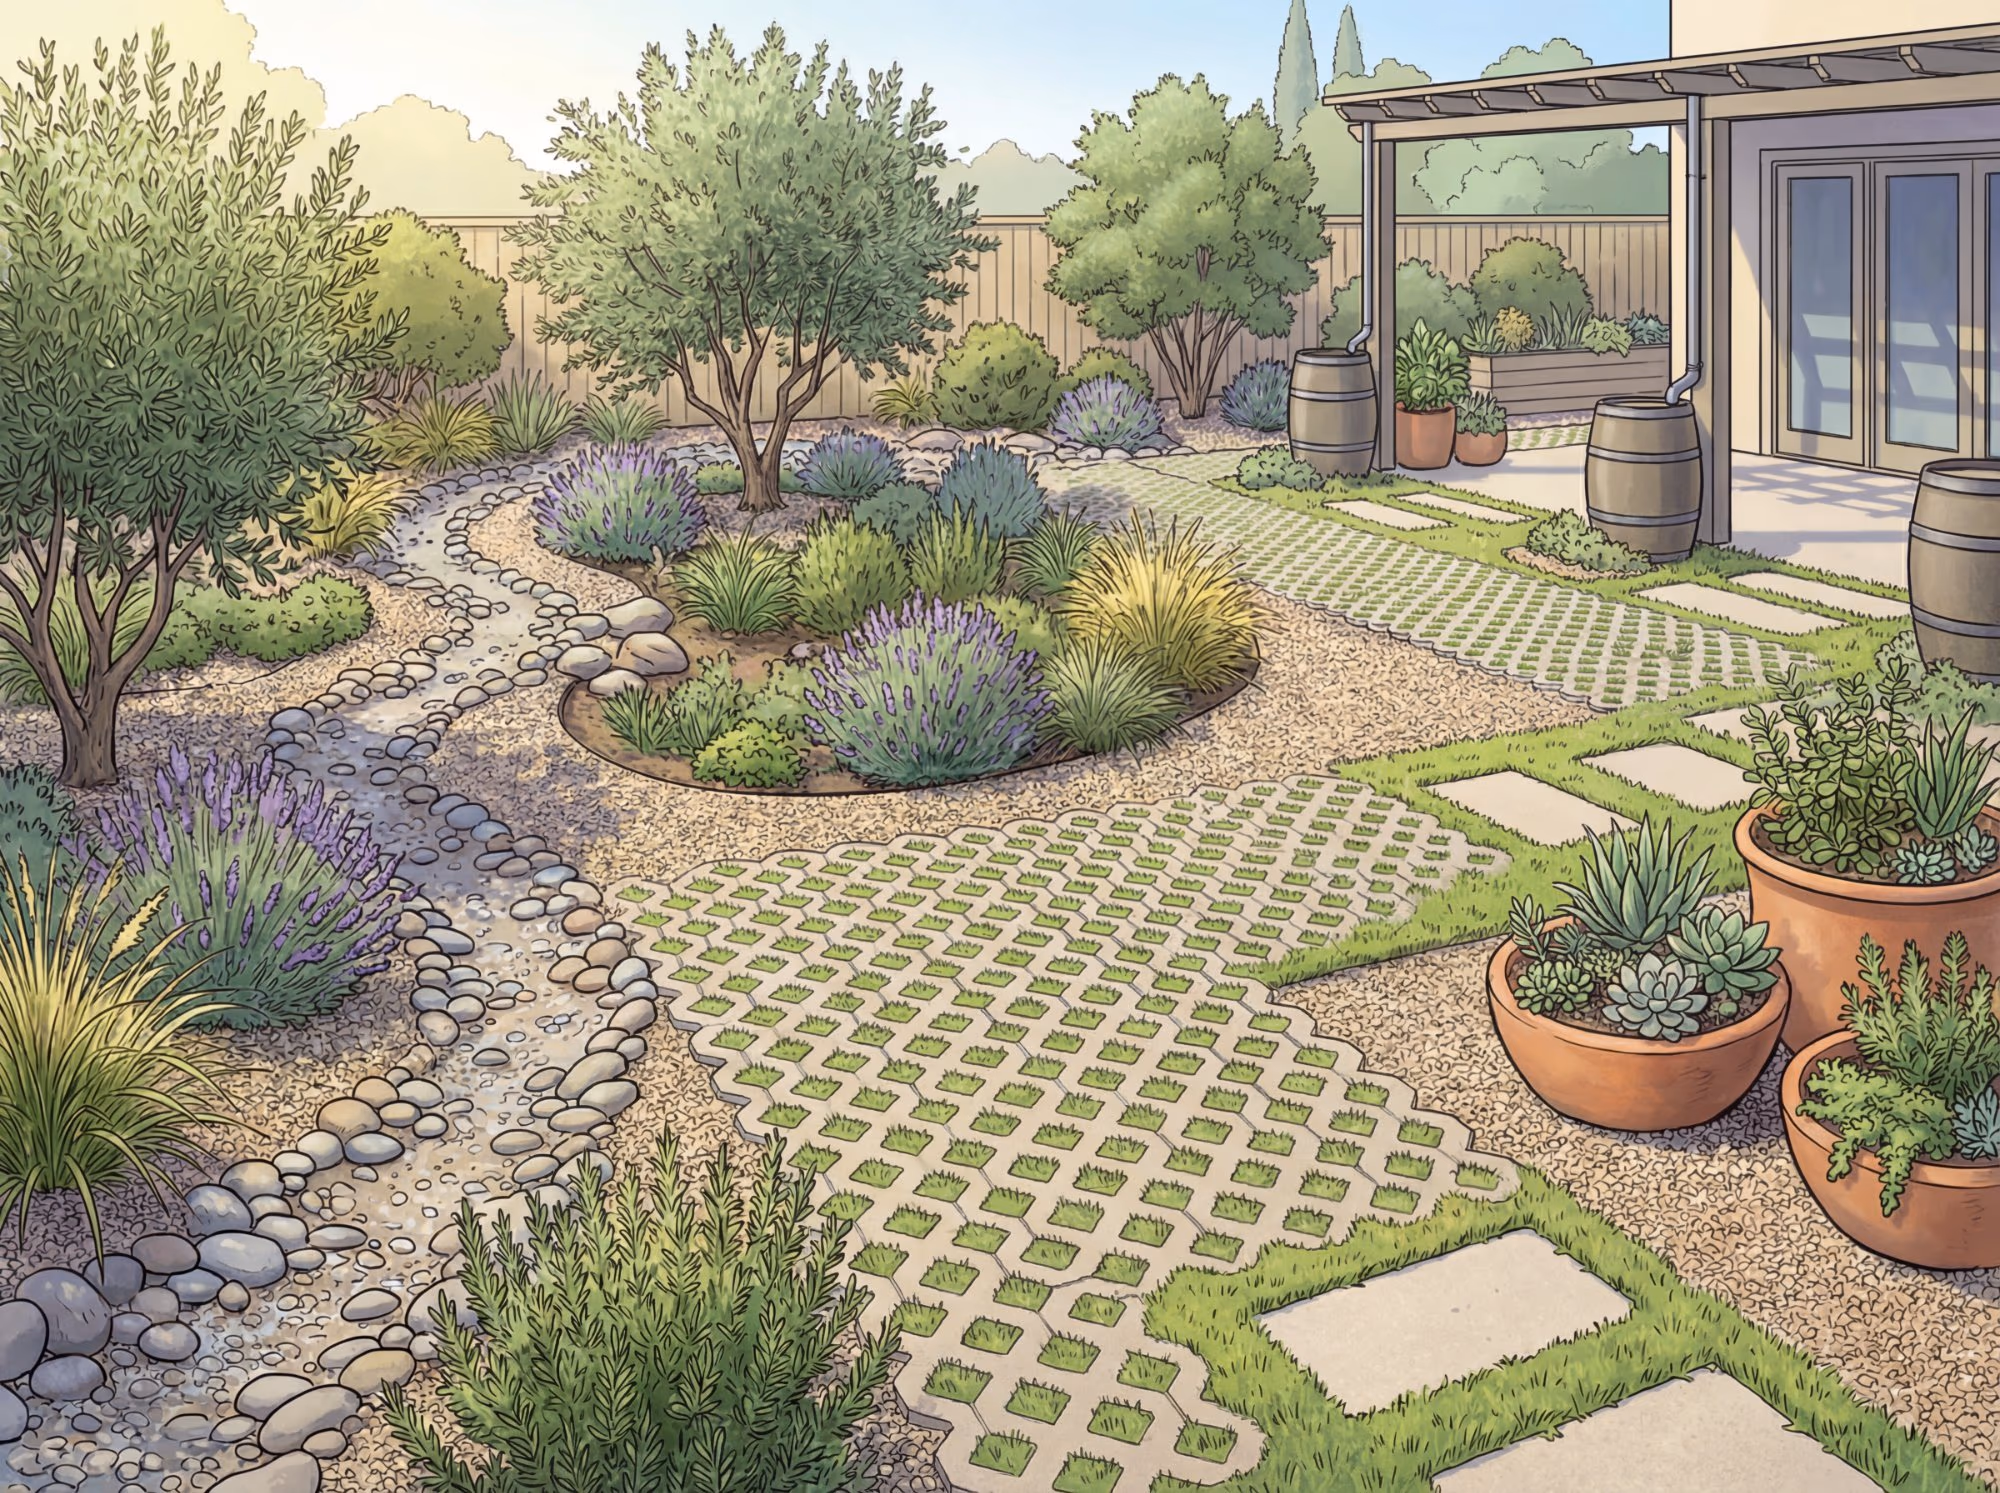
Drought tolerant doesn't mean the landscaping has to have a desert vibe. Prepping for soil so you can upgrade your lawn to outdoor living will make it easy to maintain and look beautiful too.
KEY TAKEAWAYS
- Southern California soil is often compacted clay or sandy decomposed granite, and both need amendment before drought tolerant landscaping can thrive.
- A simple soil test (around $15 to $30) tells you exactly what amendments your yard needs, removing the guesswork from your soil preparation.
- Proper preparation now saves years of struggling plants and wasted water later, making it the single most important step between lawn removal and your new landscape.
The Step Everyone Wants to Skip
The ground beneath a removed lawn is rarely ready for what comes next. Years of foot traffic, mowing, and shallow watering have compressed the soil into something closer to a parking lot than a garden bed. Nutrients have been depleted. The structure that allows roots to breathe and water to flow has been lost.
This guide walks through the soil preparation process from testing through amendment, step by step. It is not the most glamorous chapter in your Yardtopia journey, but it is the one that determines whether your new plants flourish or struggle for years. Think of it as setting the foundation before building the house.
Why Does Soil Preparation Matter After Removing Grass?
Soil preparation is the bridge between removing your old lawn and establishing drought tolerant landscaping that actually thrives. Without it, even the hardiest California native plants face an uphill battle against compacted, nutrient-depleted ground.
When grass has been growing in the same spot for years or decades, several things happen beneath the surface. The top few inches of soil become severely compacted from mowing, foot traffic, and the weight of equipment. Traditional lawn care relies on frequent, shallow watering, which trains roots to stay near the surface and creates a dense, matted layer that resists drainage. And if the grass was removed using solarization or herbicide, the microbial life that healthy soil depends on has been reduced significantly.
Southern California soils present additional challenges. Much of Orange County sits on heavy clay soils or decomposed granite, and both extremes create problems for new plantings. Clay holds too much water near the surface while refusing to let it drain deeper. Sandy or rocky soils let water run straight through before roots can absorb it. Neither scenario supports the deep, infrequent watering pattern that drought tolerant landscaping depends on.
GOOD TO KNOW
Healthy soil is roughly 25 percent air, 25 percent water, 45 percent minerals, and 5 percent organic matter. Compacted soil loses most of that air space, which means roots cannot breathe and beneficial organisms cannot survive. Restoring that structure is what soil preparation is all about.
The good news is that soil preparation does not require a degree in chemistry or a contractor with heavy equipment. Most homeowners can test, amend, and prepare their soil over a weekend. The key is knowing what you are working with before you start adding things to it.
How Do You Test Your Soil?
The most effective soil preparation starts with understanding what your soil actually needs, and the only reliable way to know is testing. Guessing leads to over-amending, under-amending, or adding the wrong materials entirely.
There are two approaches, and you can use one or both depending on how thorough you want to be.
DIY Testing: The Jar Test and pH Strips
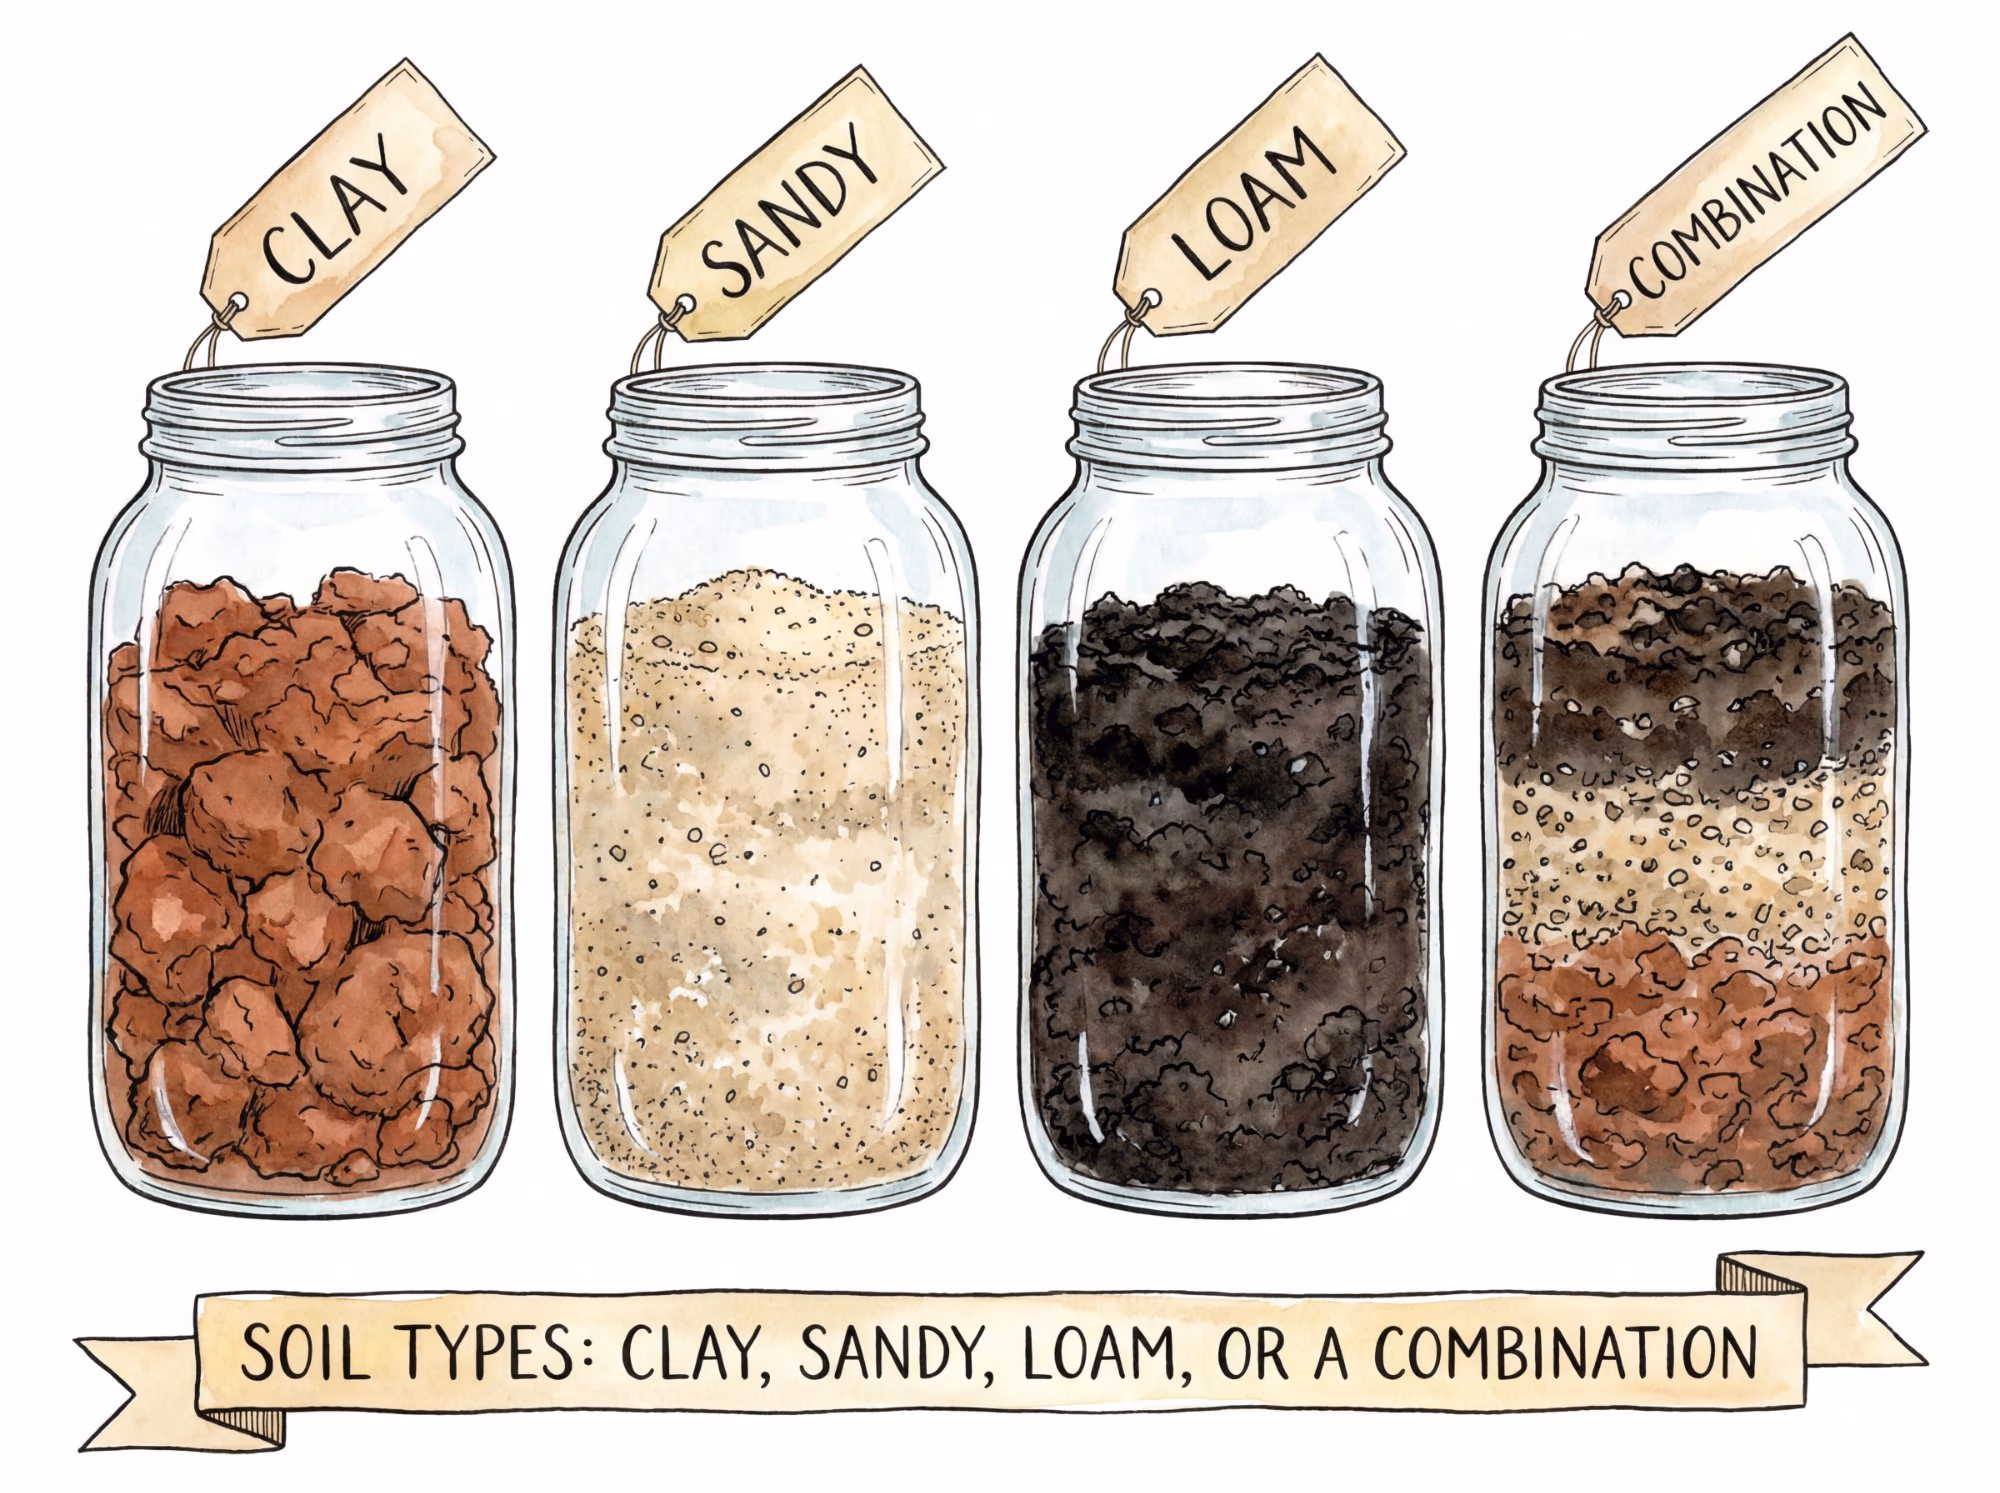
The simplest way to understand your soil type is the jar test. Dig a sample from about six inches below the surface, place two inches of soil in a clear quart jar, fill it with water, shake vigorously, and let it settle for 24 to 48 hours. The layers that form tell you exactly what you are working with.
Sand settles first (within minutes), silt settles next (within a few hours), and clay settles last (sometimes taking a full day or more). If your jar shows a thick bottom layer of sand with very little on top, you have sandy soil. If most of the material stays suspended and the water remains cloudy for hours, you are dealing with heavy clay. Most Southern California yards show a mix, often with more clay than homeowners expect.
pH strips from a garden center (around $8 to $12) provide another useful data point. Most drought tolerant plants for Southern California prefer a pH between 6.0 and 7.5. Orange County soils tend to run slightly alkaline (7.0 to 8.0), which is worth knowing before you choose amendments.
PRO TIP
Take soil samples from three to five different spots in your yard and test each one separately. Soil conditions can vary significantly across even a small property, especially if different areas had different uses (lawn versus garden beds versus under trees). This is particularly true in Orange County developments where grading and fill dirt during construction created inconsistent soil profiles.
Professional Soil Testing
For a more complete picture, professional soil testing is affordable and thorough. The UC Davis Analytical Laboratory and several private labs in Southern California offer soil analysis for approximately $15 to $30 per sample. You mail in a bag of soil and receive a detailed report covering pH, nutrient levels (nitrogen, phosphorus, potassium), organic matter content, and specific amendment recommendations.
UC Master Gardener programs in Orange County can help you interpret results and make amendment decisions based on what you plan to plant. Their hotline and workshops are free resources that many homeowners do not know about.
GOOD TO KNOW
The UC Master Gardener Program offers free soil testing events throughout Orange County at various times during the year. Check the UC Cooperative Extension website for the current schedule. These events are a great opportunity to get professional guidance at no cost.
What Your Results Mean
Once you have your soil test results, you are looking for three things:
With this information in hand, you can choose exactly the right amendments instead of dumping generic "garden soil" and hoping for the best.
"Put some dirt in your hand and squeeze it to determine where it lies between the textures of pure clay and pure sand. You want a healthy mix of both."
— Joanne Crawford-Dunér, Master Gardener, UC Cooperative Extension Master Gardeners of Orange County
What Amendments Does Southern California Soil Need?
The amendments your soil needs depend entirely on what your soil test reveals, but most Southern California yards fall into a few common categories. Here is what to do for each one.
Clay Soil Solutions
Heavy clay is the most common challenge in inland Orange County. It holds water like a sponge at the surface, creates drainage problems during winter rains, and bakes into concrete-hard slabs during summer. But clay is not all bad. It is rich in minerals and holds nutrients well. The goal is to improve its structure, not replace it.
Gypsum (calcium sulfate) is the go-to amendment for Southern California clay. Unlike lime, gypsum does not change soil pH (important since our soils already tend alkaline). It works by breaking the chemical bonds between clay particles, allowing water and air to move through. Apply 40 to 50 pounds per 1,000 square feet and work it into the top six to eight inches. Results take a few weeks to become noticeable.
Compost is the other essential addition for clay soil. Aged compost (not fresh, which can rob nitrogen as it breaks down) physically separates clay particles and introduces beneficial microorganisms. Spread two to three inches across the surface and incorporate it into the top six to eight inches. This single step does more for soil structure than anything else you can add.
GOOD TO KNOW
Do not add sand to clay soil. This is one of the most persistent myths in gardening. When you mix sand into clay without enough organic matter, you get something closer to low-grade concrete. The fine clay particles fill in around the sand grains and create a material that is harder and less permeable than the clay alone. Always use compost and gypsum for clay amendment.
Sandy and Decomposed Granite Soil Solutions
Coastal areas and parts of Orange County built on decomposed granite face the opposite problem. Water runs straight through sandy soil before plants can use it, and nutrients wash away just as quickly. The fix is adding materials that increase water retention without creating drainage problems.
Compost is again the primary solution, but sandy soil needs more of it. Apply three to four inches and work it deeply into the top 8 to 12 inches. The organic matter acts like tiny sponges throughout the soil profile, holding moisture and nutrients where roots can reach them.
Coconut coir or aged bark fines mixed with compost help build long-term water retention. Unlike peat moss (which is environmentally problematic and repels water when it dries out completely), coir rehydrates easily and breaks down slowly.
Dealing with Caliche Layers
Some parts of Southern California have caliche: a cement-like layer of calcium carbonate that forms naturally beneath the surface, sometimes just a few inches down. Caliche blocks root growth and prevents drainage entirely.
If your shovel hits a rock-hard layer while digging, you may have caliche. Small areas can be broken through with a pickaxe or rented jackhammer. For larger areas, drilling drainage holes through the caliche layer (every two to three feet) allows water to pass through without requiring full removal.
GOOD TO KNOW
Caliche is more common in areas that were historically arid grassland or chaparral before development. If you discover it during soil prep, do not ignore it. Plants installed above an unbroken caliche layer will eventually drown during winter rains as water pools with nowhere to go. Breaking through even a few strategic holes makes a significant difference.
The Universal Amendment: Quality Compost
Regardless of your soil type, compost is the single most important amendment for drought tolerant landscaping. It improves clay drainage and sandy water retention simultaneously. It feeds the soil biology that your plants depend on. And it creates the kind of loose, living soil structure that allows roots to grow deep, which is exactly what drought tolerant plants need to access moisture during dry months.
Look for well-aged compost from a reputable source. Municipal green waste compost is widely available in Orange County and is often free or very low cost. Avoid anything that still smells like fresh manure or feels hot to the touch, as it has not finished decomposing and can burn plant roots. Always check HOA guidelines before landscaping.
How Do You Prepare the Ground Step by Step?
Once you know your soil type and have your amendments on hand, preparation follows a logical sequence. This is the step-by-step process that moves you from bare dirt to planting-ready ground.
Step 1: Clear Remaining Debris
After lawn removal, the ground is rarely clean. Old roots, thatch, rocks, and leftover sod need to come out before you can work the soil effectively. Rake the surface to remove loose debris, and pull any remaining grass roots or stolons that could regrow (especially Bermuda grass, which can regenerate from small root fragments).
If you used sheet mulching to remove your lawn (see our guide to removing grass), remove or push aside the cardboard and mulch layer temporarily so you can access the soil beneath.
Step 2: Break Compaction
This is where the real transformation happens. Compacted soil needs to be loosened to a depth of at least eight to 12 inches to give new roots room to grow and water room to infiltrate.
For most residential yards, a broadfork or garden fork works well for small areas. Push the tines in as deep as they will go, rock the handle back, and move on. You are not turning the soil over, just fracturing the compacted layers so air and water can penetrate.
For larger areas (over 500 square feet), renting a rear-tine rototiller makes the work manageable. A single pass at medium depth, followed by a second pass at full depth, breaks through most compaction. Tillers are available at most equipment rental shops in Orange County for around $50 to $80 per day.
PRO TIP
If your soil is very dry when you begin, water the area lightly two days before working it. Soil that is slightly moist (not wet) breaks apart much more easily than bone-dry clay or packed decomposed granite. Trying to work completely dry soil creates dust and clods rather than the loose texture you want.
Step 3: Add Amendments and Incorporate
Spread your amendments evenly across the loosened soil surface:
Use a garden fork, broadfork, or tiller to work the amendments into the top eight to 12 inches of soil. The goal is a thorough blend, not a layer cake. Amendments sitting on top of unchanged soil underneath do very little. Take the time to mix them in deeply.
Step 4: Grade for Proper Drainage
With the soil loosened and amended, now is the time to establish proper grading. Water should flow away from your home's foundation and toward designated drainage areas or the street. A slope of about two percent (roughly a quarter inch of drop per foot) is the general target.
Use a long, straight board and a level to check your grade. Fill in low spots where water might pool, and ensure there are no areas where runoff would be directed toward the house, patio, or neighboring properties.
This is also the time to create any intentional grading features like swales (gentle channels that direct water to specific planting areas) or berms (raised areas for plants that need sharper drainage).
Step 5: Install Irrigation Before Planting
With your soil prepared and graded, install your irrigation system before anything goes in the ground. Drip irrigation is the standard for drought tolerant landscaping because it delivers water directly to root zones with minimal evaporation or waste.
Planning irrigation at this stage, while the ground is still bare and workable, is far easier than trying to retrofit it after plants are established. For a complete walkthrough of drip system design and installation, see our guide to drip irrigation.
GOOD TO KNOW
IRWD offers rebates on qualifying drip irrigation systems and smart controllers as part of their water efficiency programs. Check Yardtopia.com for current rebate details before purchasing your irrigation components. Qualifying for a rebate while your soil is still in preparation mode lets you install everything in the right order.
Step 6: Apply Mulch
The final step before planting is applying a two to four inch layer of mulch across all planting areas. Mulch is not always a decorative filler. It regulates soil temperature, retains moisture, suppresses weeds, and feeds soil biology as it slowly decomposes.
For drought tolerant landscaping in Southern California, wood chip mulch is the most effective option. Arborist chips (the mixed material that comes from tree trimming services) are often available for free and provide excellent results. For a deeper look at mulch types, application depths, and common mistakes, see our complete guide to mulch.
Keep mulch two to three inches away from plant stems and tree trunks to prevent moisture-related rot at the base.
"Apply nutrient rich compost and organic fertilizers in early spring. Compost will not only enrich your soil, but it will also increase soil life. Microbes, earthworms and good bacteria are the key to a successful garden."
— Juan Garcia, Senior Water Efficiency Specialist, IRWD
What Is the Right Drainage Plan for Your Yard?
Drainage planning for drought tolerant landscaping in Southern California means preparing for a climate of extremes: months of no rain followed by intense winter storms that can dump several inches in a day or two. Your yard needs to handle both conditions gracefully.
Understanding Southern California Rain Patterns
Southern California's Mediterranean climate means that most annual rainfall arrives between November and March, often in concentrated bursts. A well-prepared yard captures and uses that rainwater rather than letting it rush off the surface and into storm drains.
Drought tolerant plants are adapted to this feast-or-famine pattern, but only if the soil and grading allow water to infiltrate during wet periods and drain away before roots sit in standing water for too long. This is why soil preparation and drainage planning are inseparable.
Grading Basics for Residential Yards
The primary grading rule is simple: water flows away from the house and toward appropriate outlets. Beyond that foundation-protection requirement, you have options for how water moves through your landscape.
Sheet flow (water moving evenly across a gently sloped surface) works for simple layouts. Swales (shallow, vegetated channels) are more effective for larger yards or properties with significant slope changes. Swales can be planted with moisture-loving natives that benefit from the extra water they collect.
French Drains and Subsurface Solutions
If your property has areas where water consistently pools (low spots, areas near retaining walls, or sections with heavy clay that drains slowly), a French drain may be necessary. A French drain is simply a gravel-filled trench with a perforated pipe that collects water and redirects it to a safe outlet.
French drains are typically installed during the soil preparation phase, before planting, making this the right time to address any known drainage problems. Most residential French drains cost between $15 and $30 per linear foot for DIY installation (gravel plus perforated pipe) or $40 to $70 per linear foot professionally installed.
Stormwater Management as a Resource
Forward-thinking drought tolerant landscaping treats stormwater as a resource rather than a problem. Rain gardens (shallow, planted depressions that collect runoff), dry creek beds (decorative gravel channels that direct water to planting areas), and permeable hardscape all keep water on your property where it can recharge the soil and reduce your irrigation needs.
These features also support Orange County's stormwater management goals, and some may qualify for additional rebates or incentives through IRWD or local municipalities.
PRO TIP
Walk your property during or immediately after a heavy rain to observe where water naturally flows and collects. This five-minute observation tells you more about your drainage needs than any plan drawn on paper. Take photos or video, as this information is invaluable when designing your grading and planting layout.
Frequently Asked Questions
How do you fix compacted clay soil?
The most effective approach combines physical breaking and organic amendment. Use a broadfork or rototiller to fracture the compacted layer to a depth of eight to 12 inches. Then incorporate two to three inches of aged compost and 40 to 50 pounds of gypsum per 1,000 square feet. Gypsum breaks the chemical bonds between clay particles while compost improves structure and drainage over time.
Do I need to add topsoil after removing grass?
In most cases, no. Importing topsoil is expensive and often unnecessary if you amend the existing soil properly. The exception is if lawn removal revealed subsoil (the lighter-colored, nutrient-poor layer beneath topsoil), which can happen if heavy grading was done during home construction. In that case, adding two to three inches of quality compost provides more benefit than purchasing topsoil of unknown origin and composition.
How long should I wait after soil prep before planting?
Ideally, allow one to two weeks between soil preparation and planting. This gives amended soil time to settle slightly, allows gypsum to begin working on clay structure, and lets soil moisture levels stabilize. If you prepared the soil with a rototiller, this settling period is especially important because freshly tilled soil can be too fluffy for good root-to-soil contact.
What is the best mulch for drought tolerant landscaping?
Arborist wood chips are the top choice for drought tolerant landscaping in Southern California. They decompose slowly (feeding soil biology over two to three years), suppress weeds effectively, and regulate soil temperature during hot summers. Apply two to four inches across all planting areas, keeping mulch away from plant stems. Avoid dyed mulch, rubber mulch, and fine-textured bark that compacts and repels water.